Account settings
Your photo, name, email and password, two-factor authentication, a connected Google account, API keys, billing, and deleting the account.
Everything about you rather than about a form lives on the account page: your details and sign-in methods, the security of the account, the keys that let a script act as you, and the plan the organization is on.
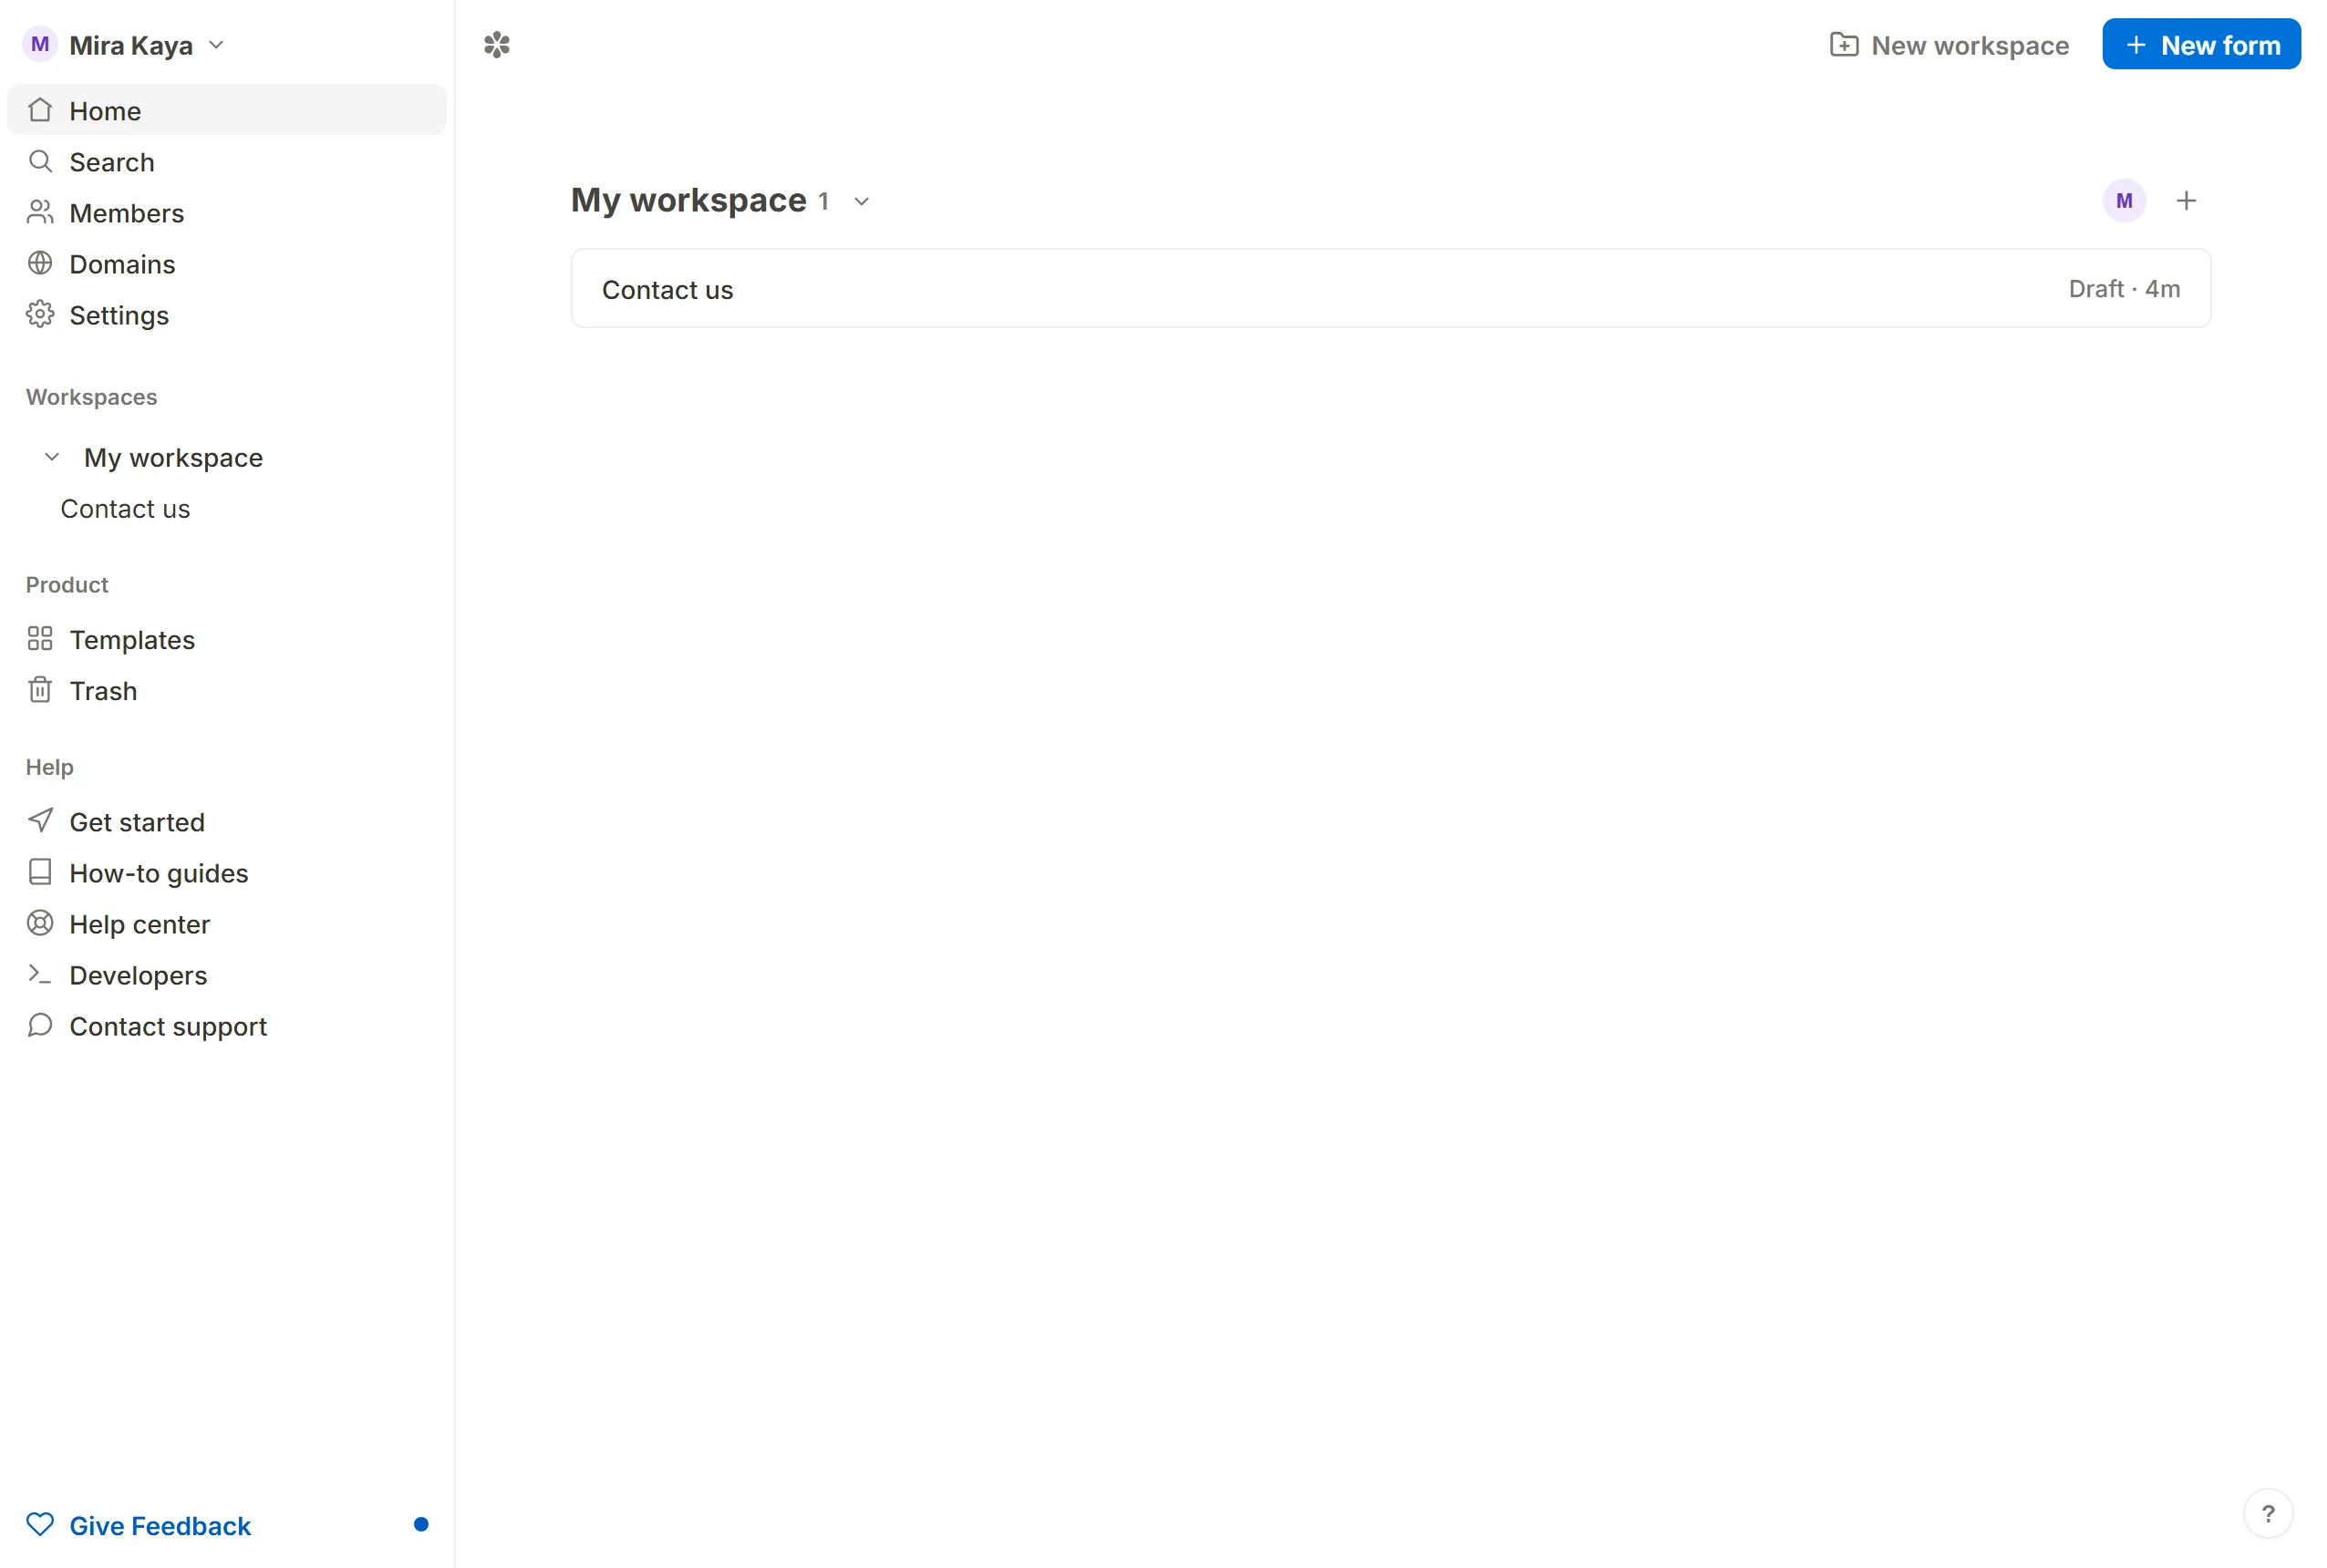
Access account settings
Click Settings in the sidebar. The page is /settings, with two more tabs beside it: API keys at /settings/api-keys and Billing at /settings/billing.
The top of the page holds your photo (Add a photo or Change your photo; a PNG, JPEG, WebP or GIF under 2 MB) and your first and last name, email address and password. Changing the email sends a confirmation to the new address, and nothing switches until you open it. Change password asks for the current one; an account that signs in with Google alone sees Set password instead.
Set up two-factor authentication (2FA)
Two-factor adds a code from an authenticator app to every sign-in. The section shows an Enabled or Disabled badge; press Set up to start.
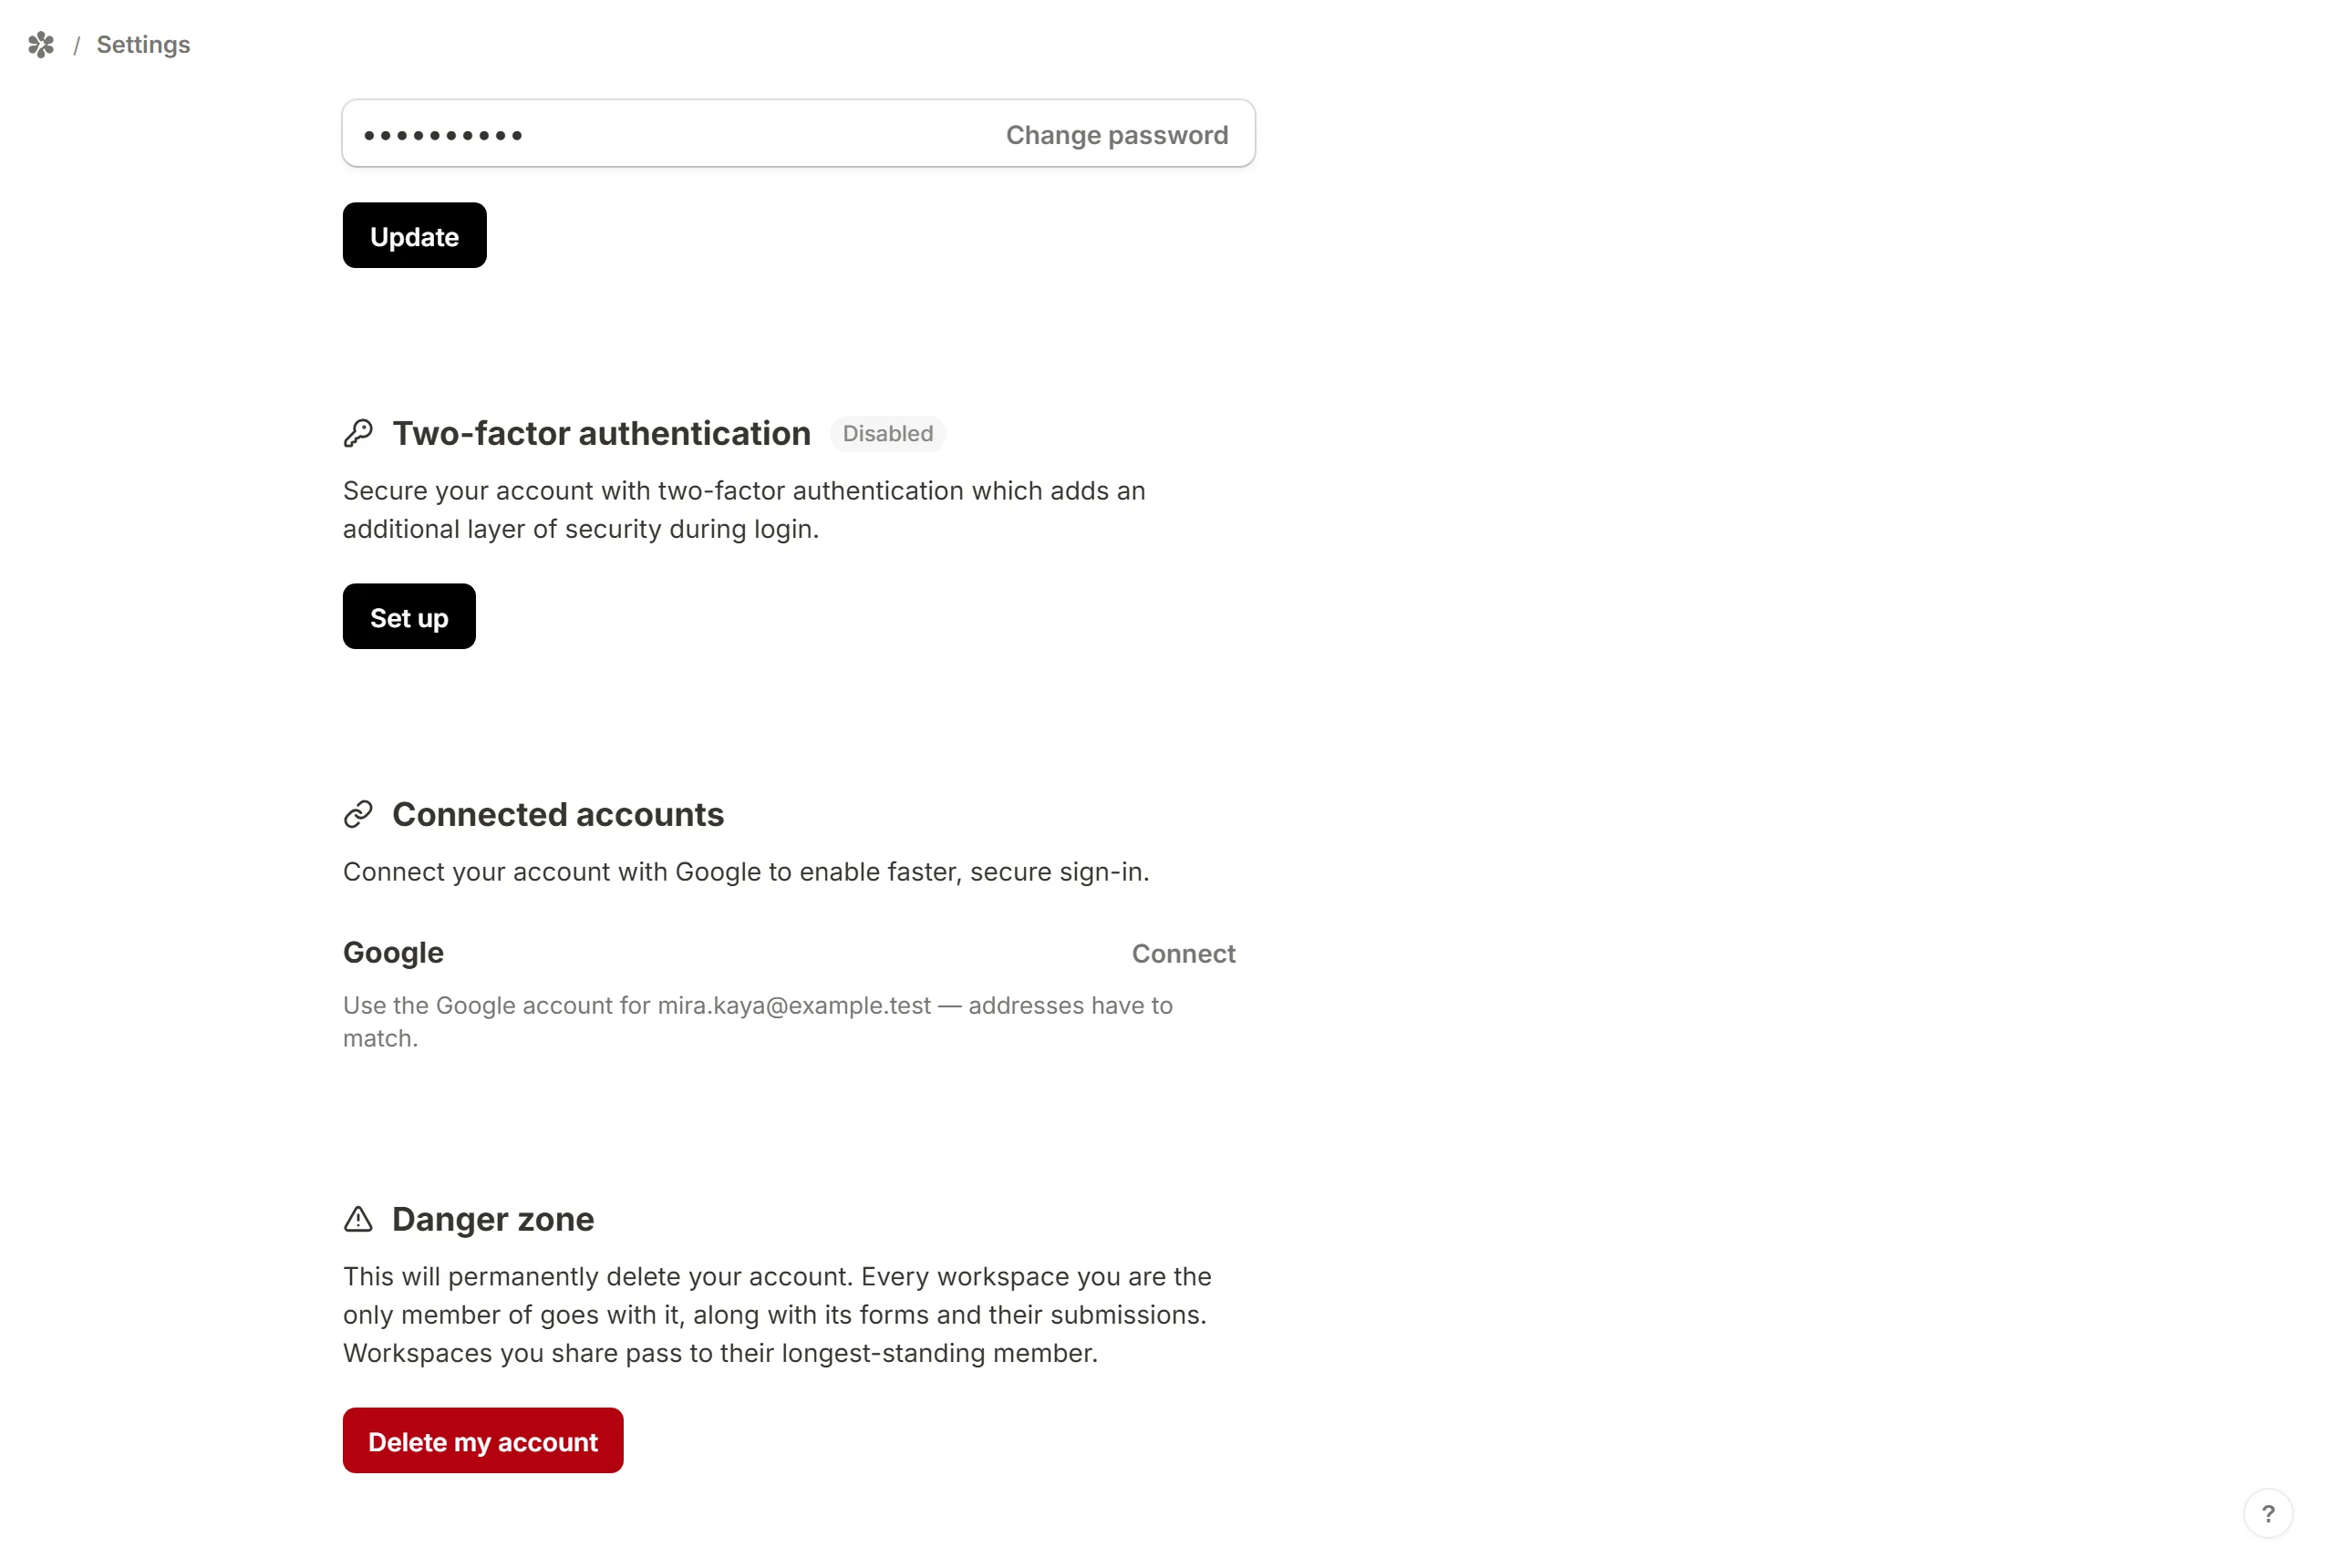
Confirm your password
The set-up asks for it first.Scan the QR code
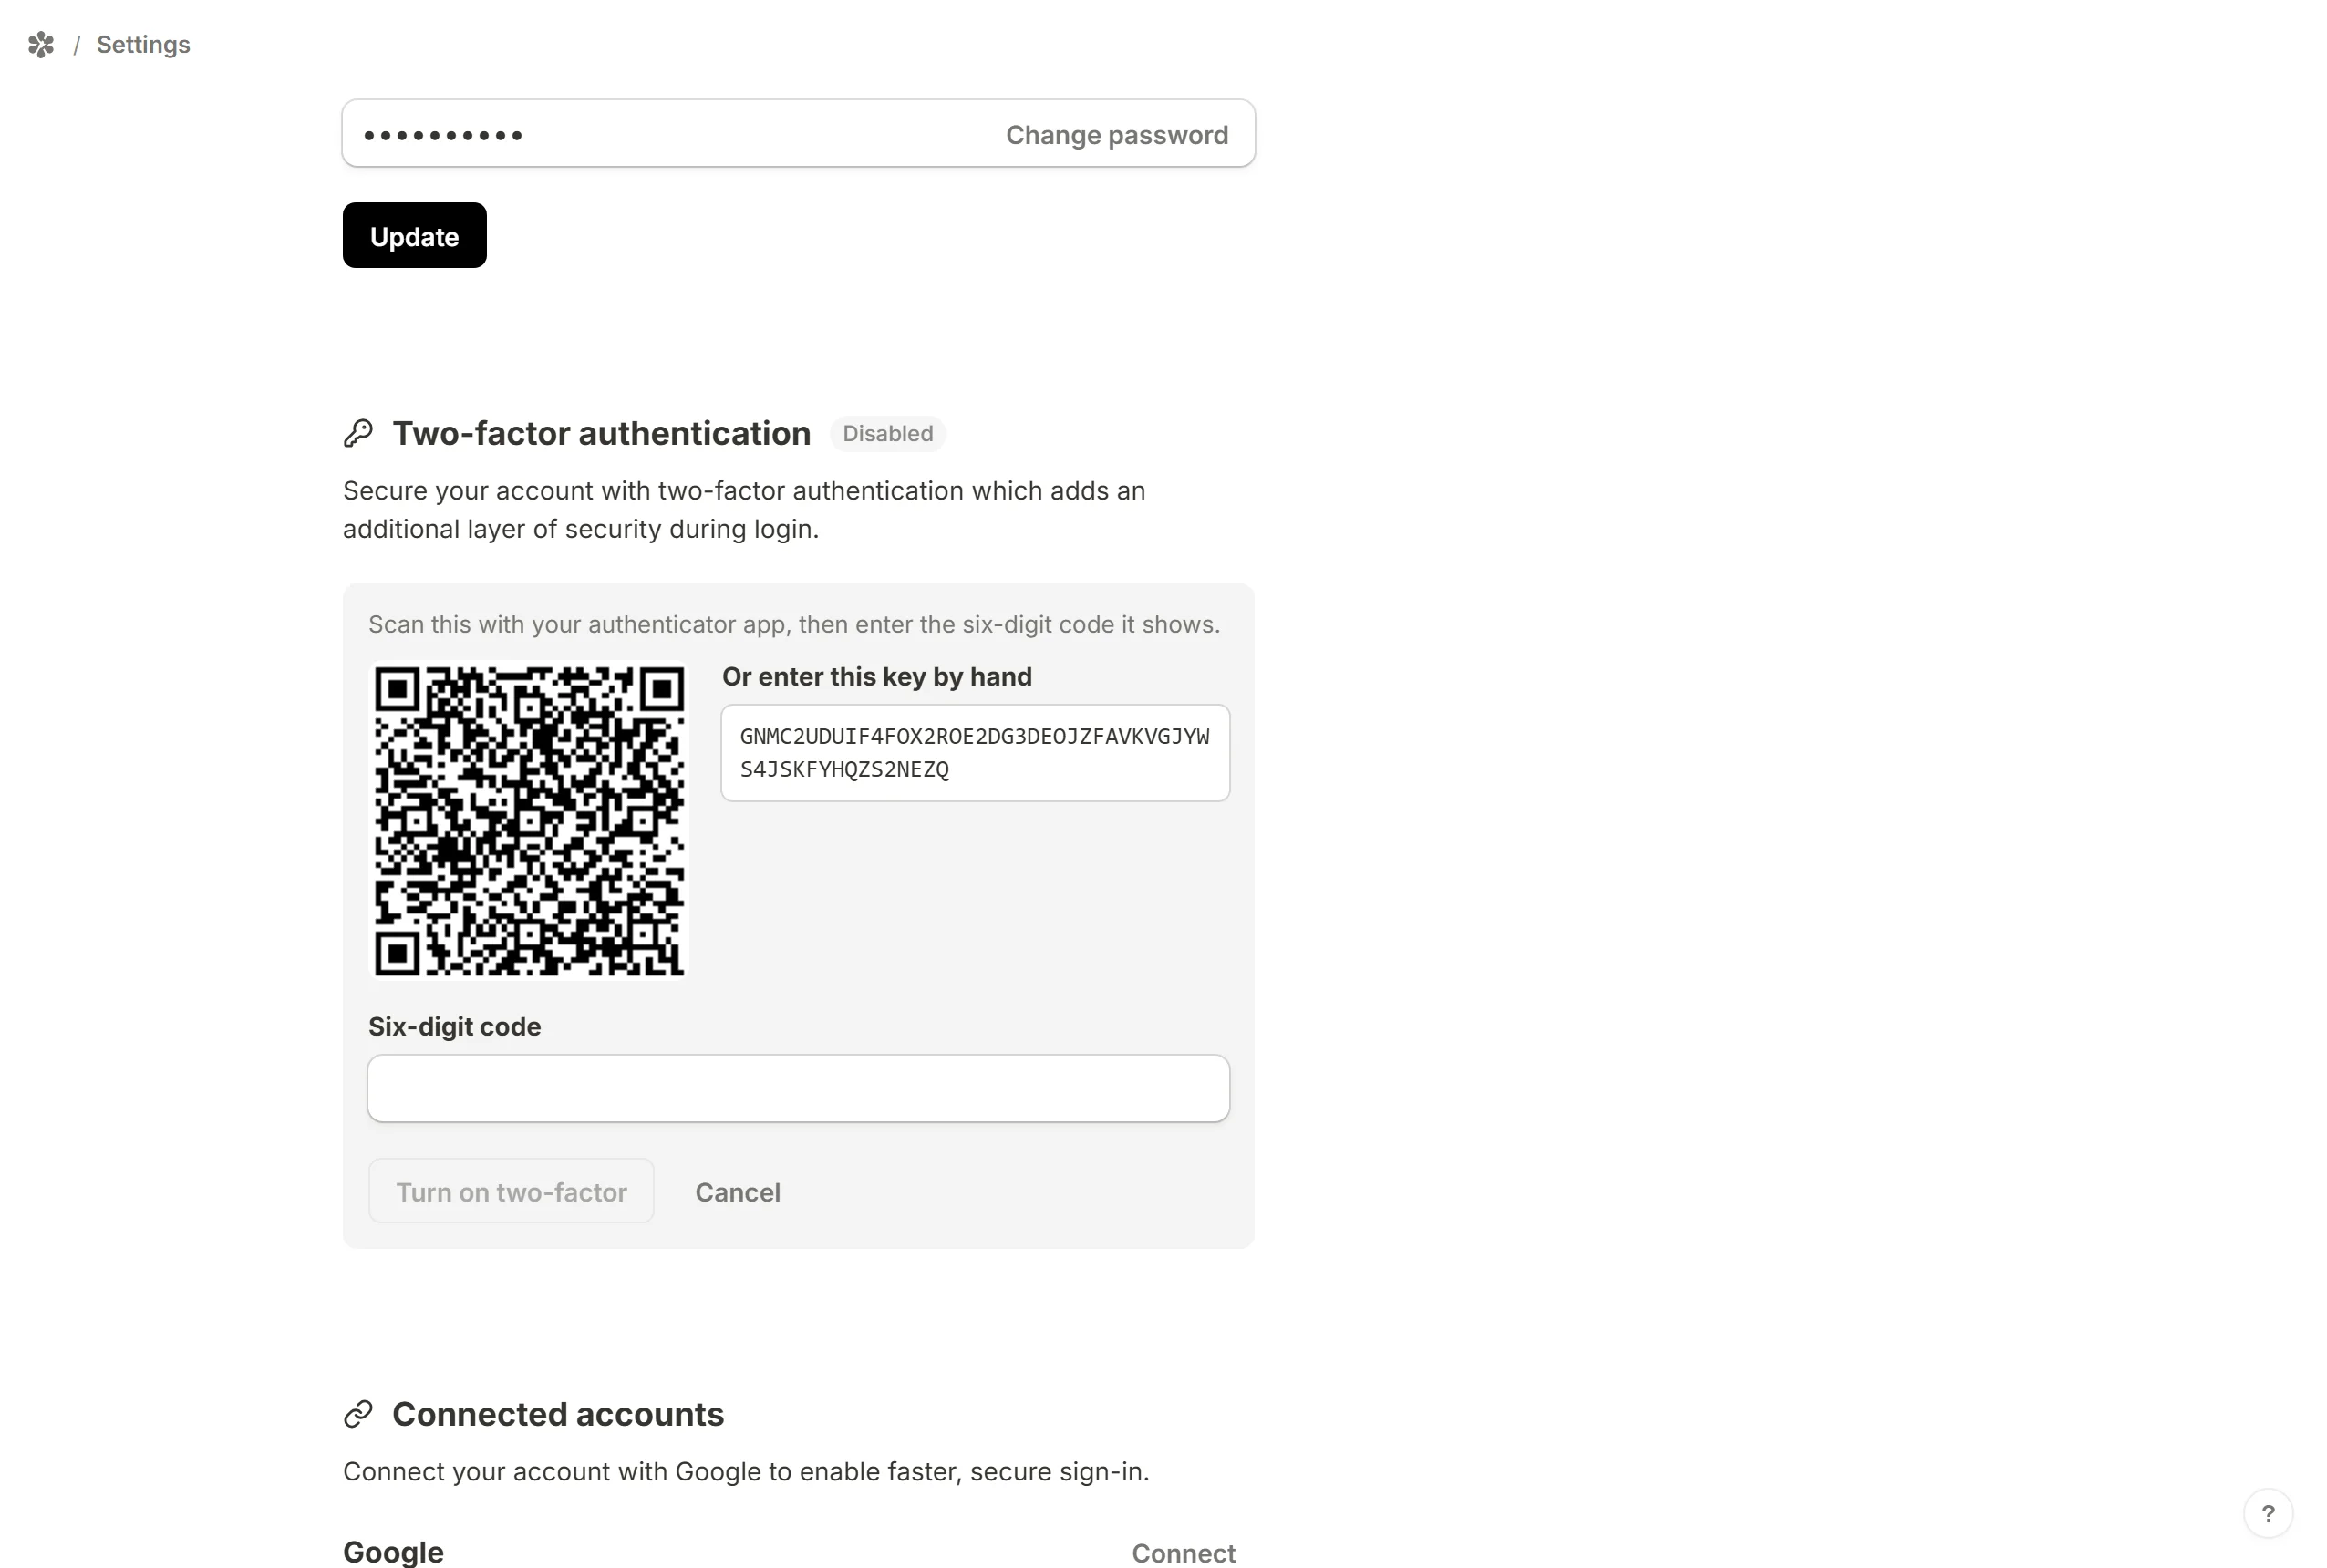
Open an authenticator app (any that speaks TOTP) and scan the code, or type the key shown under "Or enter this key by hand".Enter the generated code
Type the six digits the app shows. Codes expire quickly; if one is refused, wait for the next.
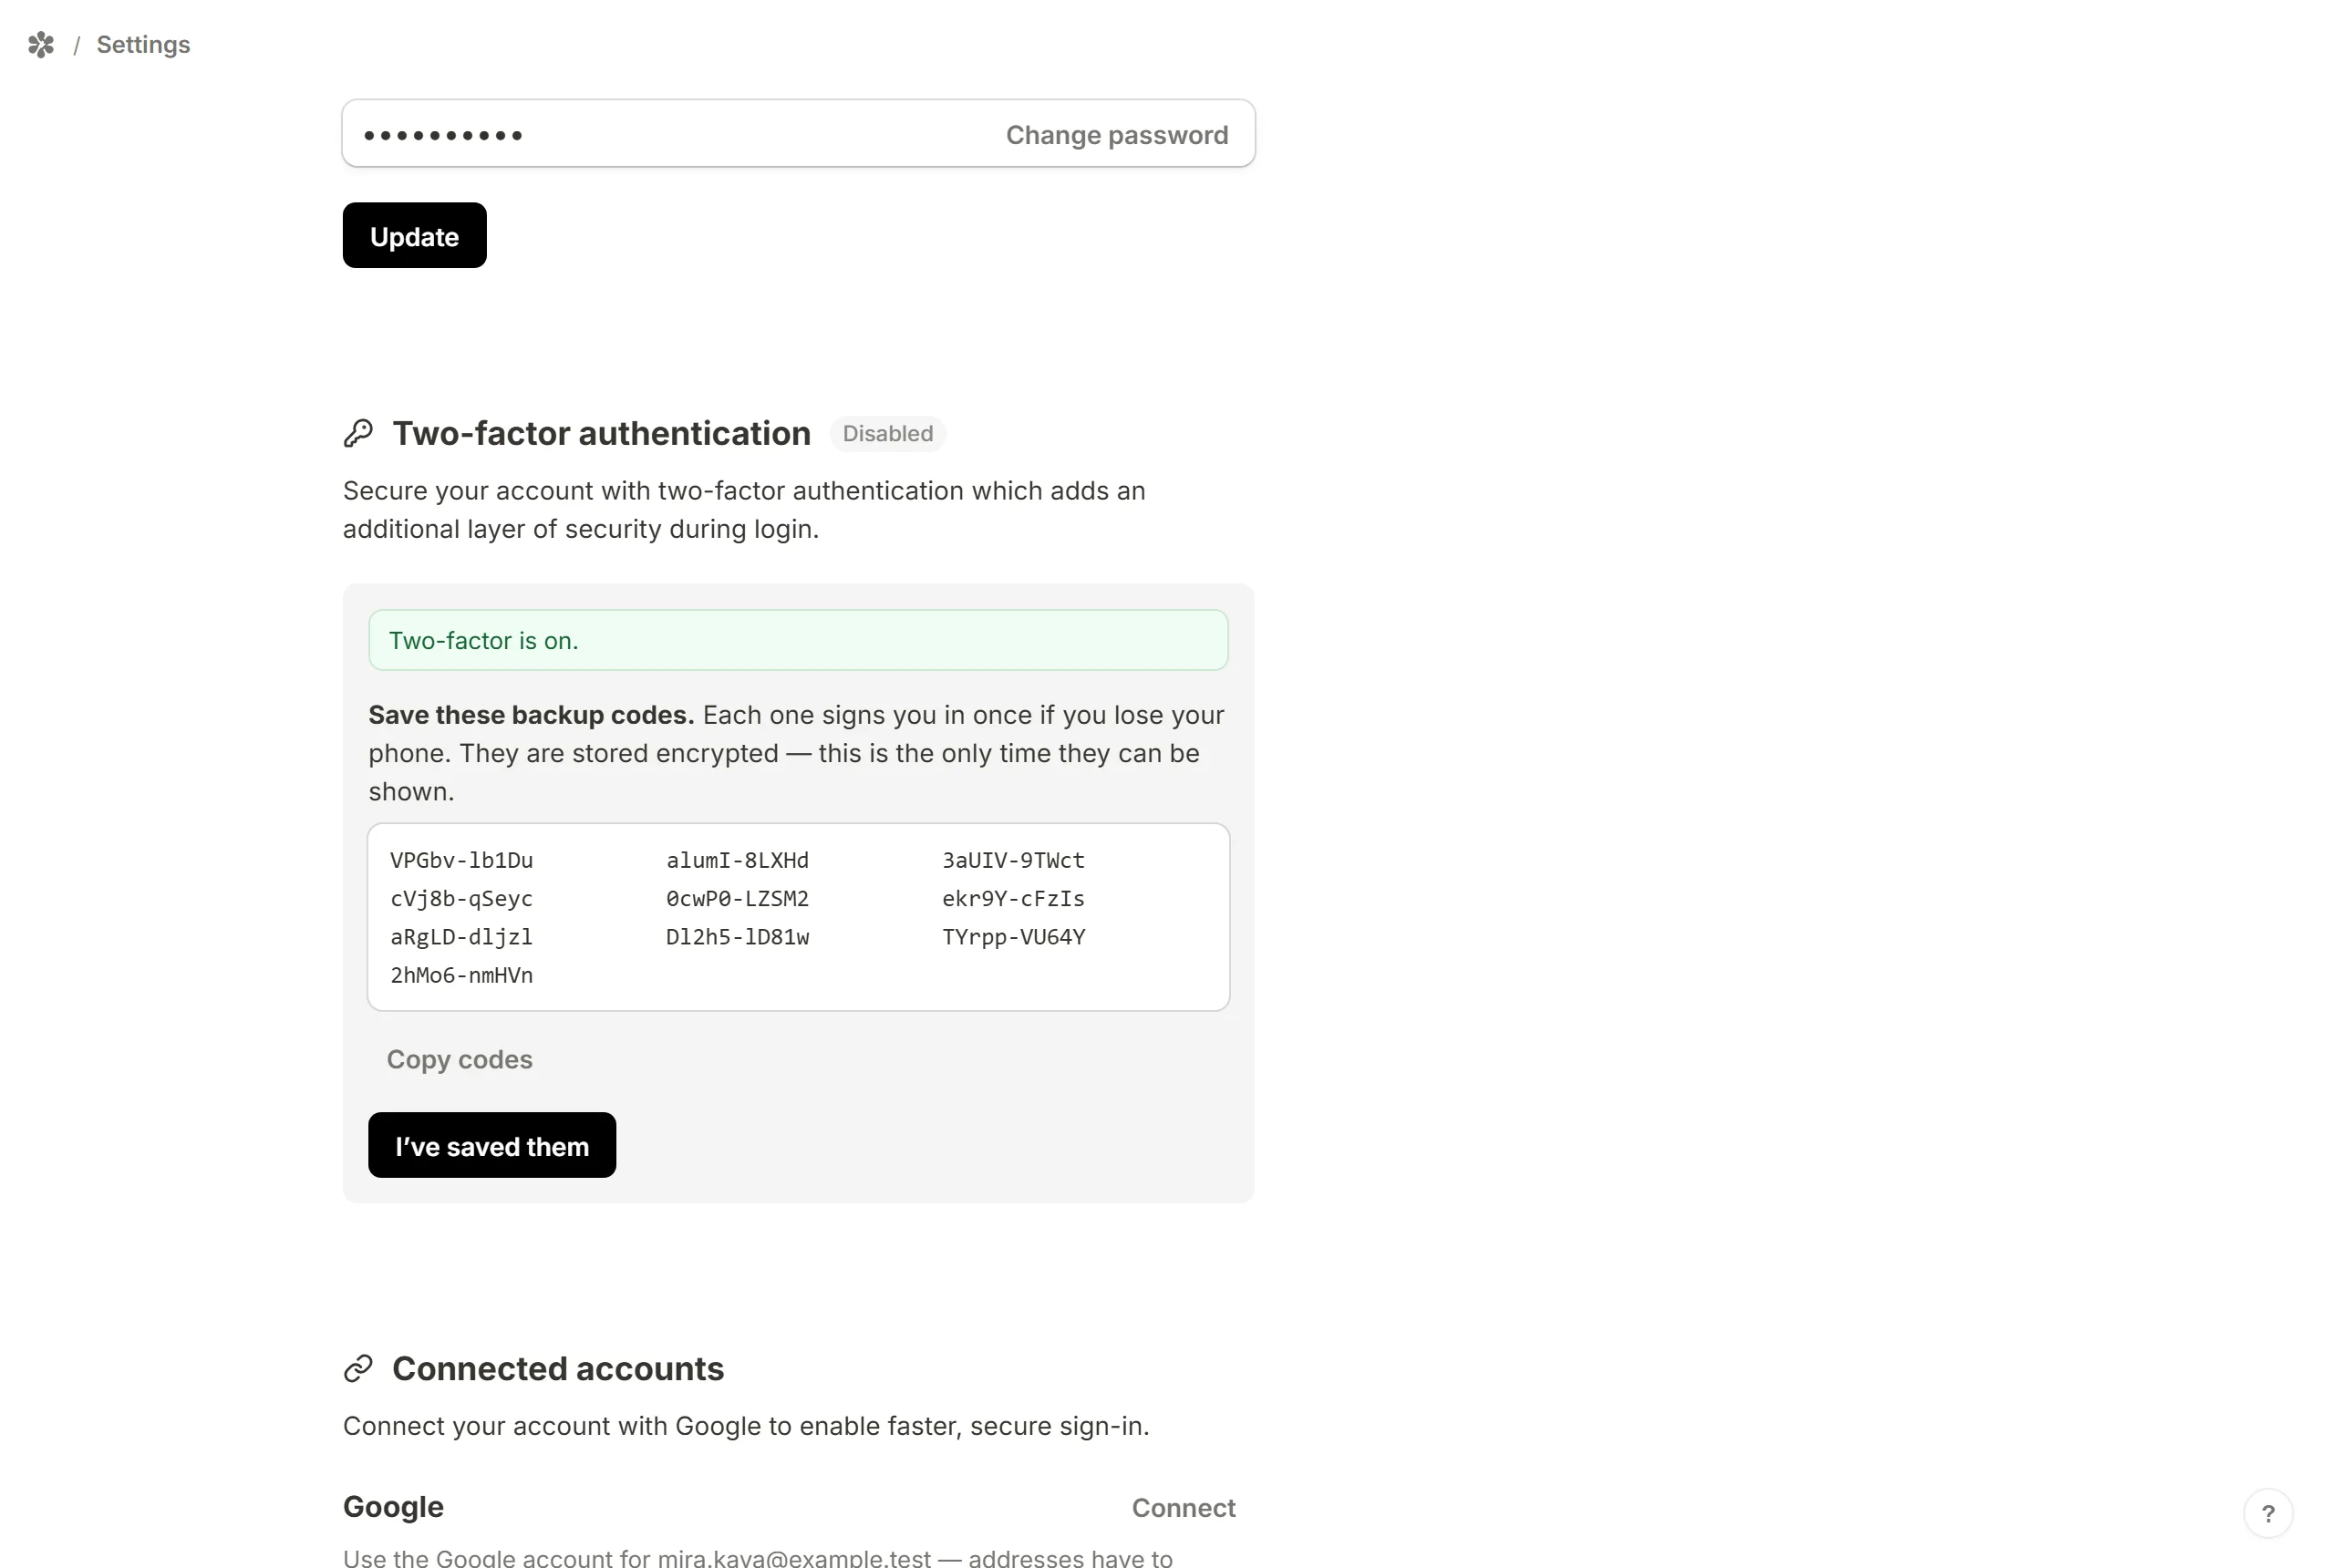
Two-factor only becomes active once a code has been verified, so closing the tab between scanning and confirming does not lock you out. The last step shows your backup codes under "Save these backup codes." Keep them somewhere safe: they are shown once, stored encrypted, and are the only way in from a lost phone.
To remove the second step, press Turn off and confirm your password. The section warns that turning it off removes the second step for every future sign-in.
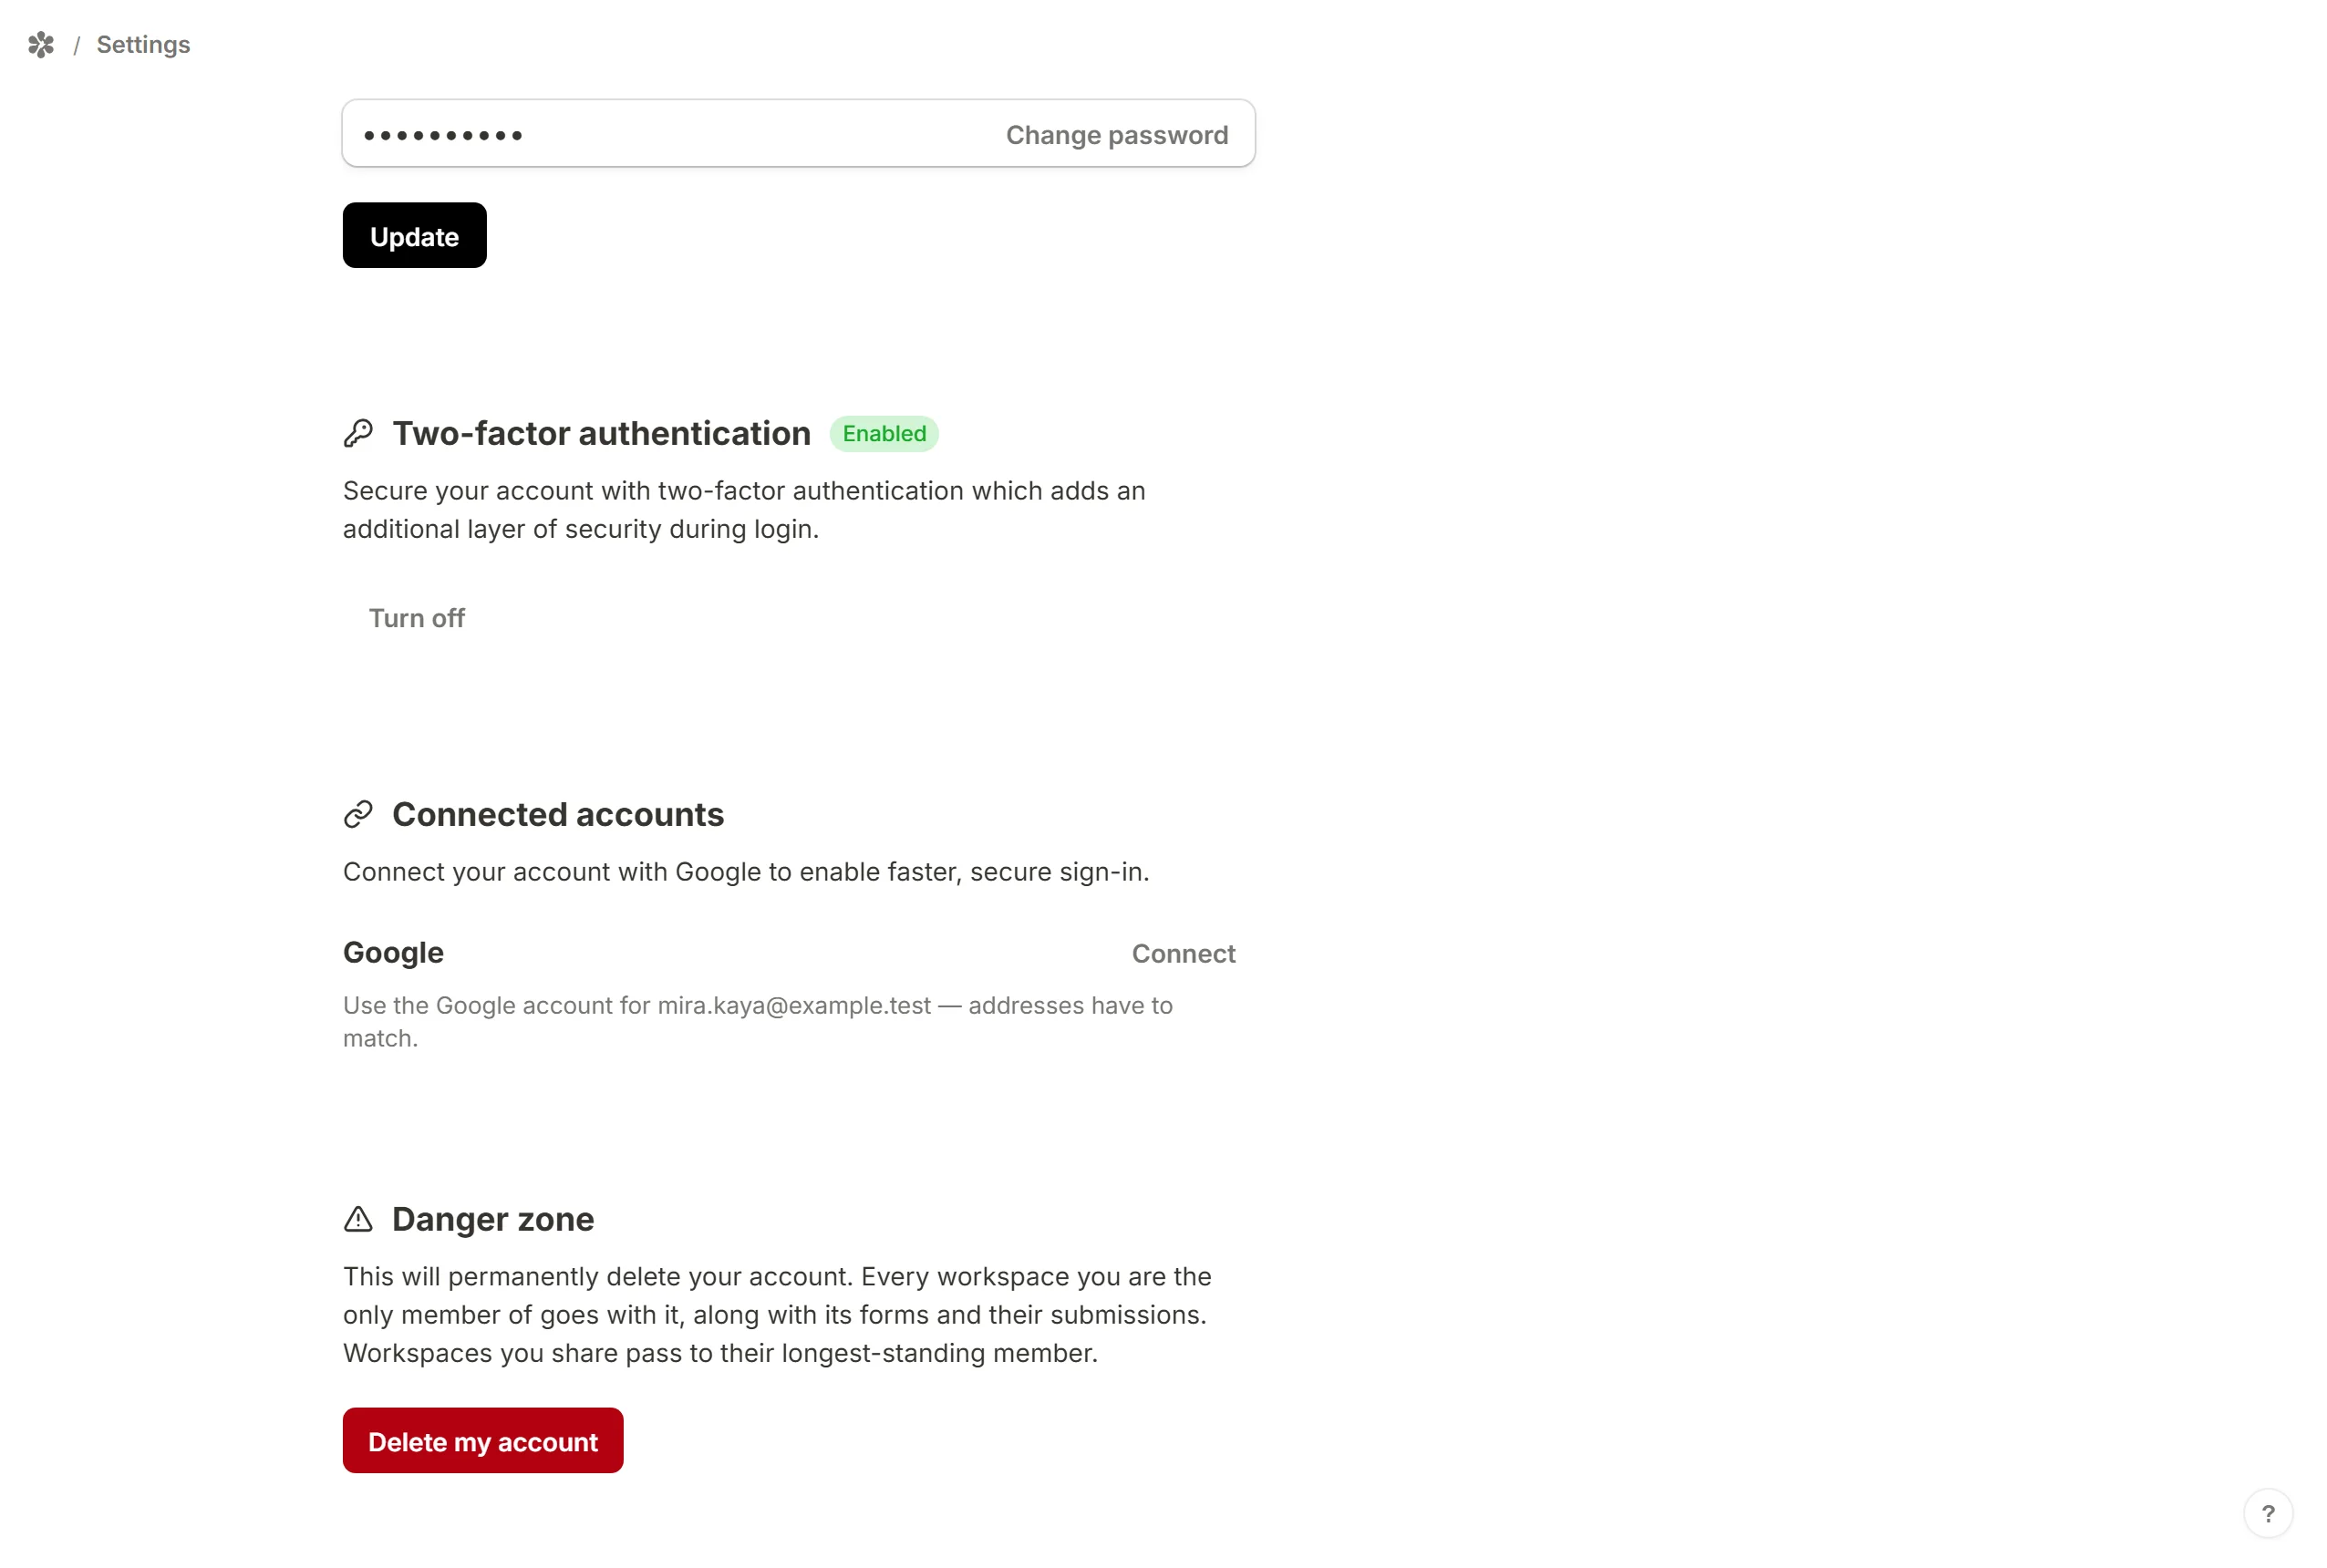
Manage connected accounts
Sign in with Google instead of a password, where the site offers it. Press Connect next to Google; the Google account has to carry the same email address as this one. Once connected, the section shows a Connected badge.
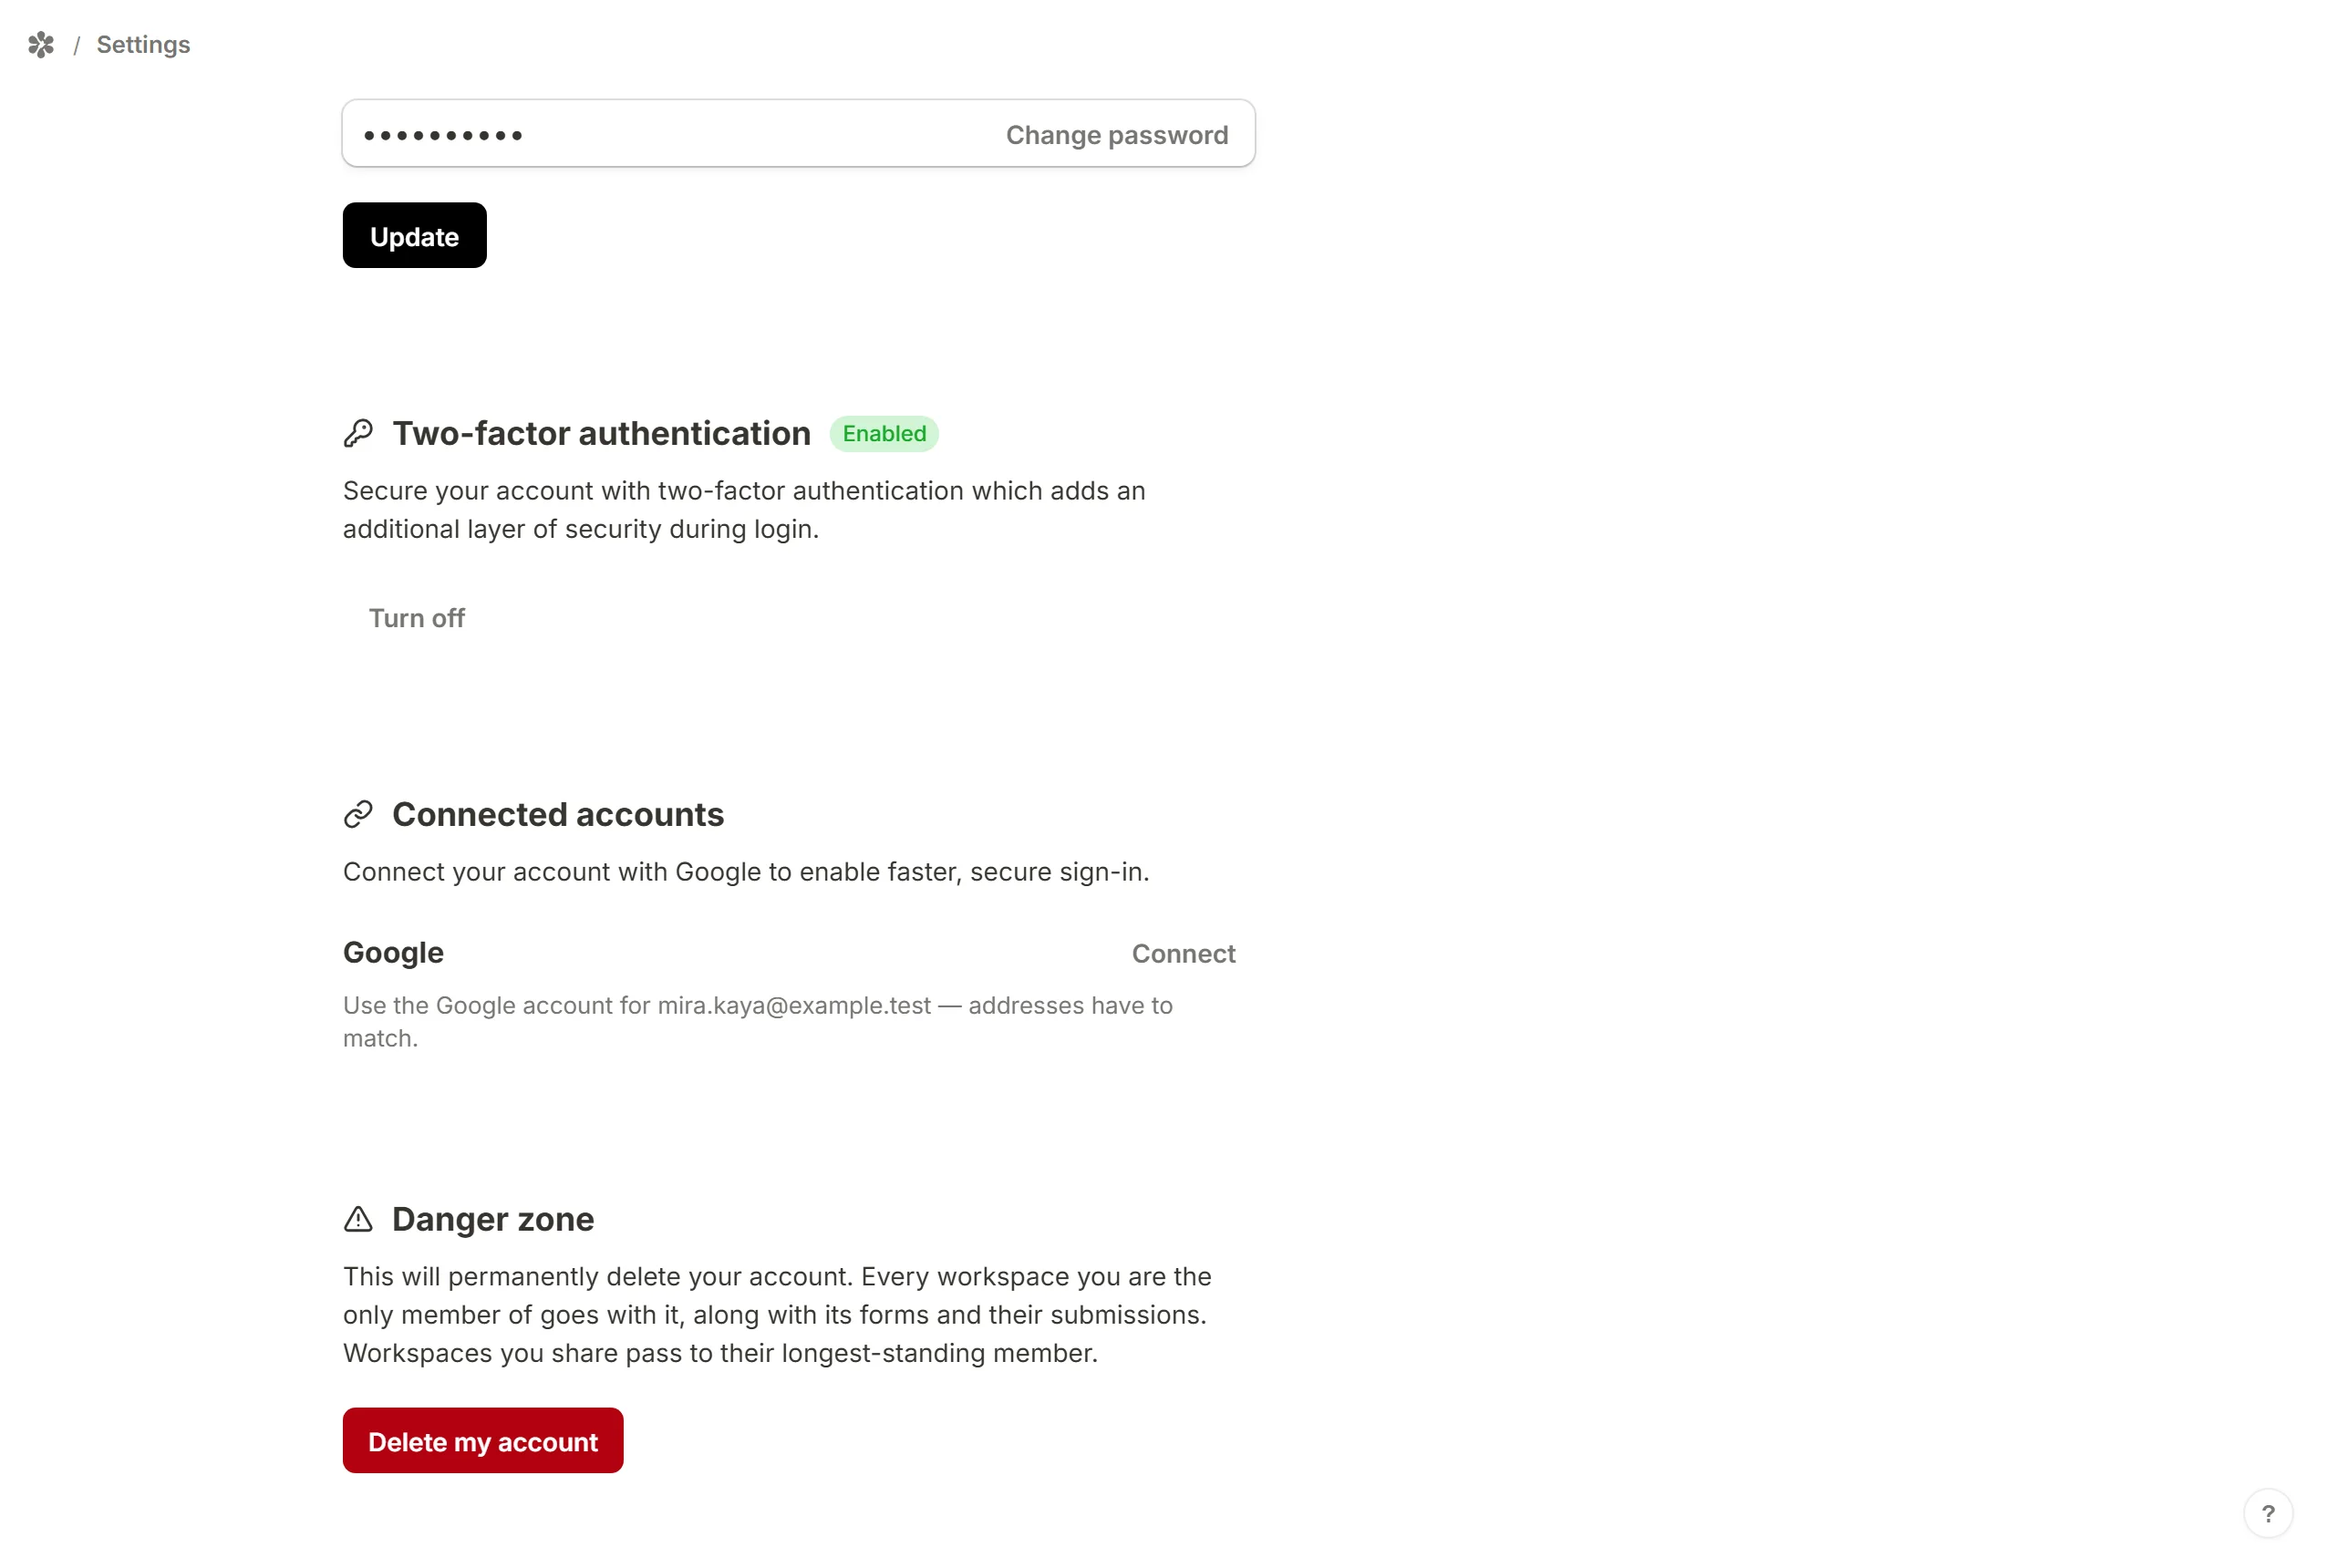
To remove it, press Disconnect. The button is disabled while Google is your only way in, with the note "Set a password first", so set one higher up the page and try again. Where Google sign-in is not offered, the section reads "Not available on this server".
Delete your account
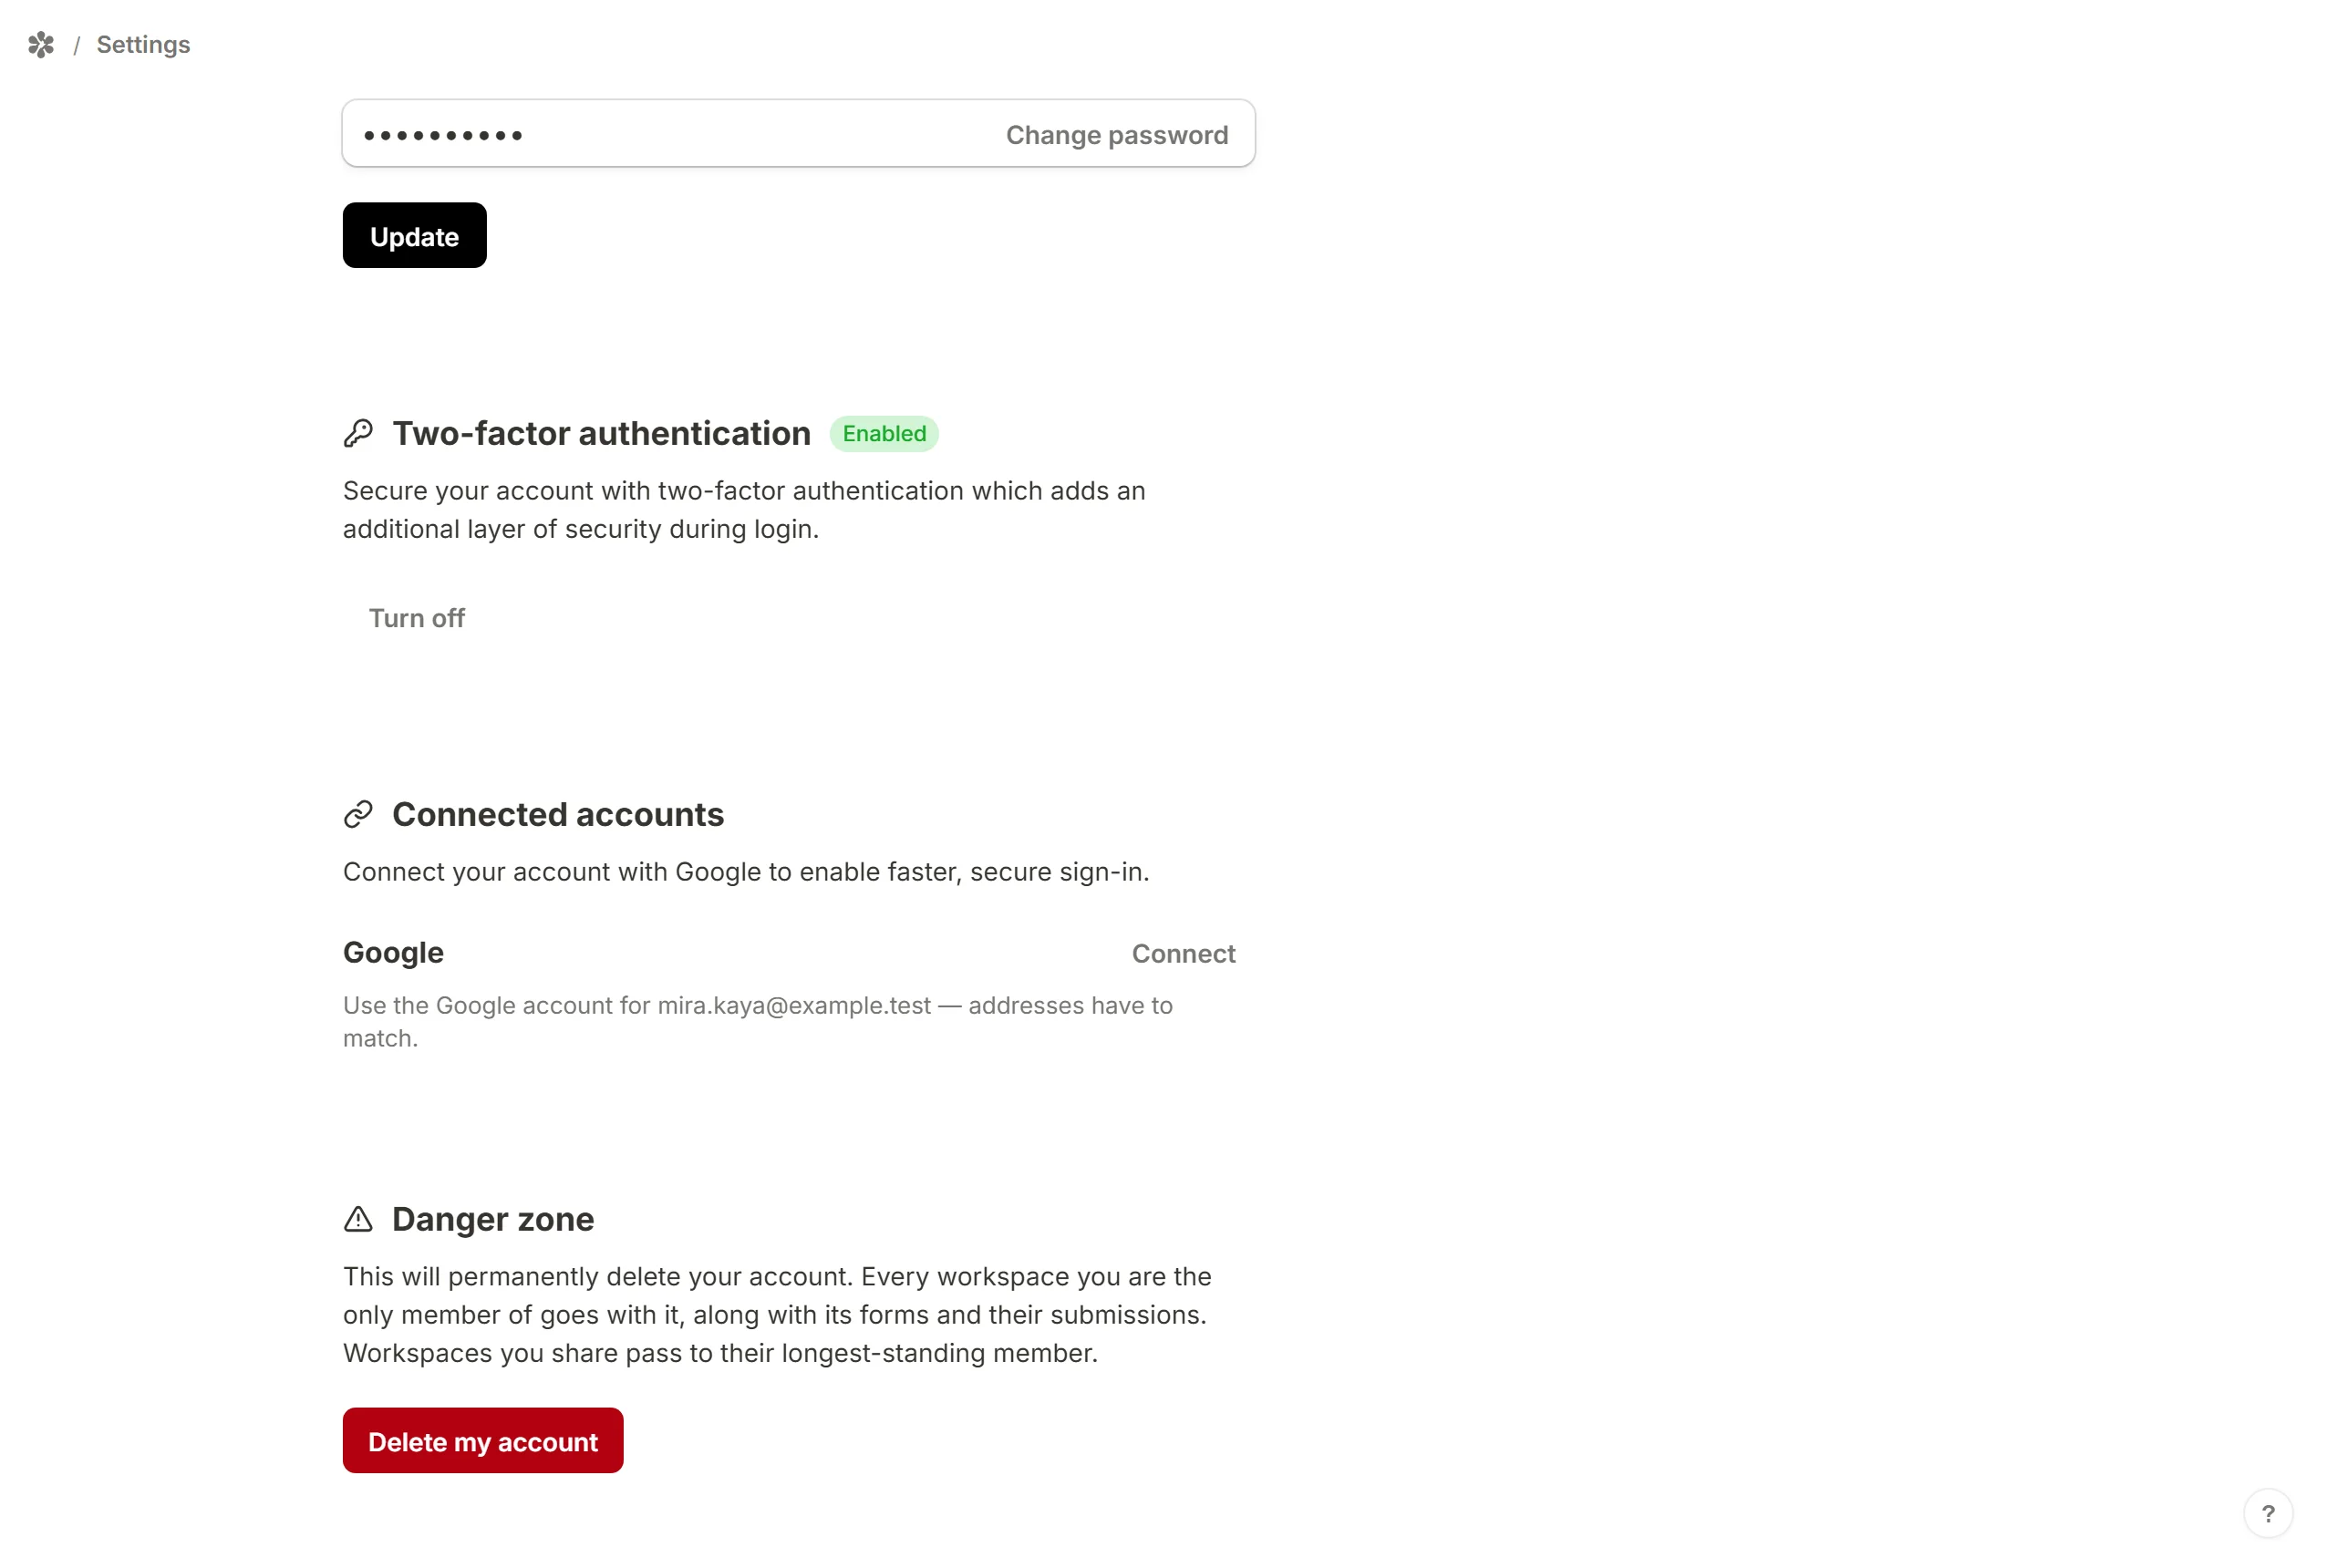
The Danger zone at the bottom holds Delete my account. Deletion is permanent and cascading: every workspace you are the only member of goes with the account, along with its forms and their submissions. A workspace you share passes to its longest-standing member, who becomes its owner.
To confirm, type your email address into the box (and your password, if the account has one) and press Delete my account again.
API keys
The API keys tab is where a script or another service gets a key that acts as you against the REST API at /api/v1. Press Create API key, give it a name and copy the fk-… value when it is shown; only a fingerprint of it is kept, so it cannot be shown again. A key you no longer use can be deleted from the same list.
Notifications
There is no product newsletter to subscribe to, so the account page has no notifications tab. The emails you receive about submissions are set per form, on its Settings tab.
Billing
The Billing tab shows what the organization is on and this month's usage. Where no plan is sold it says so: everything is included and there is nothing to upgrade to. Where a plan is sold, it shows the plan, when it renews or ends, the door to the payment portal, and three usage meters for submissions, notification emails and uploaded bytes.