Create a form
Build a form in the editor: add questions from the block menu, tune each question's settings, add logic and answer piping, then publish and share it.
The Tinyform editor behaves like a text document. Open a form at /forms/<id>/edit, put the caret on the page and start typing; every question, heading and picture is a block in one list. That one idea carries a plain contact form and a branching survey with scores alike.

Add questions
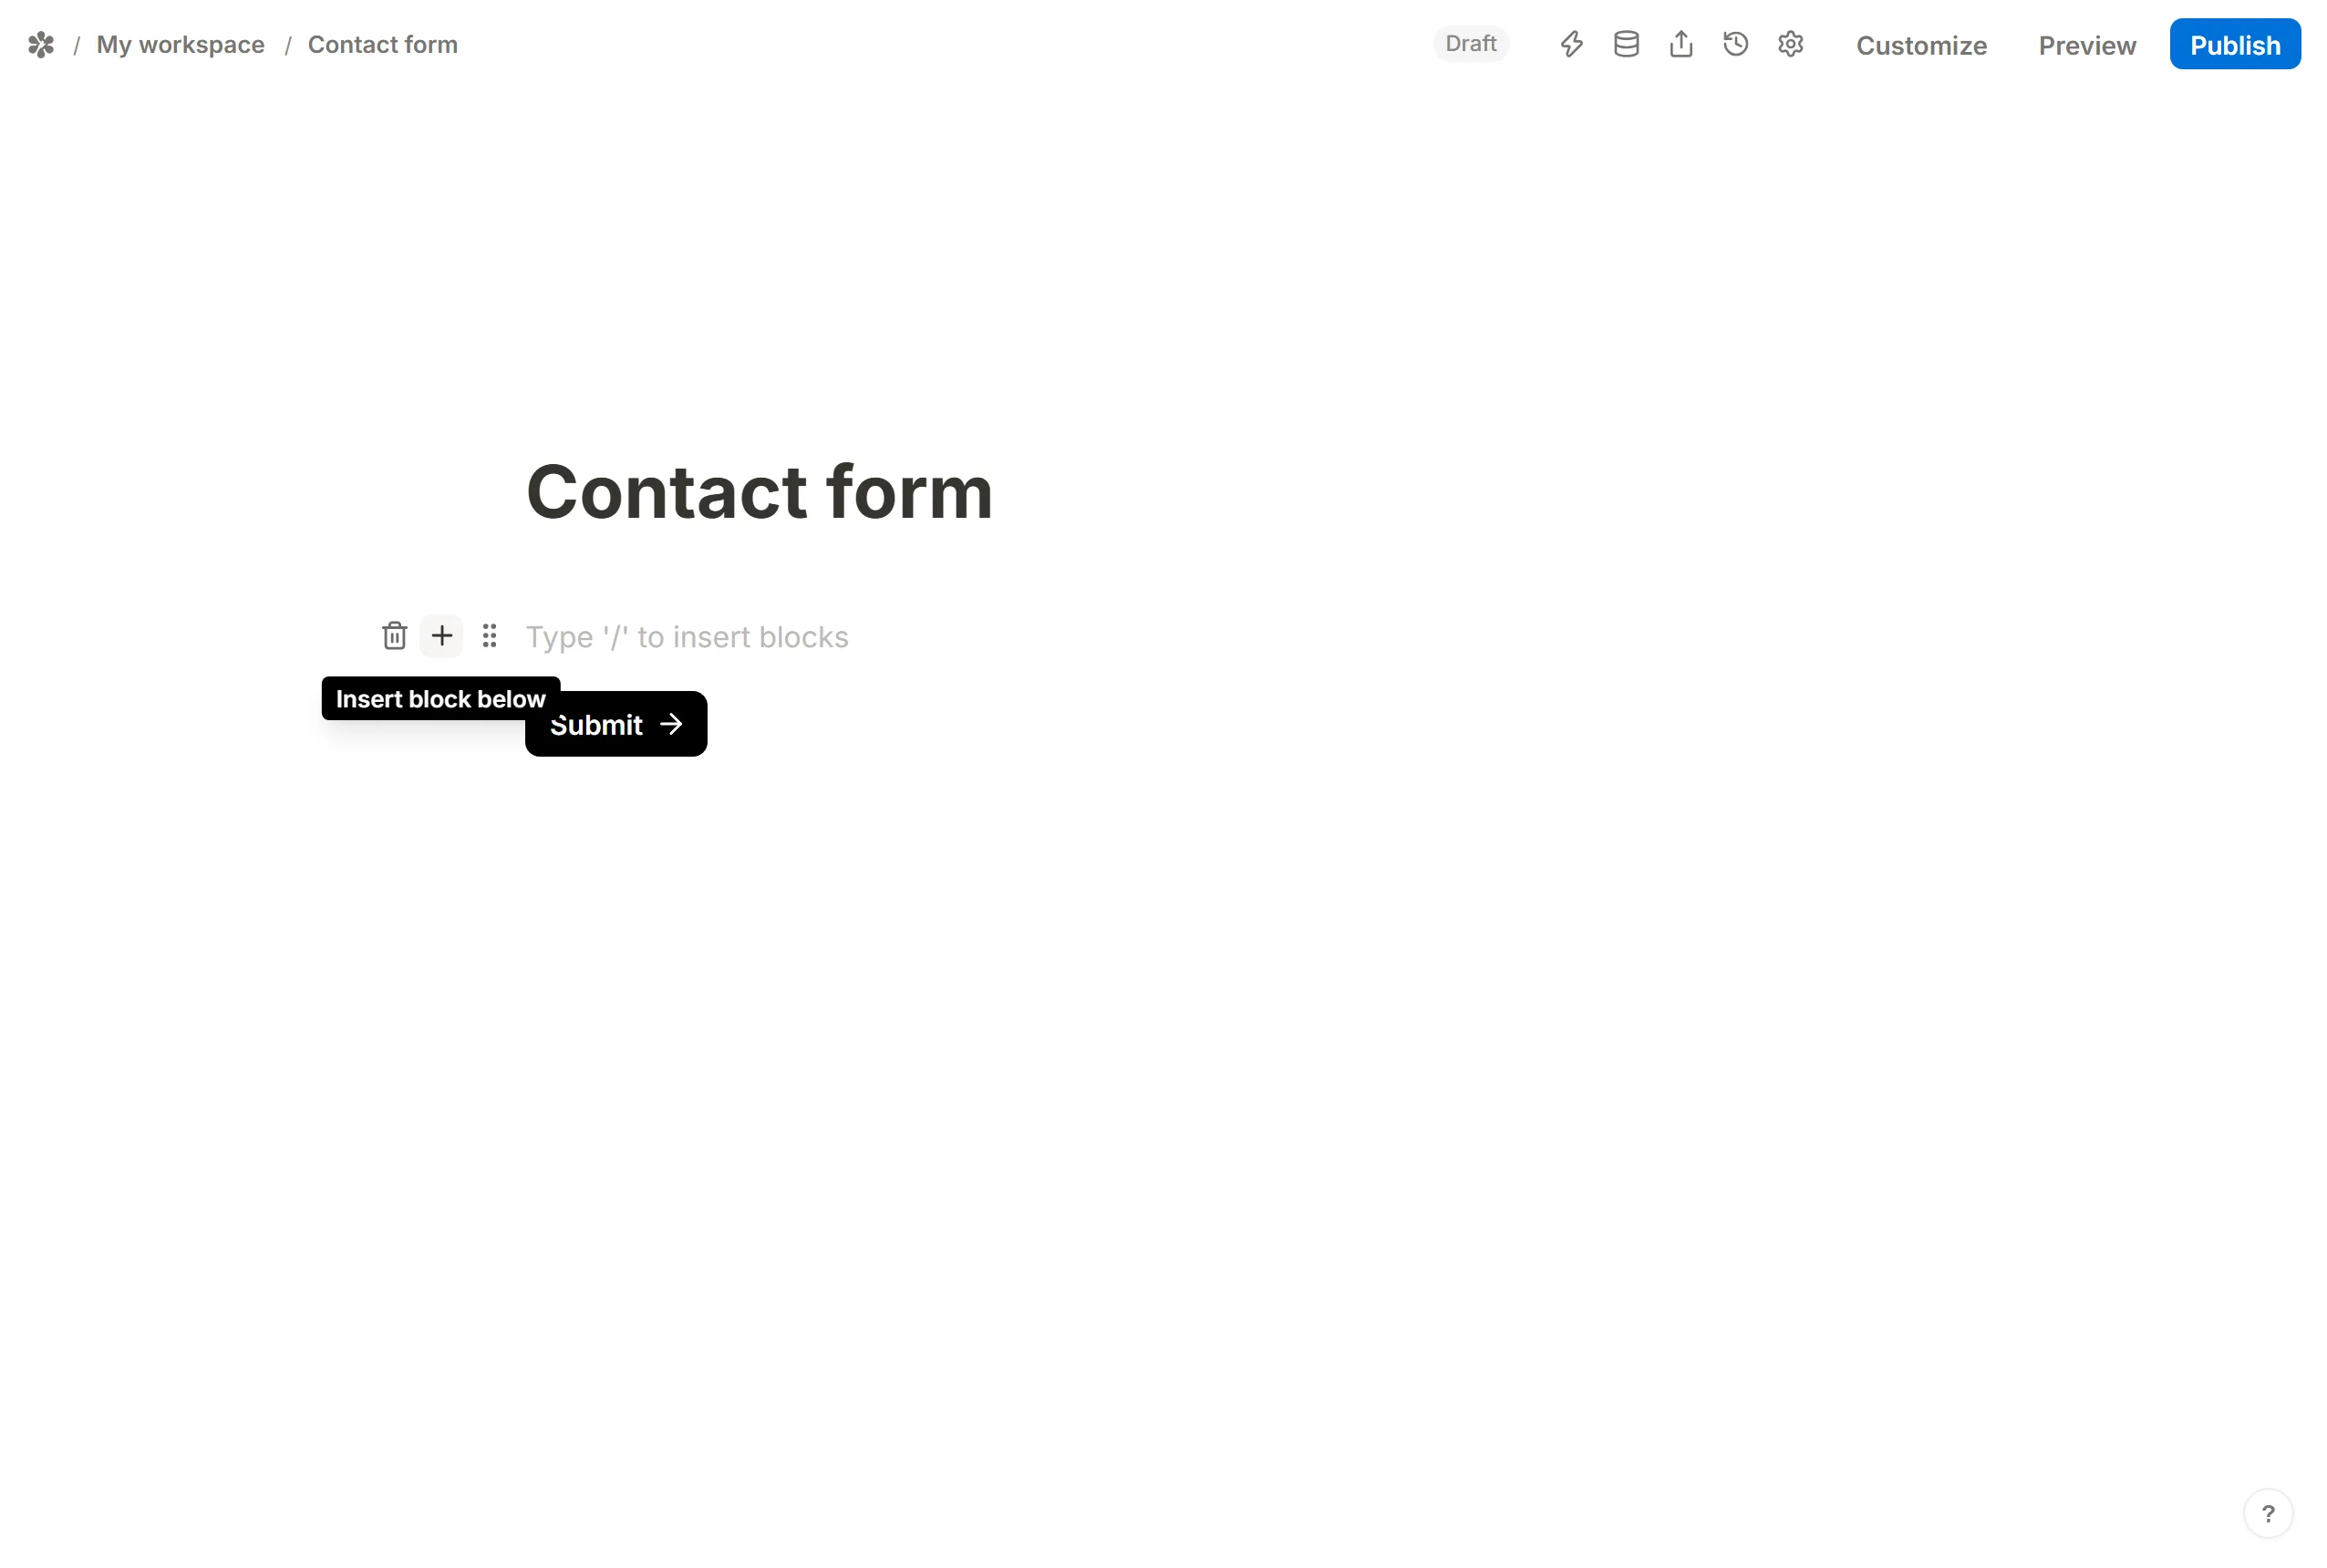
Hover a block and press the + in its margin, or press Add block on an empty form, to open the block picker. Its search box reads Find questions, input fields and layout options…, and the list is grouped five ways: Questions, Layout blocks, Embed blocks, Advanced blocks and Input blocks. A Question is an answer box with a caption above it; an Input block is the box alone, for a form whose wording already sits in the text around it.
Customize question settings
Every question type carries its own settings. Hover the block and click the ⋮⋮ grip in its margin to open the block menu.
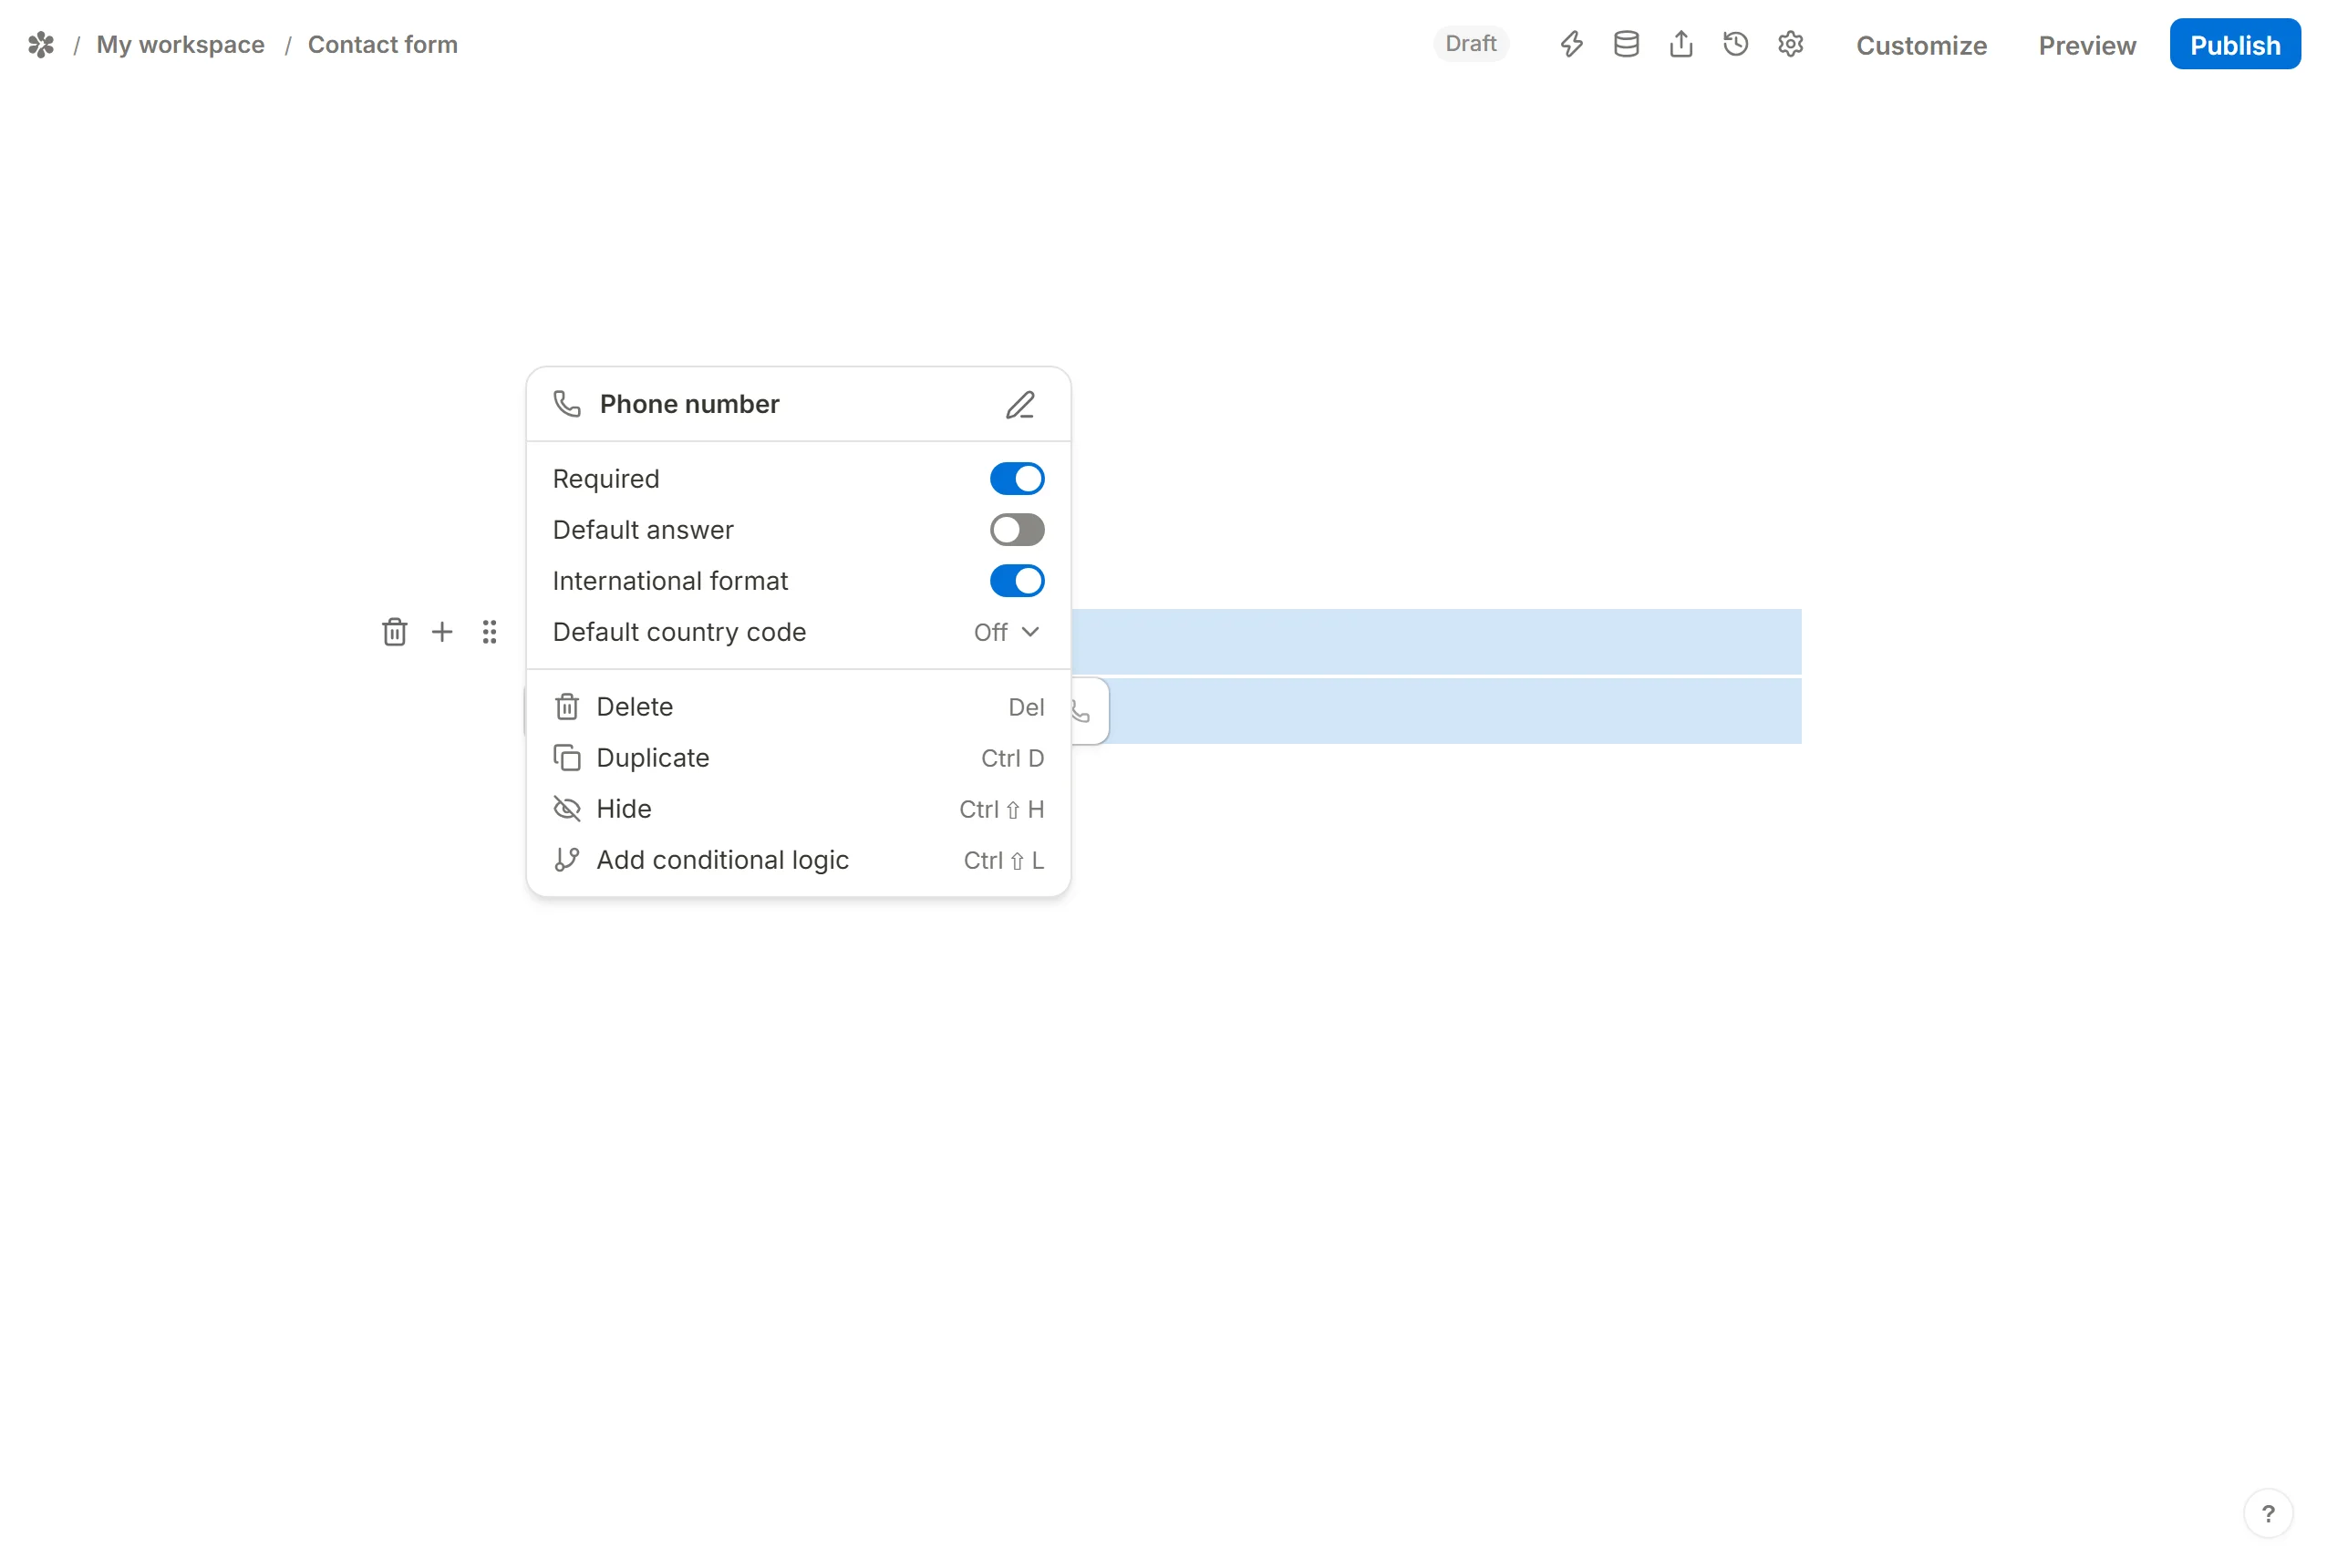
What you find there depends on the type, for example:
- Mark the question as required
- Set a default answer
- Choose a number format, or a minimum and maximum
- Put an image on each multiple choice option
- Randomize the options of a choice list or dropdown
- Restrict a file upload to certain types and sizes
- Disable weekdays or date ranges in a date picker
- Let a dropdown accept several answers
- Turn the block into another question type
- Hide, duplicate or delete the block
Add smart features
The Advanced blocks group holds the pieces that make a form react to its respondent: conditional logic, calculated fields, answer piping and hidden fields. Together they cover quizzes with a score, surveys that branch, and forms that greet people by name.
Conditional logic
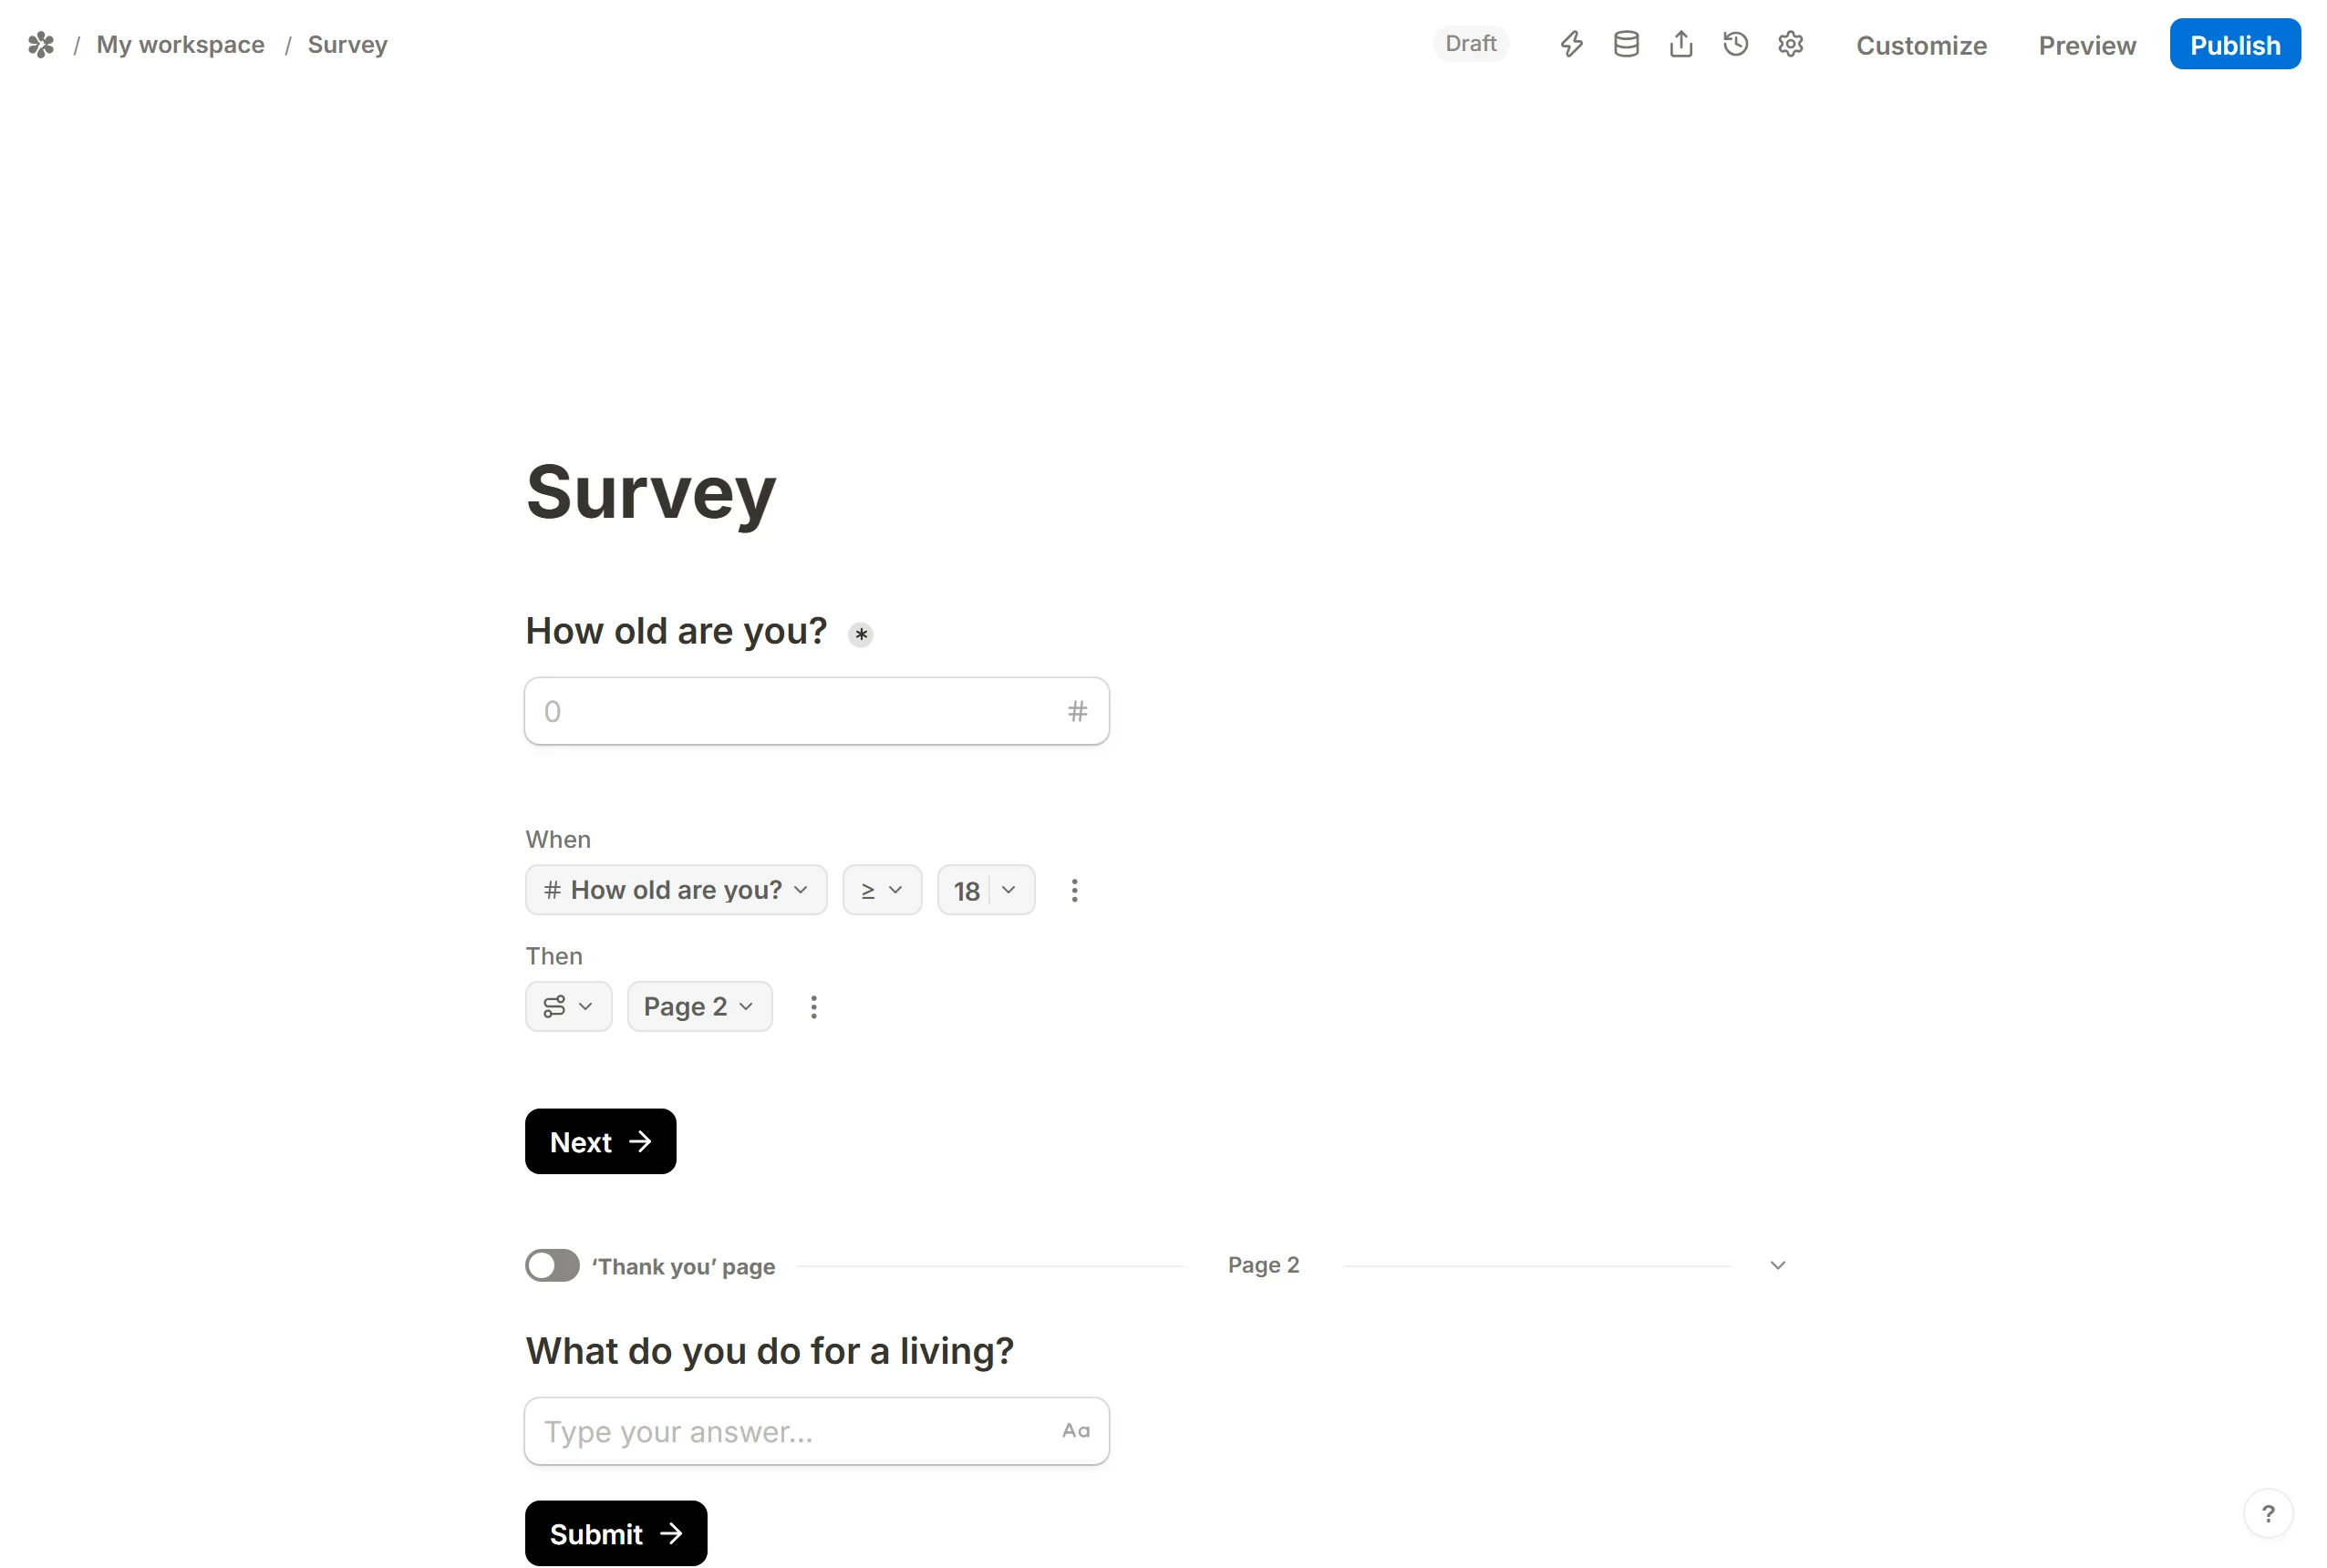
A logic block reads what the respondent has answered and acts on it: show or hide blocks, require an answer, jump to another page, or run a calculation. Most actions re-evaluate as the person types; a page jump fires when they press Next or Submit.
Calculations
A calculated field holds a number or a piece of text that logic can add to, multiply, assign or compute with a formula. Typical uses:
- Score a quiz
- Grade a lead
- Apply a discount, a tax or a surcharge
- Build a sentence that changes with the answers
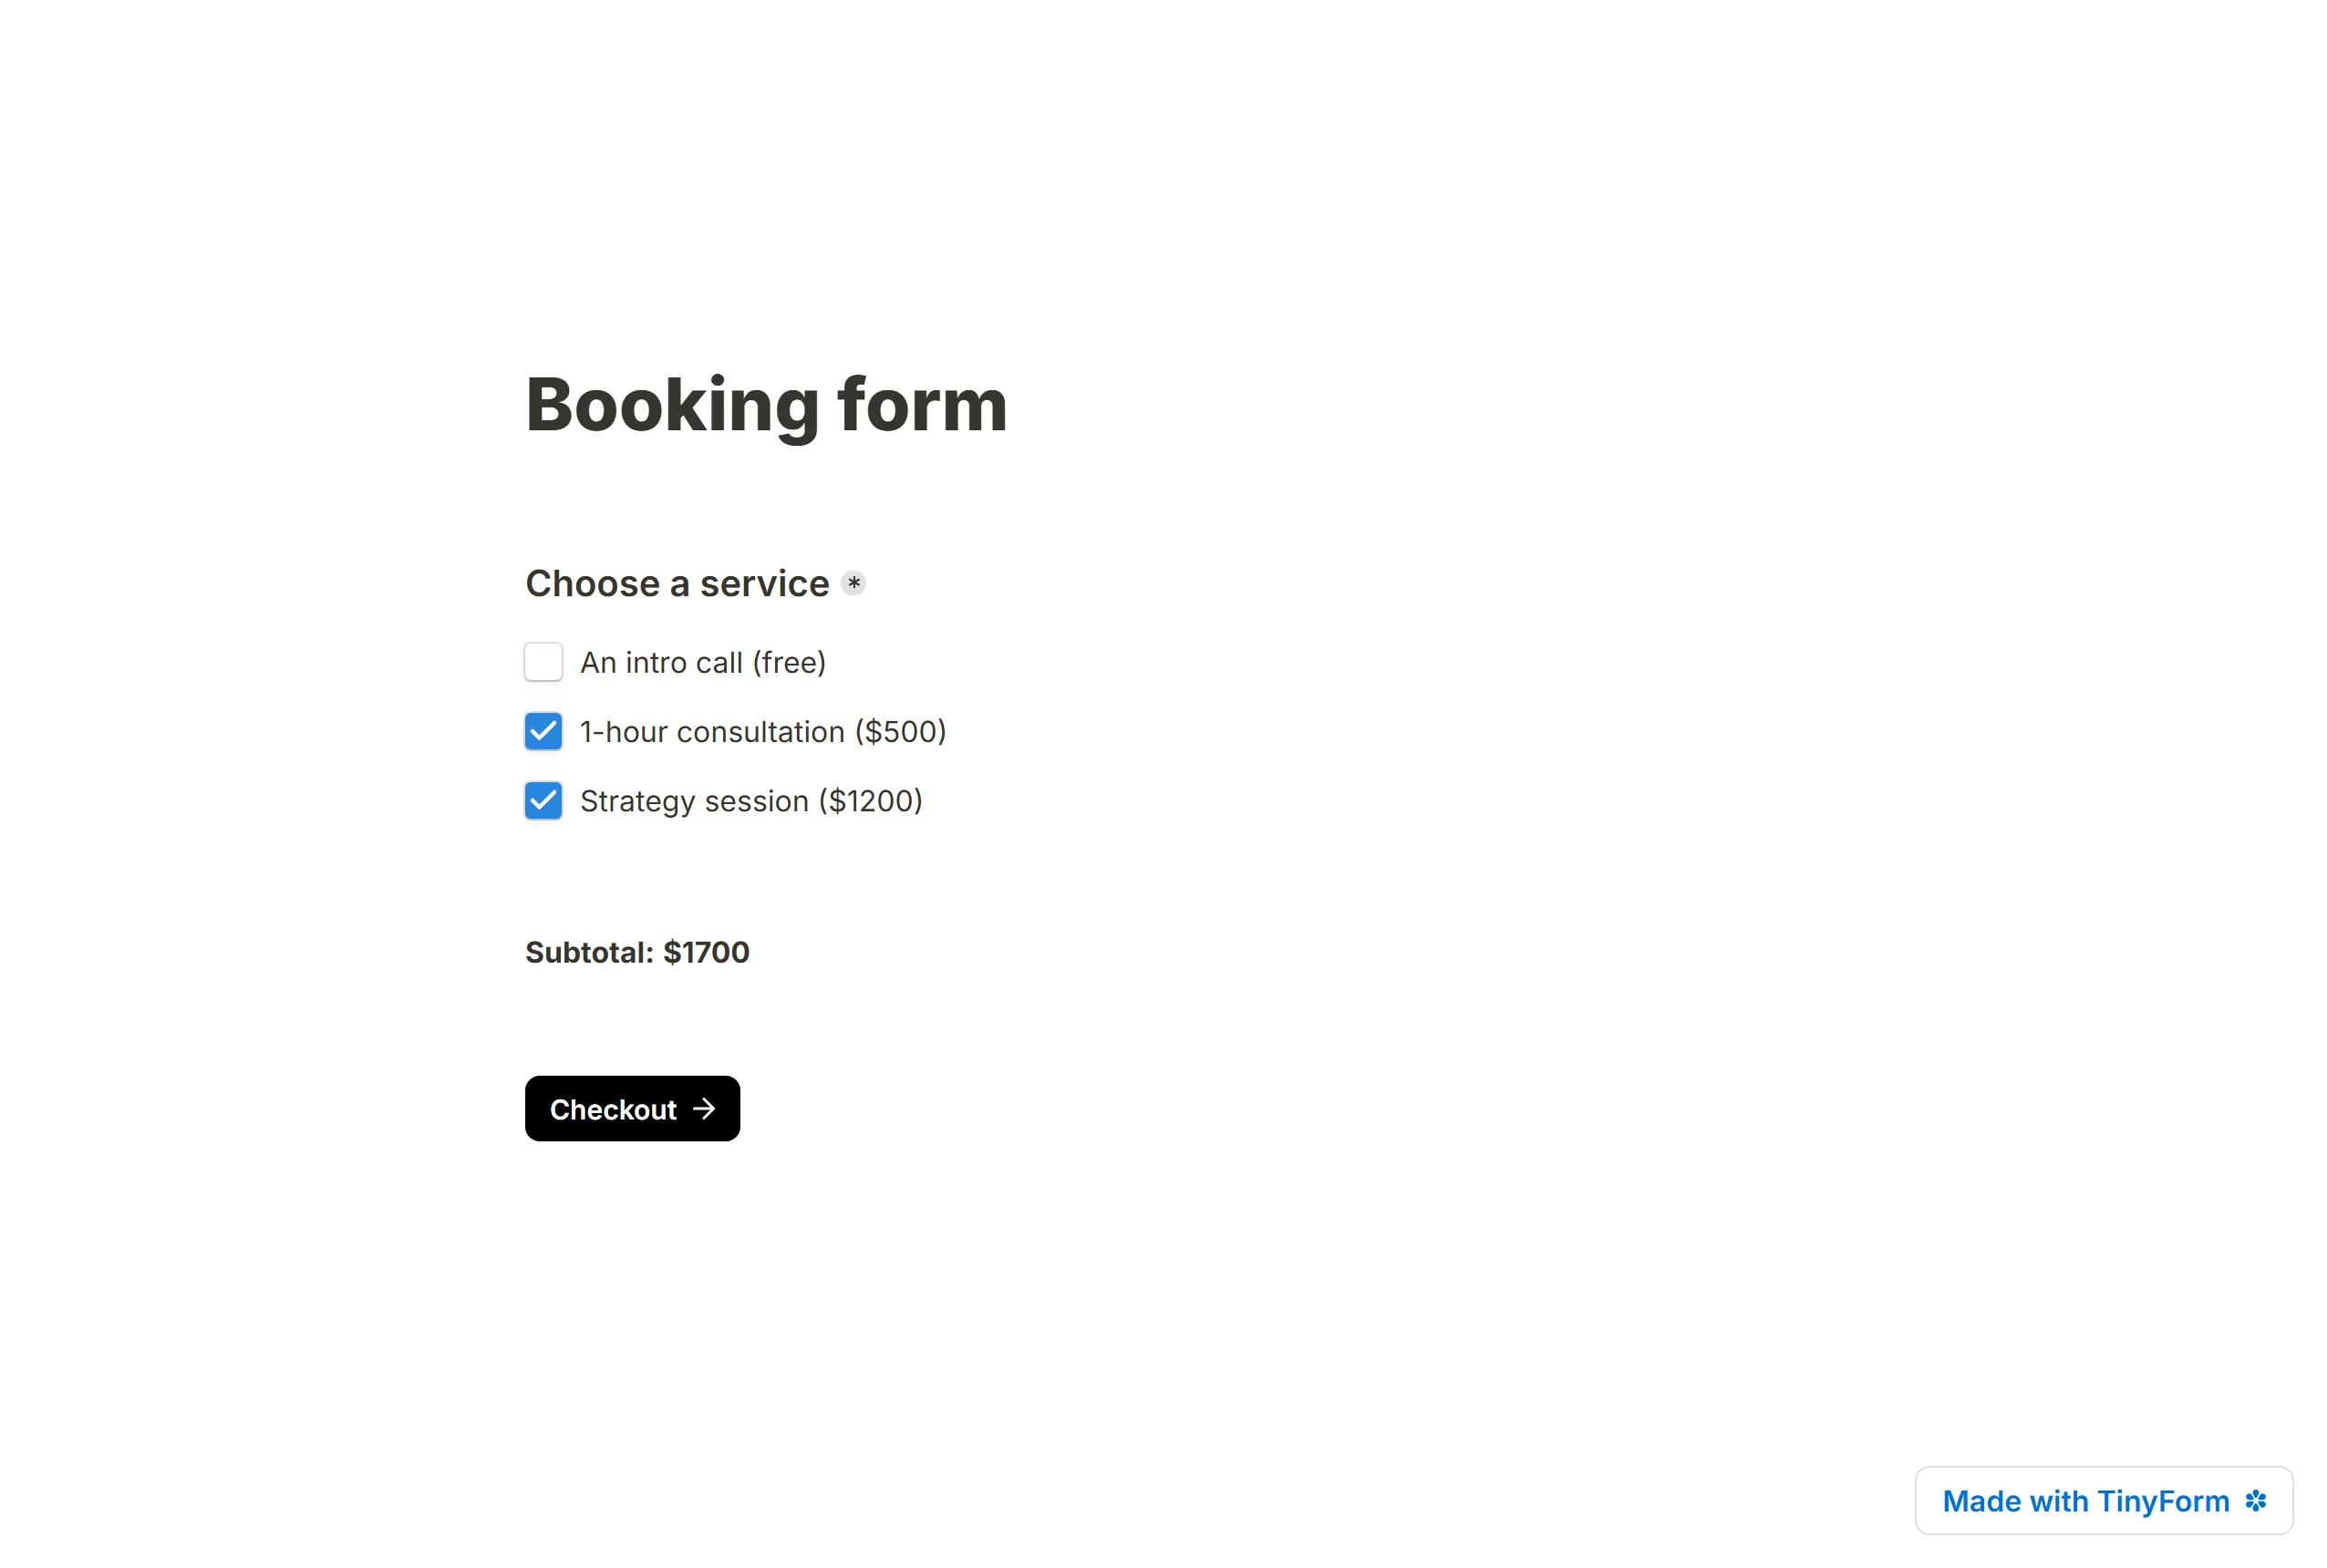
Answer piping with @ mentions
Type @ in any text and pick an earlier question to pipe its answer into the wording. That is how a form can:
- Address the respondent by the name they typed on page one
- Show a running total as items are picked
- Tell a quiz taker their score
- Phrase a later question around an earlier answer
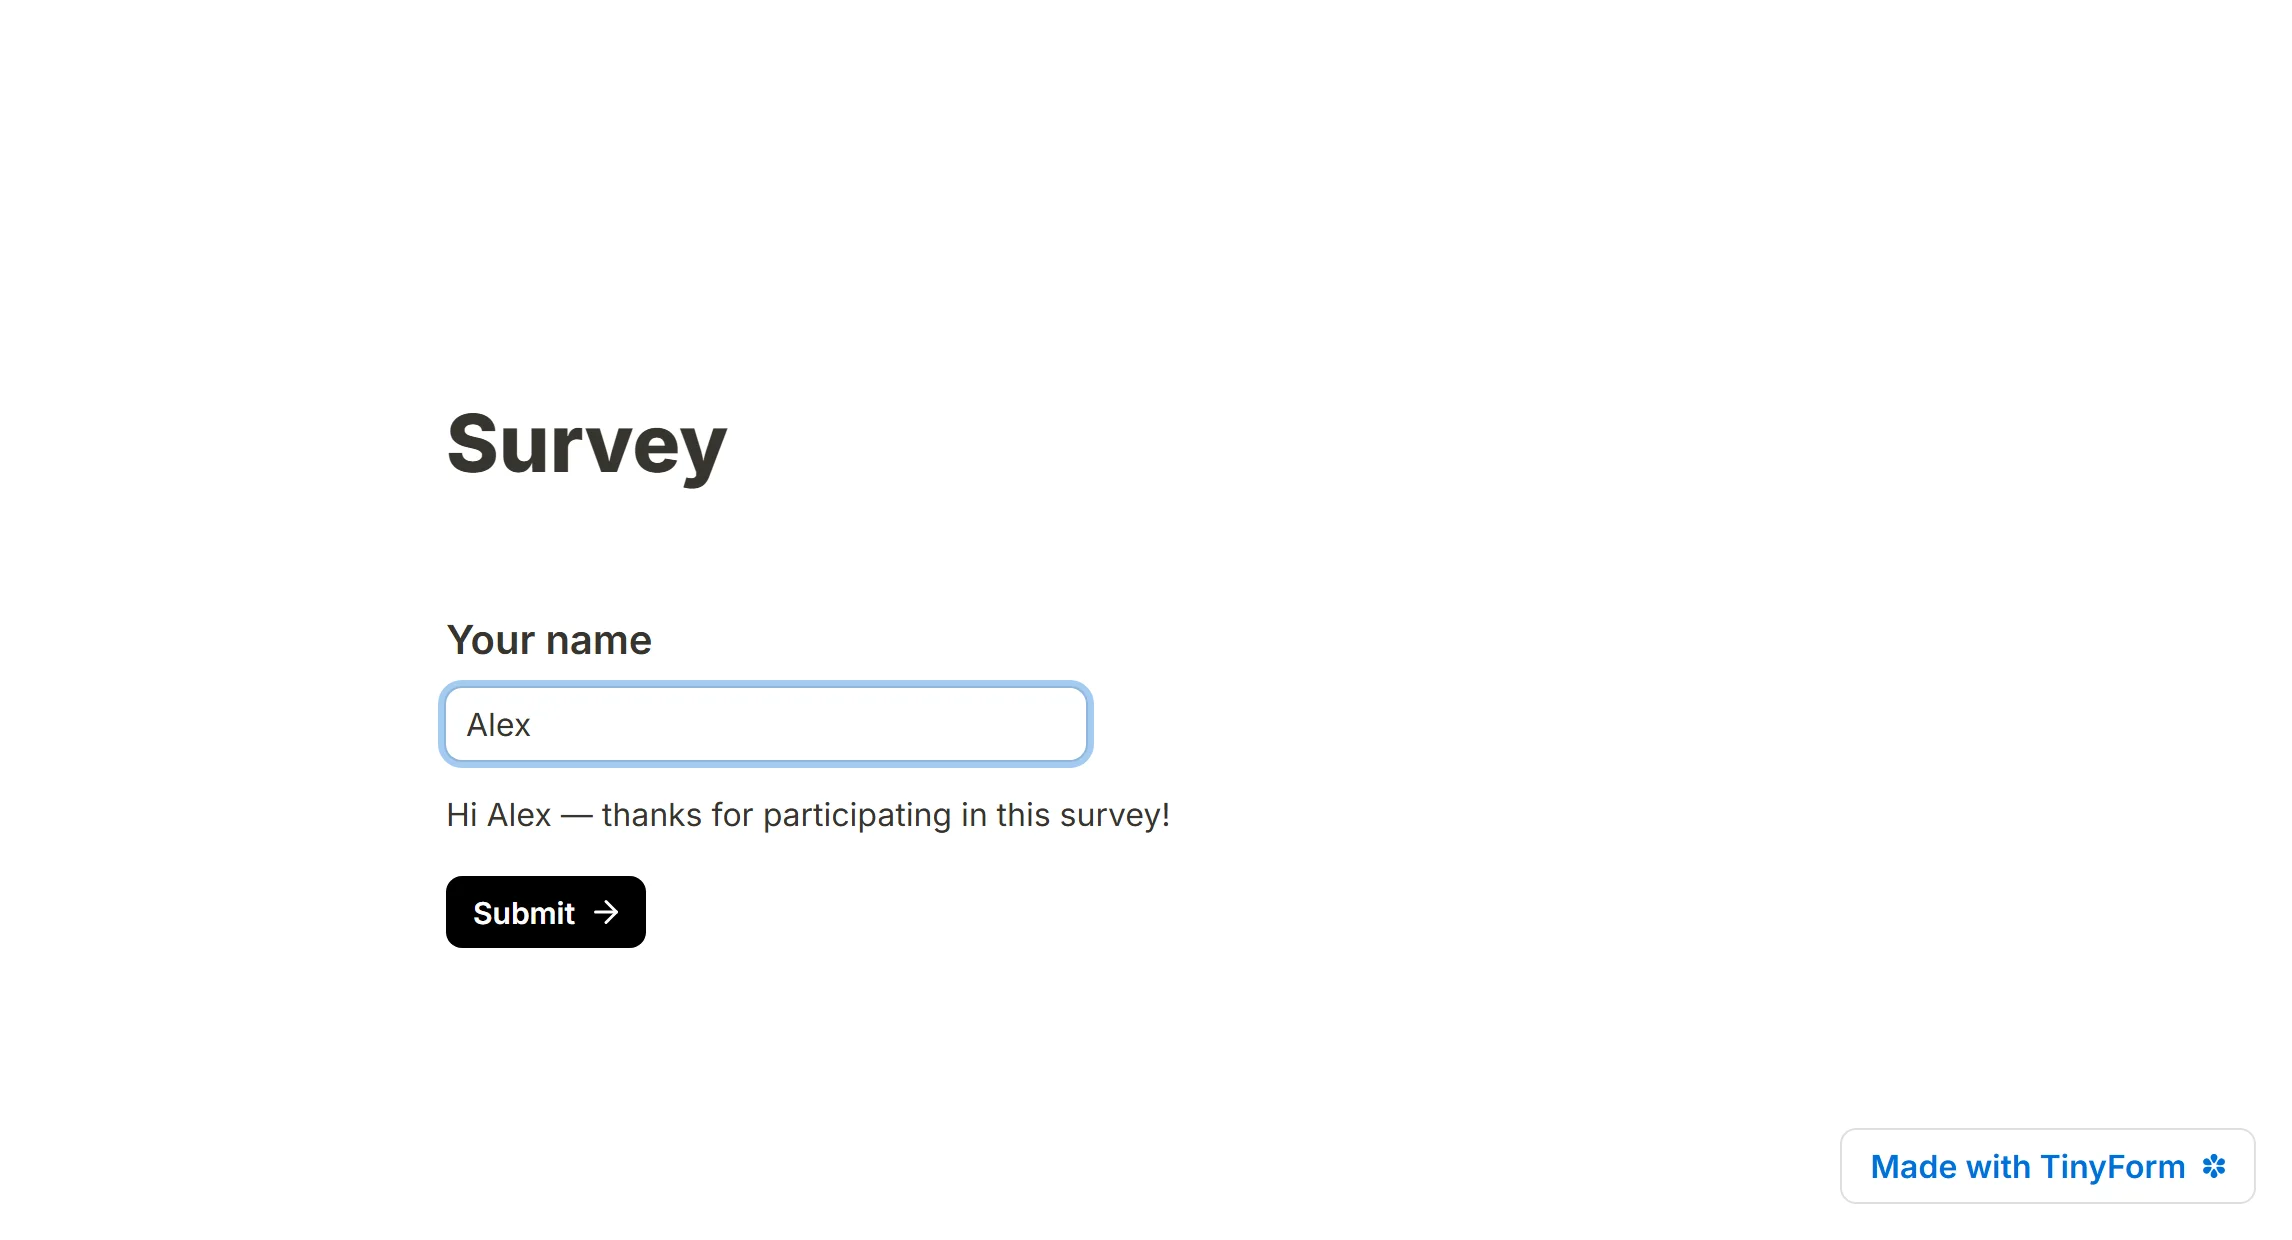
Hidden fields
A hidden field reads a value off the form's URL and stores it with the submission without drawing anything. Use it to record where a visitor came from, to carry a campaign tag, or to prefill a name you already know.
Customize your form

The Customize panel changes colours, the font, the theme, and the logo and cover above the title, and it has a Custom CSS box for anything the controls do not reach. Layout is part of the same story: text formatting, columns, and images, video and embedded content between the questions.

To rearrange the page, hover a block and take hold of the ⋮⋮ grip:
- Drag up or down to change the order
- Drop a block beside another one to put the two in columns
Add a Thank you page
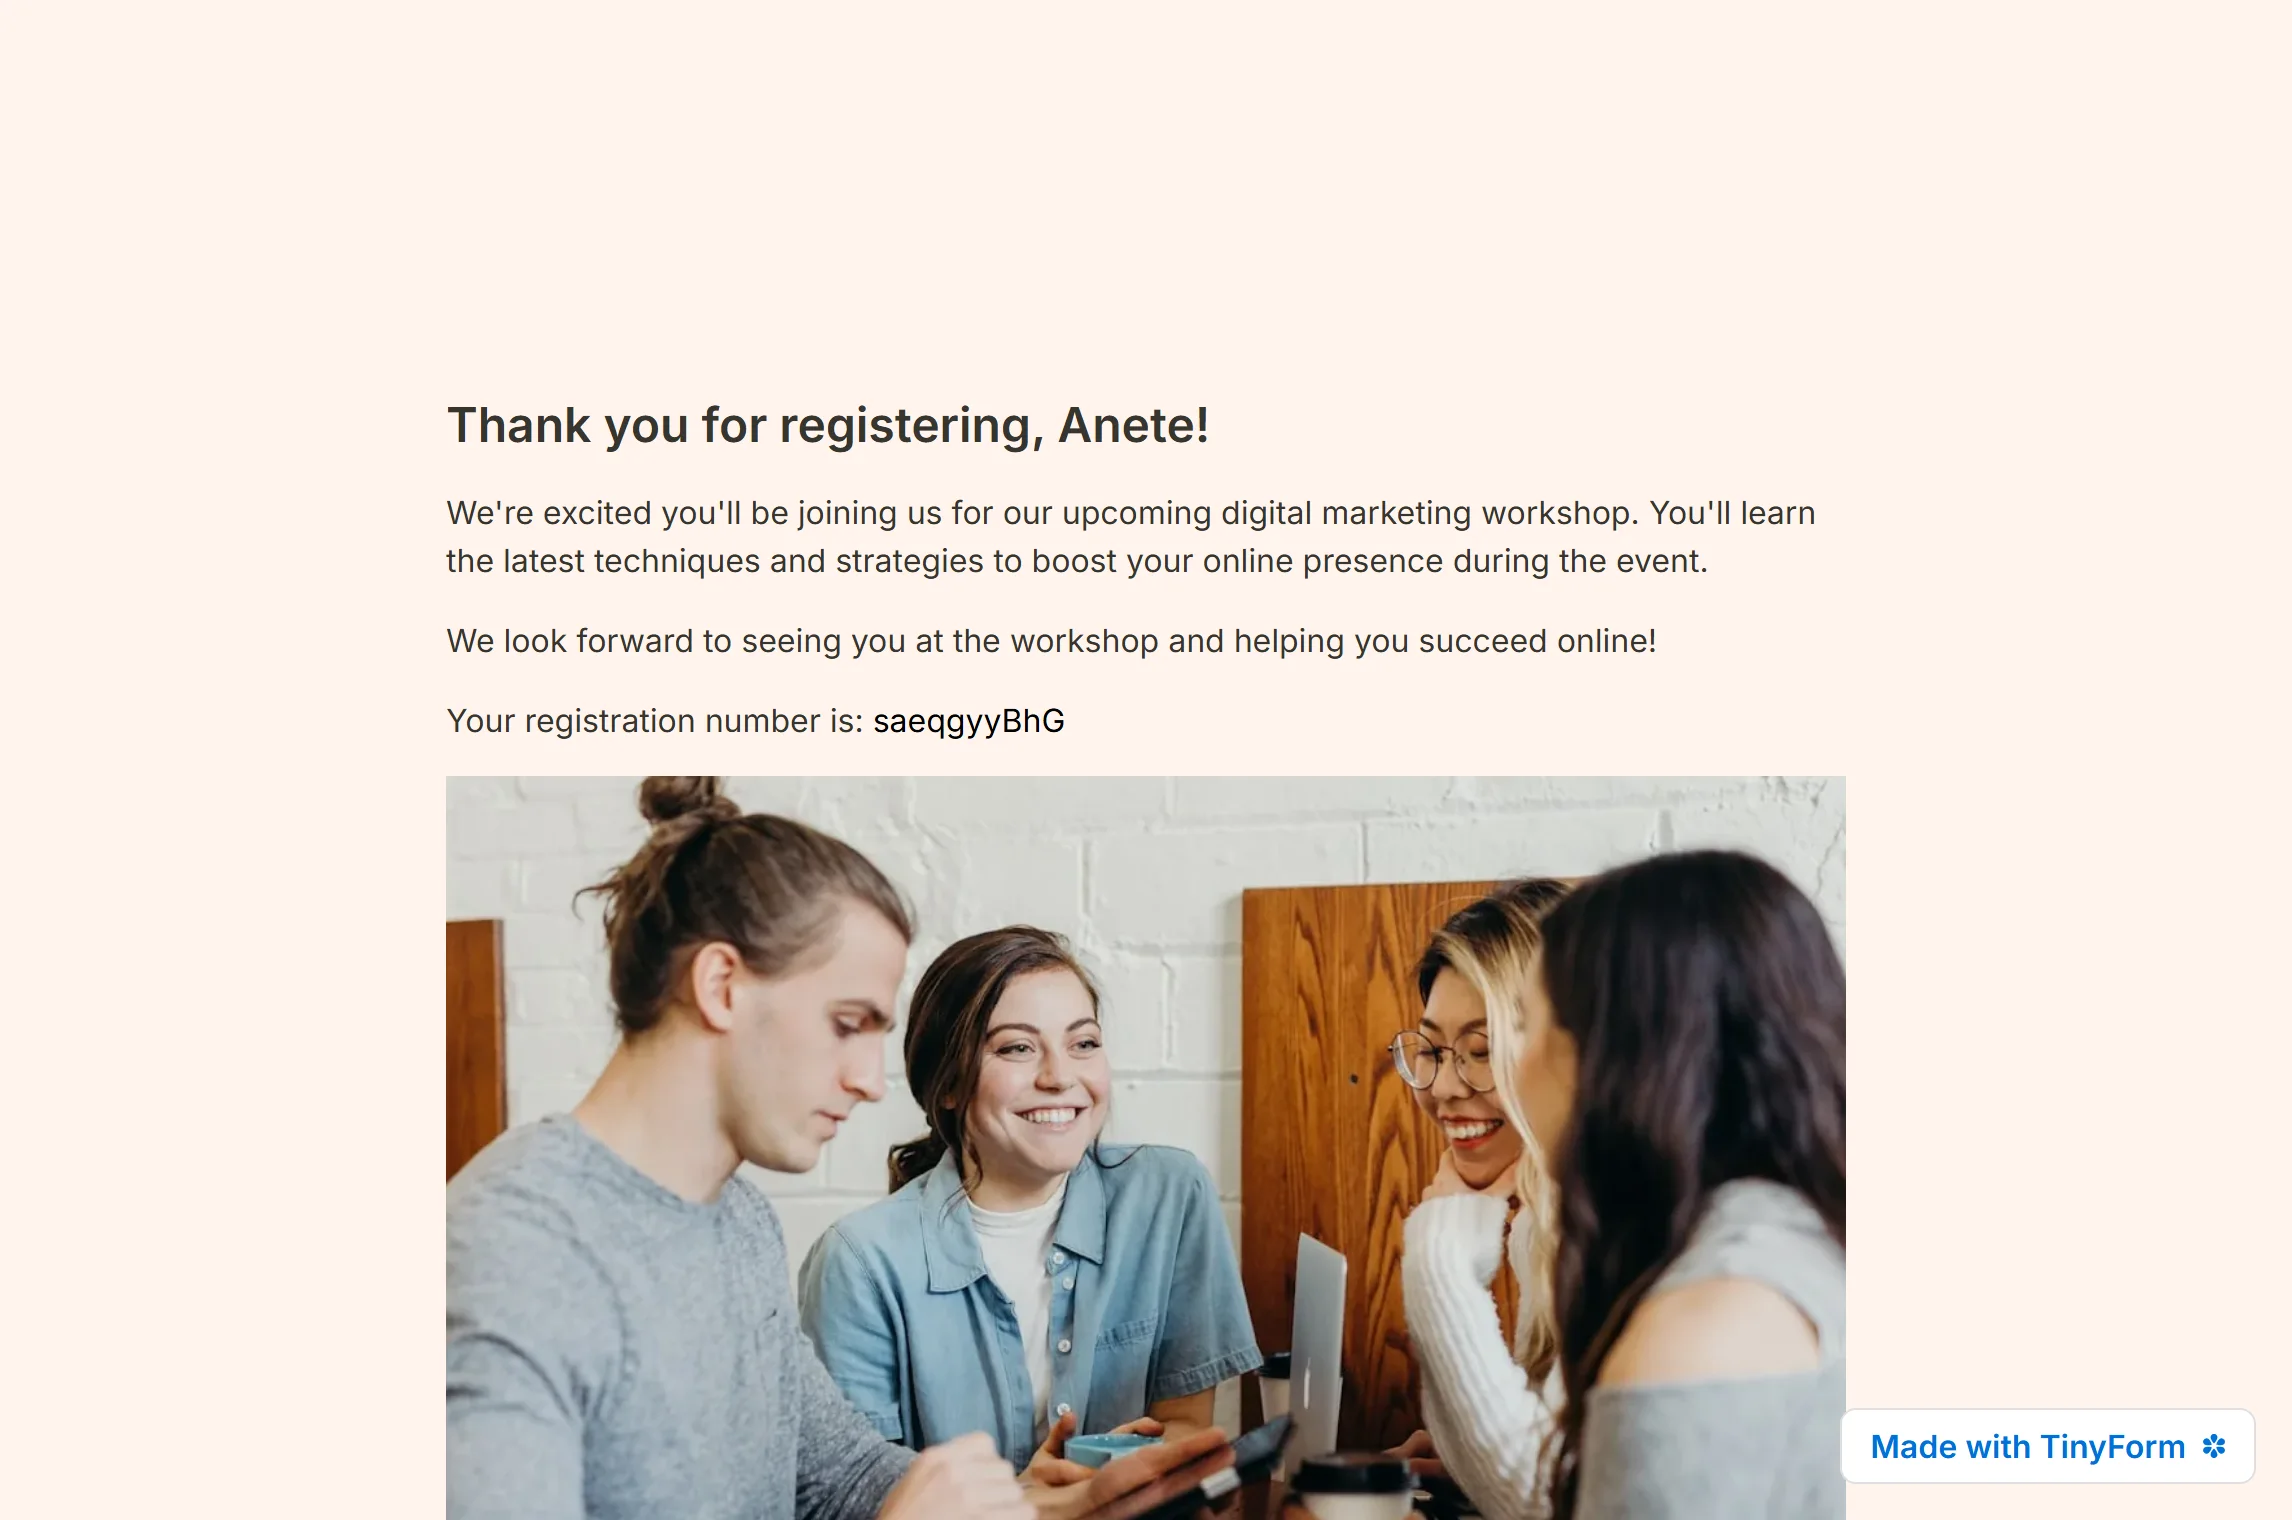
The Thank you page is what respondents see once they have submitted. Every form ends with a default one; type /thank to insert your own and fill it with headings, text, links, images and mentions of the answers the respondent gave.
Publish and share
The editor saves as you type; the topbar reads Saving…, then Saved. Publishing is a separate act: Publish freezes the draft as a version and is what respondents see at /r/<id>. Edits after that stay in the draft until you publish again. From the Share tab you can then:
- Copy the link and send it by mail or post it anywhere
- Embed the form in a page of your own site
- Open it as a popup from a button on your site
- Serve it from a custom domain
Whichever way it is shown, the form keeps the design you gave it.
Integrations
Webhooks deliver every submission to an address you name, and the REST API reads forms and submissions from your own code. The Integrations tab lists the rest of what is planned.