Custom CSS
Write your own CSS against a form's stable class names to change what the Customize panel cannot, on that form alone.
The Customize panel covers colours, fonts, roundness and alignment without any code. For the
finishing touches it does not offer, Tinyform gives every form a Custom CSS box. Rules you
write there apply to that form and nothing else.
Where to write it
There are two places a stylesheet can go, and they differ in reach:
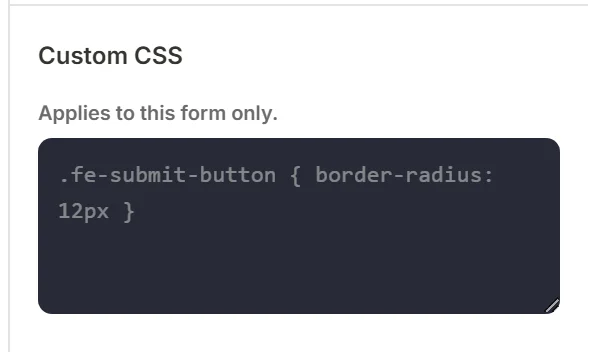
In the editor. Open the form, press Customize, and scroll to Custom CSS. The hint under the box says it: applies to this form only. The placeholder shows the shape of a rule, .fe-submit-button { border-radius: 12px }.
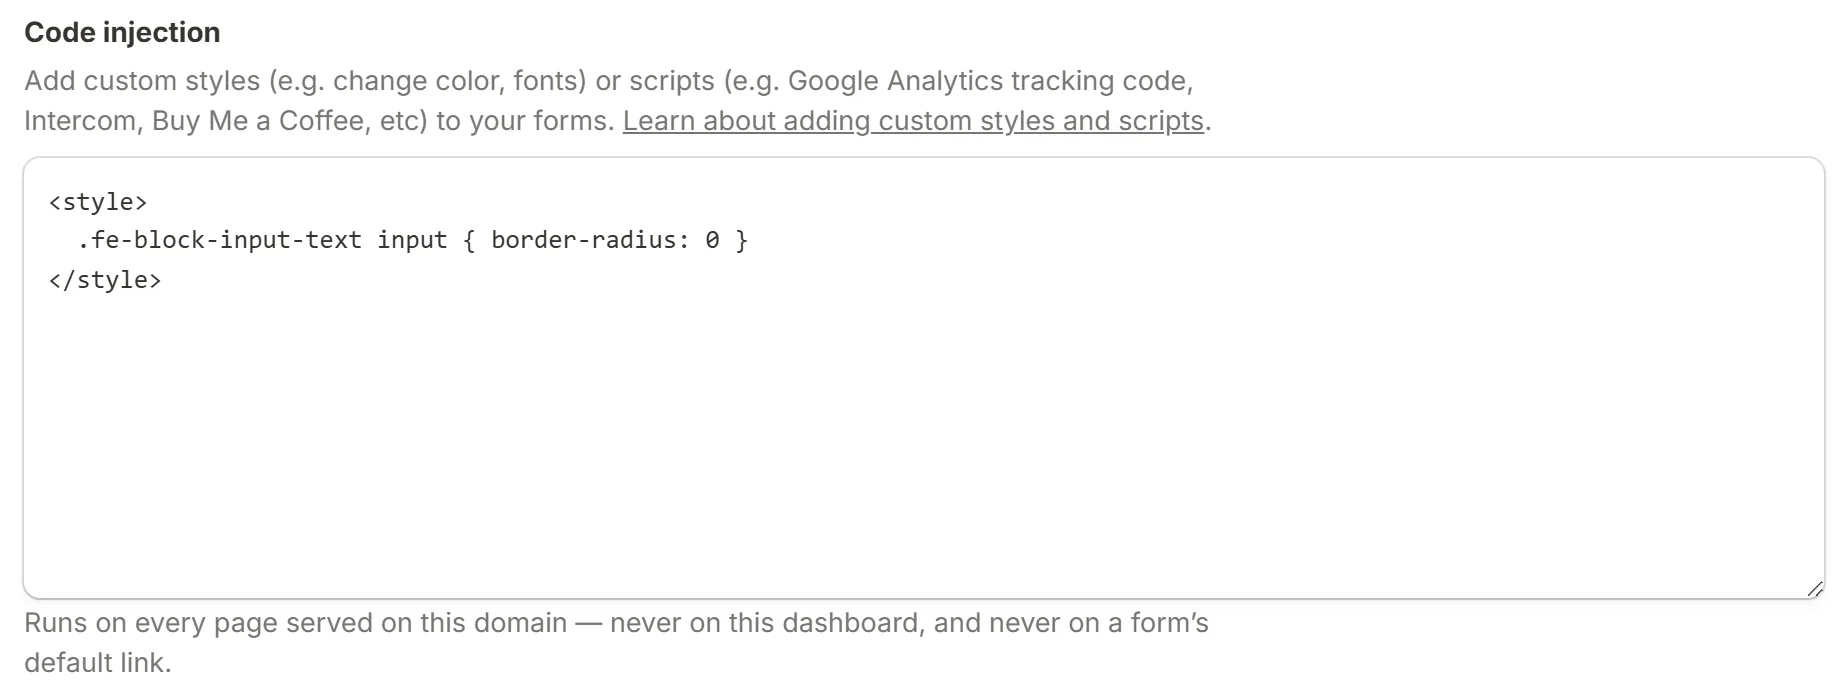
On a custom domain. A form served from a connected domain can also take CSS through that domain's code injection box, which reaches every form on the domain.
How the CSS is applied
Every rule you write is rewritten so that it only matches inside the form's own wrapper. That is what lets a form be embedded on somebody else's page without restyling it. Three consequences are worth knowing:
html,:rootandbodyare treated as the form itself, because there is no page here to style. A rule onbodycolours the form's background, not the host's.- A stylesheet that contains a
<character is dropped whole rather than applied in part, since that character has no place in CSS and is how a stylesheet would escape its box. If nothing happens after a paste, look for one. - Anything the scoping step cannot parse is dropped rather than applied unscoped.
@media, @supports and @container blocks are scoped inside; @font-face, @import and @keyframes pass through untouched.
CSS classes
The published form gives every block a small set of stable class names, all starting with fe-. Everything else in the markup is a generated class that changes between releases, so aim at these and nothing else.
| What | Class |
|---|---|
| The page the form is drawn on | .fe-page |
| The form's title | .fe-form-title |
| Every block | .fe-block |
| A question, by its type | .fe-block-input-text, .fe-block-input-long-text, .fe-block-input-single-choice, .fe-block-input-multi-choice, .fe-block-input-dropdown, .fe-block-input-multi-select, .fe-block-input-number, .fe-block-input-email, .fe-block-input-phone, .fe-block-input-link, .fe-block-input-file, .fe-block-input-date, .fe-block-input-time, .fe-block-input-scale, .fe-block-input-matrix, .fe-block-input-rating, .fe-block-input-signature, .fe-block-input-ranking |
| A heading, by its level | .fe-block-heading-1, .fe-block-heading-2, .fe-block-heading-3 |
| Other layout blocks | .fe-block-paragraph, .fe-block-title, .fe-block-label, .fe-block-divider, .fe-block-image, .fe-block-video, .fe-block-audio, .fe-block-embed, .fe-block-captcha |
| A question's caption | .fe-question-label |
| One choice's own words, apart from its badge or tick | .fe-option-label |
| The row holding the button that ends a page (Next or Submit) | .fe-submit-button |
| The row holding the way back to the previous page | .fe-back-button |
| The progress bar across the top, and one of its segments | .fe-progress-bar, .fe-progress-bar-item |
A question's class is named after its field type rather than after "input", because that is the distinction a stylesheet usually wants: the email boxes, not every question including the signature pad.
Code snippets
Ready-made rules to paste into the Custom CSS box. Change the colours and numbers to taste.
Layout and colours
Change the text colour
body {
  color: #fff;
}
Change the link colour
.fe-block-paragraph a {
  color: #f00;
}

.fe-block-paragraph a:hover {
  color: #f00;
}
Use your own font
Replace the font name and the URLs with your own files.
@font-face {
  font-family: "MY-FONT";
  src: url("https://example.com/fonts/my-font.woff2");
  font-weight: 400;
  font-style: normal;
  font-display: swap;
}

* {
  font-family: "MY-FONT" !important;
}
Use a Google Font
The Customize panel already offers Google Fonts; this is the by-hand version, for a font that is not in that catalogue.
@import url("https://fonts.googleapis.com/css2?family=Roboto:wght@400;500;700&display=swap");

* {
  font-family: "Roboto", sans-serif !important;
}
Change the background colour
body {
  background-color: #000;
}
Add a background image
body {
  background: url("https://example.com/background.jpg") no-repeat center center fixed;
  background-size: cover;
}
Change the form's page width
.fe-page {
  --fe-page-width: 1000px;
}
Change the colour of the progress bar
The first rule paints the empty segments, the second the filled ones.
.fe-progress-bar-item {
  background-color: pink;
}

.fe-progress-bar-item::after {
  background-color: red;
}
Centre images
.fe-block-image {
  display: flex;
  justify-content: center;
}
Inputs
Change the caption size
.fe-question-label {
  font-size: 24px;
}
Change the text colour inside inputs
input[type="text"] {
  color: red !important;
}
Change the placeholder colour
input::placeholder {
  color: green !important;
}
Inputs without rounded corners
.fe-block-input-text input,
.fe-block-input-email input,
.fe-block-input-number input {
  border-radius: 0;
}
Buttons
Centre the submit button
.fe-submit-button {
  justify-content: center;
}
Hide the submit button
For a single-page form with no call to action of its own.
.fe-submit-button {
  display: none;
}
Hide the back button
Stops respondents returning to an earlier page.
.fe-back-button {
  display: none;
}
Change the submit button's colours
.fe-submit-button button {
  background-color: #000;
  color: #fff;
  border: 1px solid #000;
}
A button without rounded corners
.fe-submit-button button {
  border-radius: 0;
}
A full-width button
.fe-submit-button button {
  width: 100%;
}
Custom CSS not working?
- Check
Previewor the published page, not the canvas; the editor is built differently and some rules only show outside it. - Look for a
<anywhere in the box. One is enough for the whole sheet to be dropped. - Add
!importantto a declaration that a built-in rule is winning over. - Write the CSS in an editor that highlights syntax, then paste it in, so a missing brace is caught before it silently swallows the rules after it.