Column layout
Put blocks side by side by dragging one next to another, resize the columns with the handle between them, and take a row apart by emptying it.

Blocks in a Tinyform form stack top to bottom by default. Drop one beside another and the two share a row, which is how a first name sits next to a last name, a picture next to its caption, or a row of links fits under a heading.

Create a column
Take hold of the block
Hover it and press the⋮⋮grip in its margin.Drop it beside another
Drag towards the left or right edge of the block you want next to it. A vertical guide shows where it will land; let go and the two are a row.Keep going
A row takes up to four blocks across the width of the page.
A page break, a matrix and a logic block never join a row: a break ends a page, a matrix already uses the whole width, and a logic block draws nothing a respondent sees.
Resize columns
Hover the seam between two columns and a handle appears, Drag to resize columns. Drag it to move the split. Widths are stored as a share of the page's width rather than in pixels, so the proportions survive on a wider or narrower screen, and a column cannot be dragged below a tenth of the row.
Remove columns
A column is gone once nothing is in it. Drag a lasso across the blocks in the column to select them, then press Backspace or Delete. The block left behind keeps the width its own column had, so widen it back with the handle if you want the whole row.
A block cannot be lifted back out of a row where it stands: while one is held, the canvas offers nowhere above or below its own row to drop it. Emptying the row, as above, is the way back to full width.
Get design inspiration
The template gallery is full of forms built on columns. A few shapes worth copying:
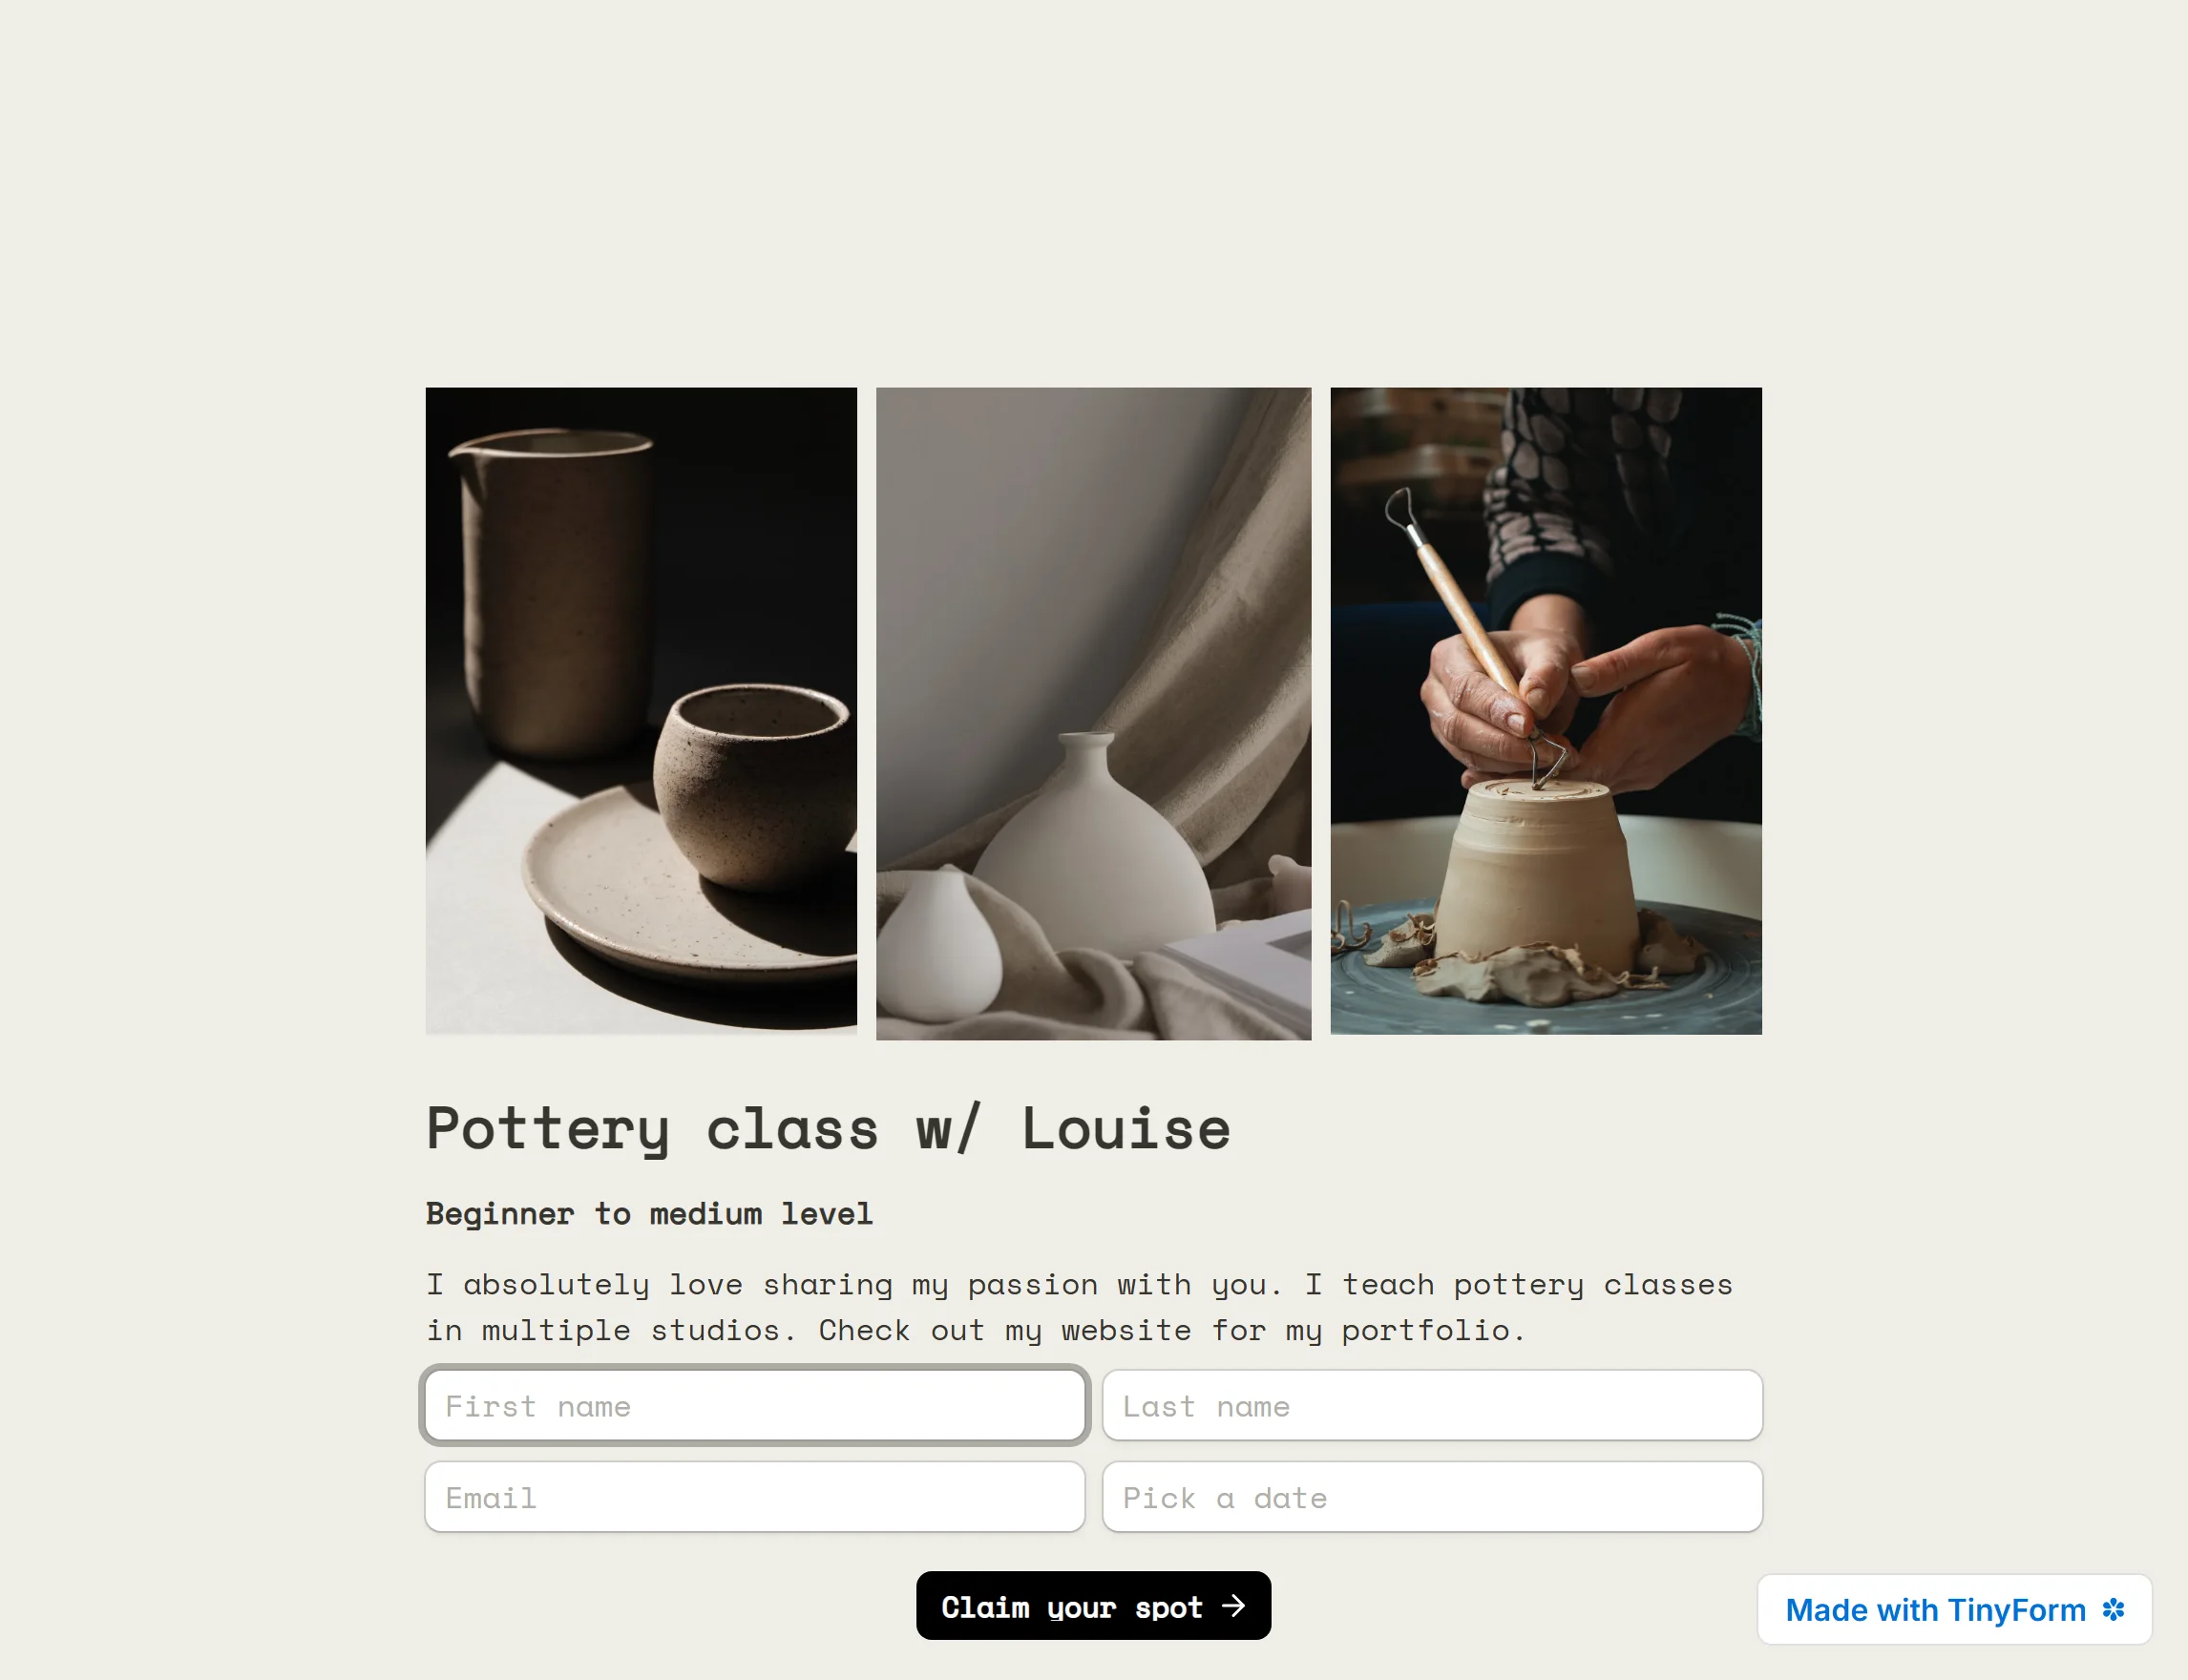
Drag images in columns

Set a picture beside a question or a block of text, or a run of them across the top of the page. The form pictured also uses a typeface and a background of its own, which the Customize panel takes.
Multiple-choice options in columns
The options of a choice question can be laid out in columns of their own, from the question's block menu. With an image on each option it becomes a picture grid.

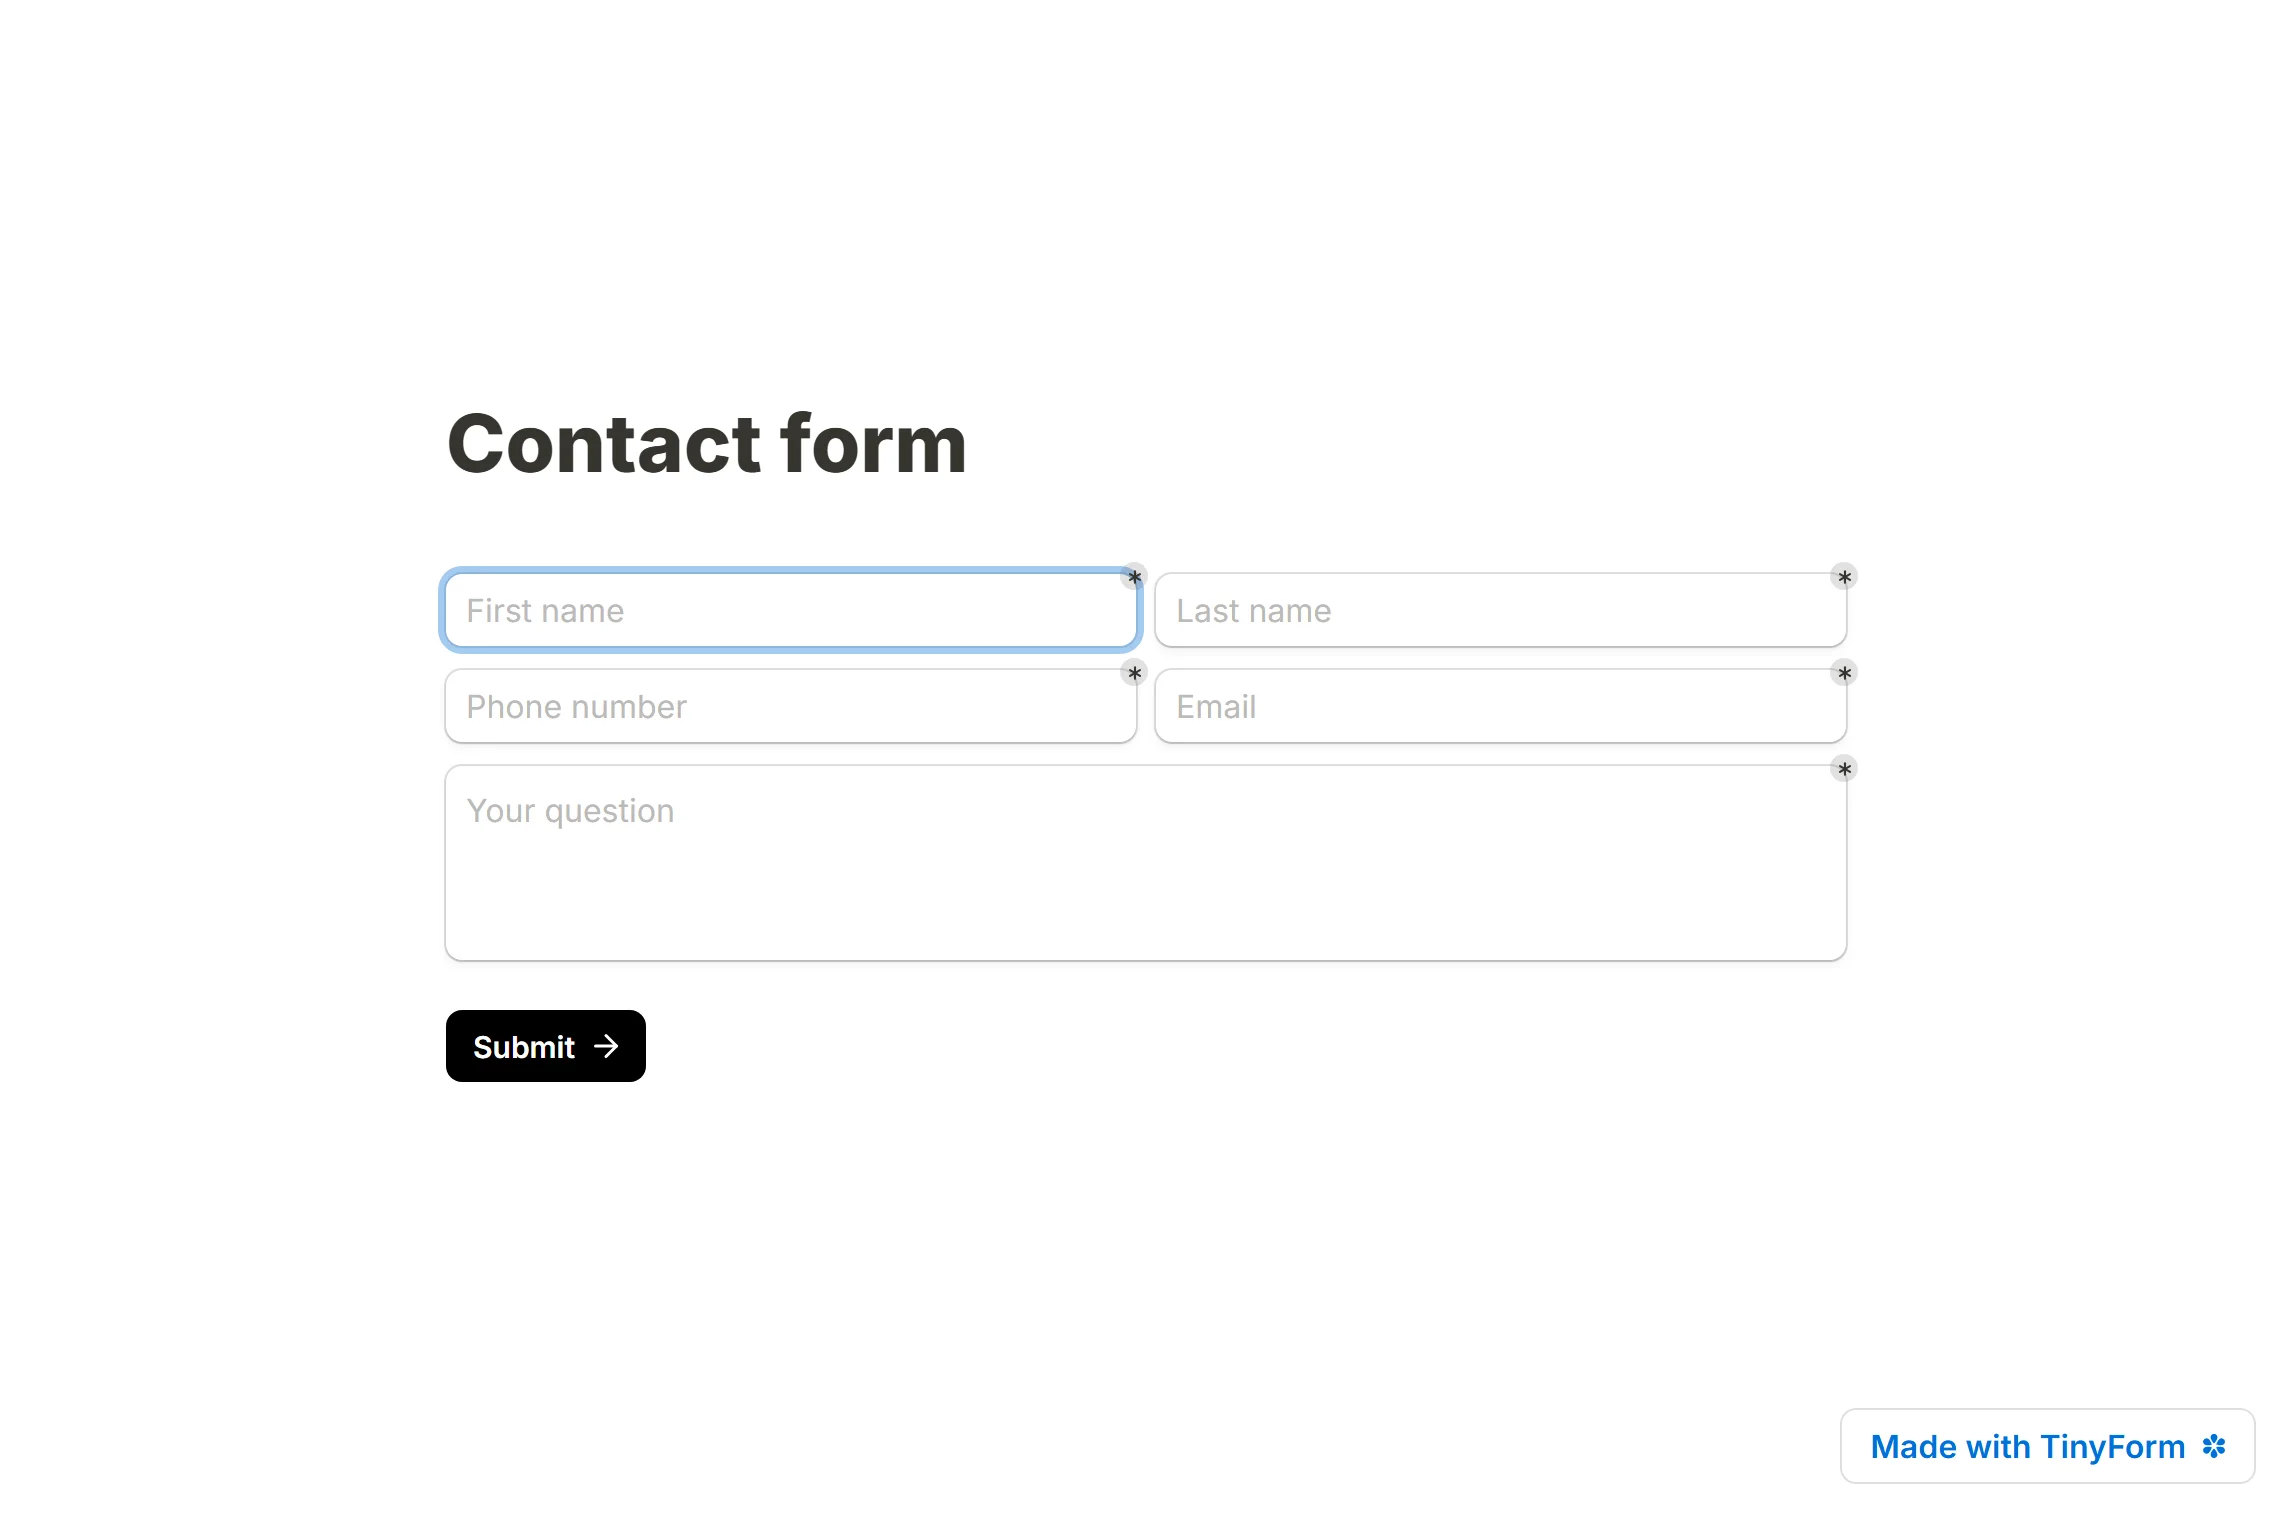
A simple contact form with columns
First and last name on one row, then phone and email, keeps a contact form short on the screen.
Columns on the ending page
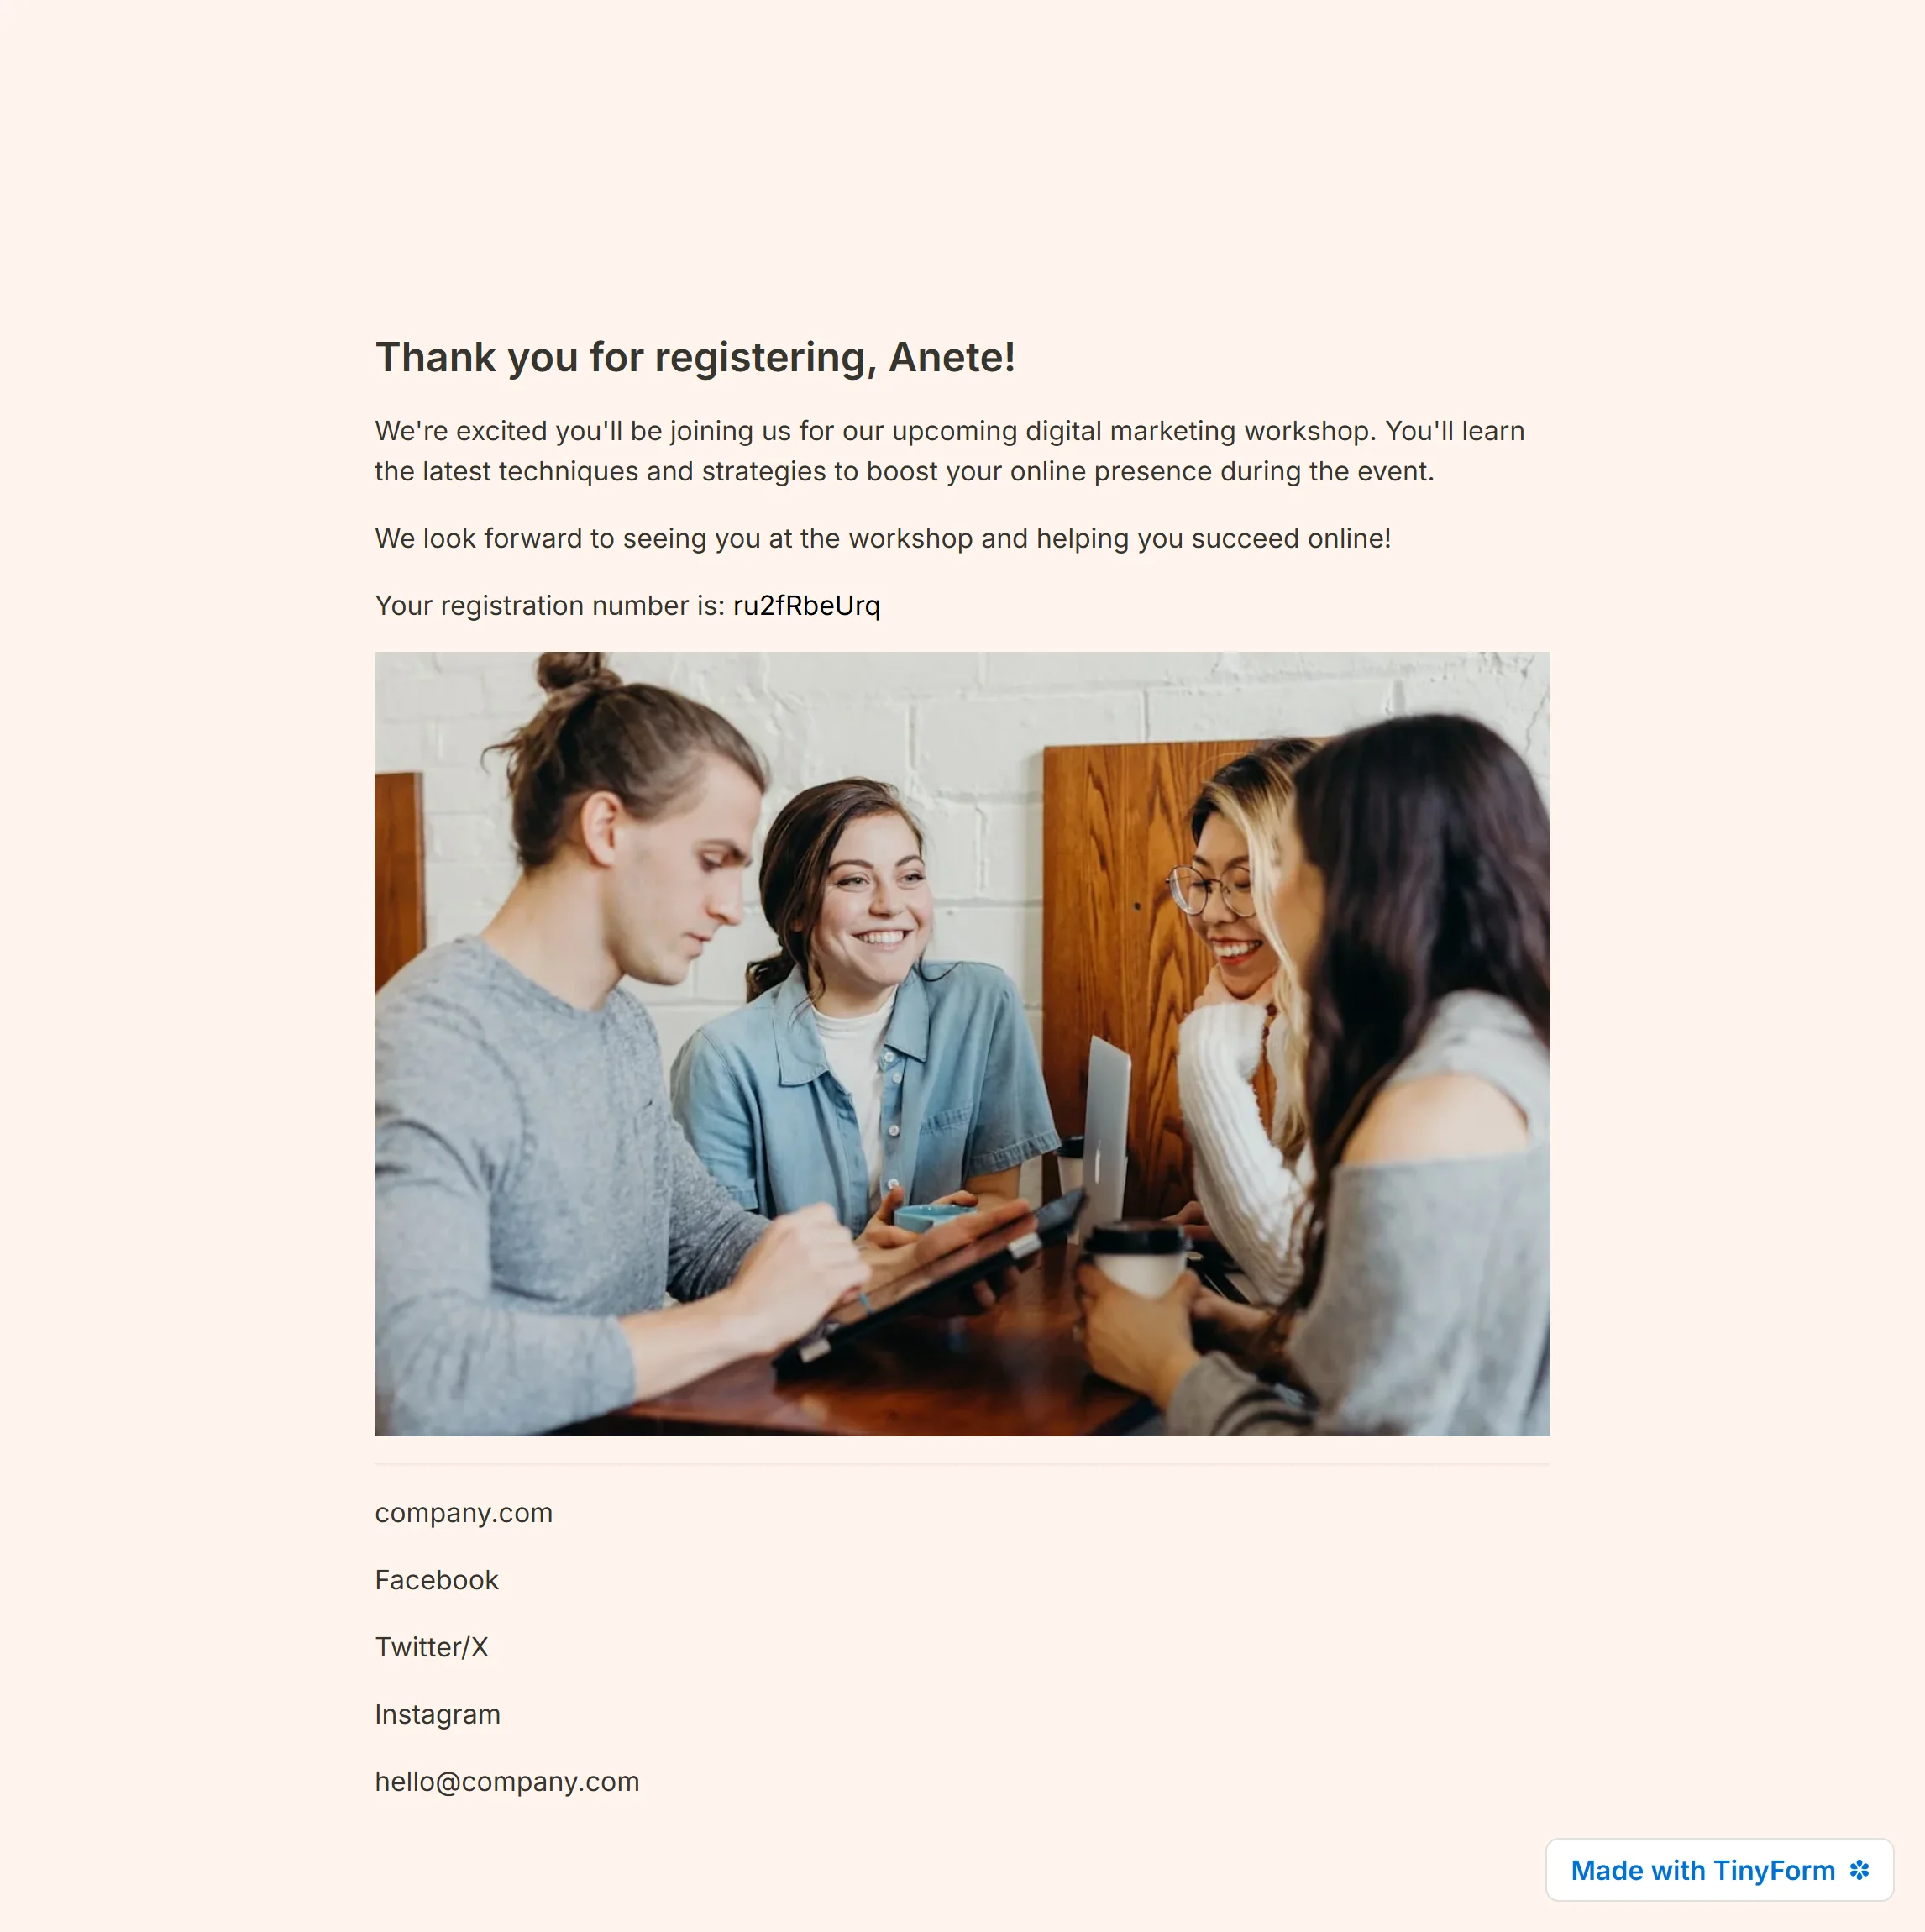

Columns are drawn on the pages a respondent fills in. The ending page they land on after submitting draws its blocks one under the other, whatever row they were arranged into in the editor — a picture set beside the closing message ends up under it, and a row of links ends up as a list. Create Thank You pages covers what that page can hold.