Create a multi-page form
Split a form into pages with the New page block, fold and rename pages, add a Thank you page, and let choice questions jump to the next page on their own.
A Tinyform form can put every question on one page, one question on each page, or anything between: a few related questions per page is often the most comfortable to fill in. A new form starts as a single page. Pages are added with a block, so the split is yours to draw wherever you like.
What is a multi-page form?
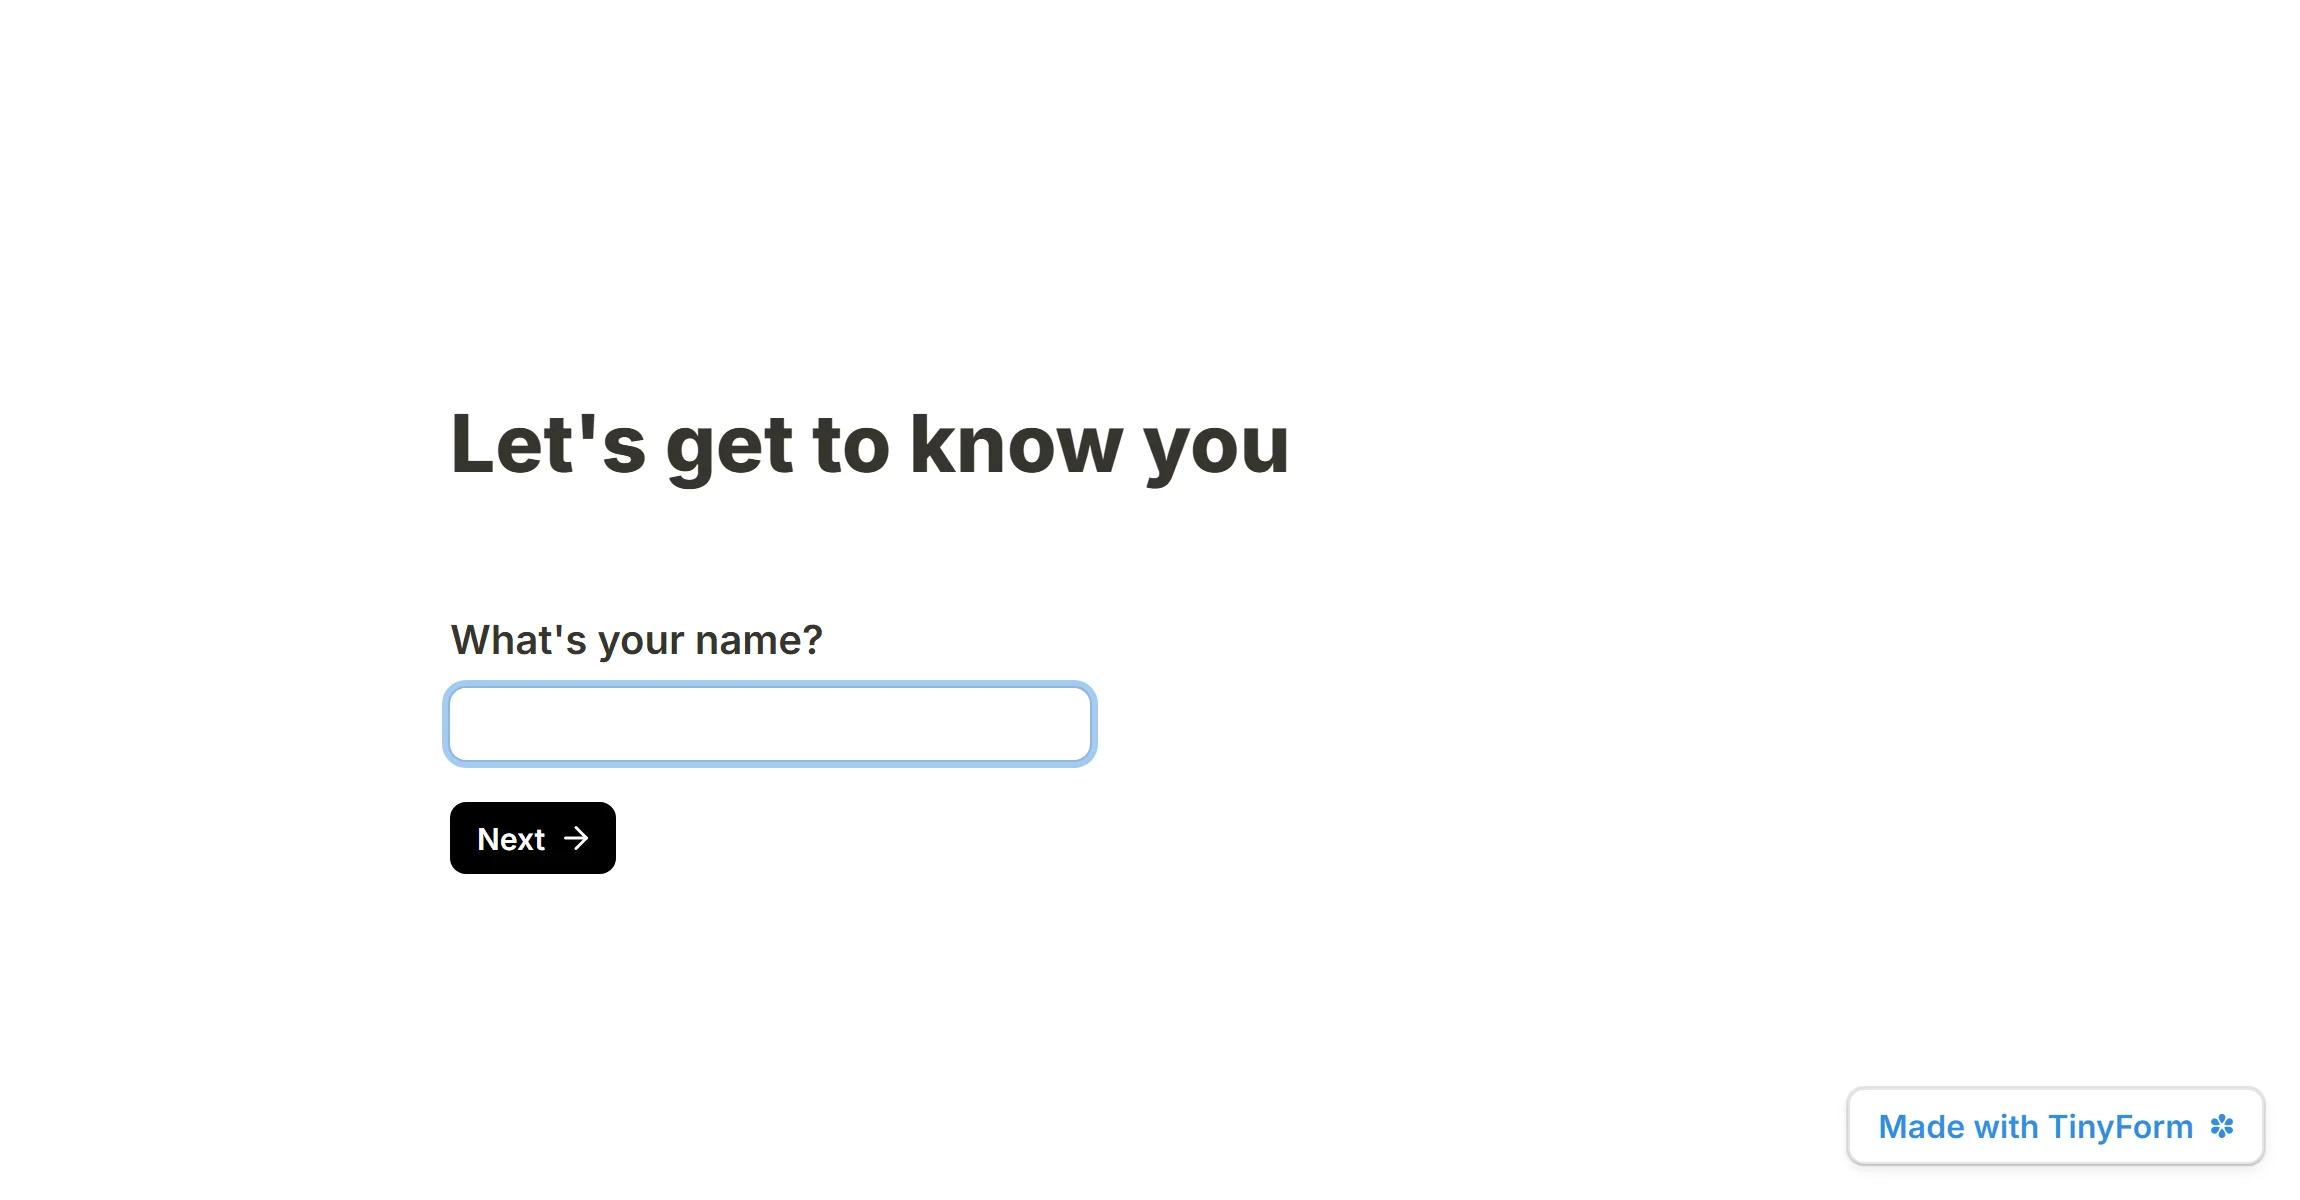
Some form tools show one question at a time, which keeps a respondent's attention on one thing and reads like a conversation. That is a multi-page form. Here you decide the grain: a page break after every question for that focused feel, or a break between groups of questions that belong together, such as "About you" and "Your order". A break is a block, inserted wherever you want the page to end.
How to create multiple pages
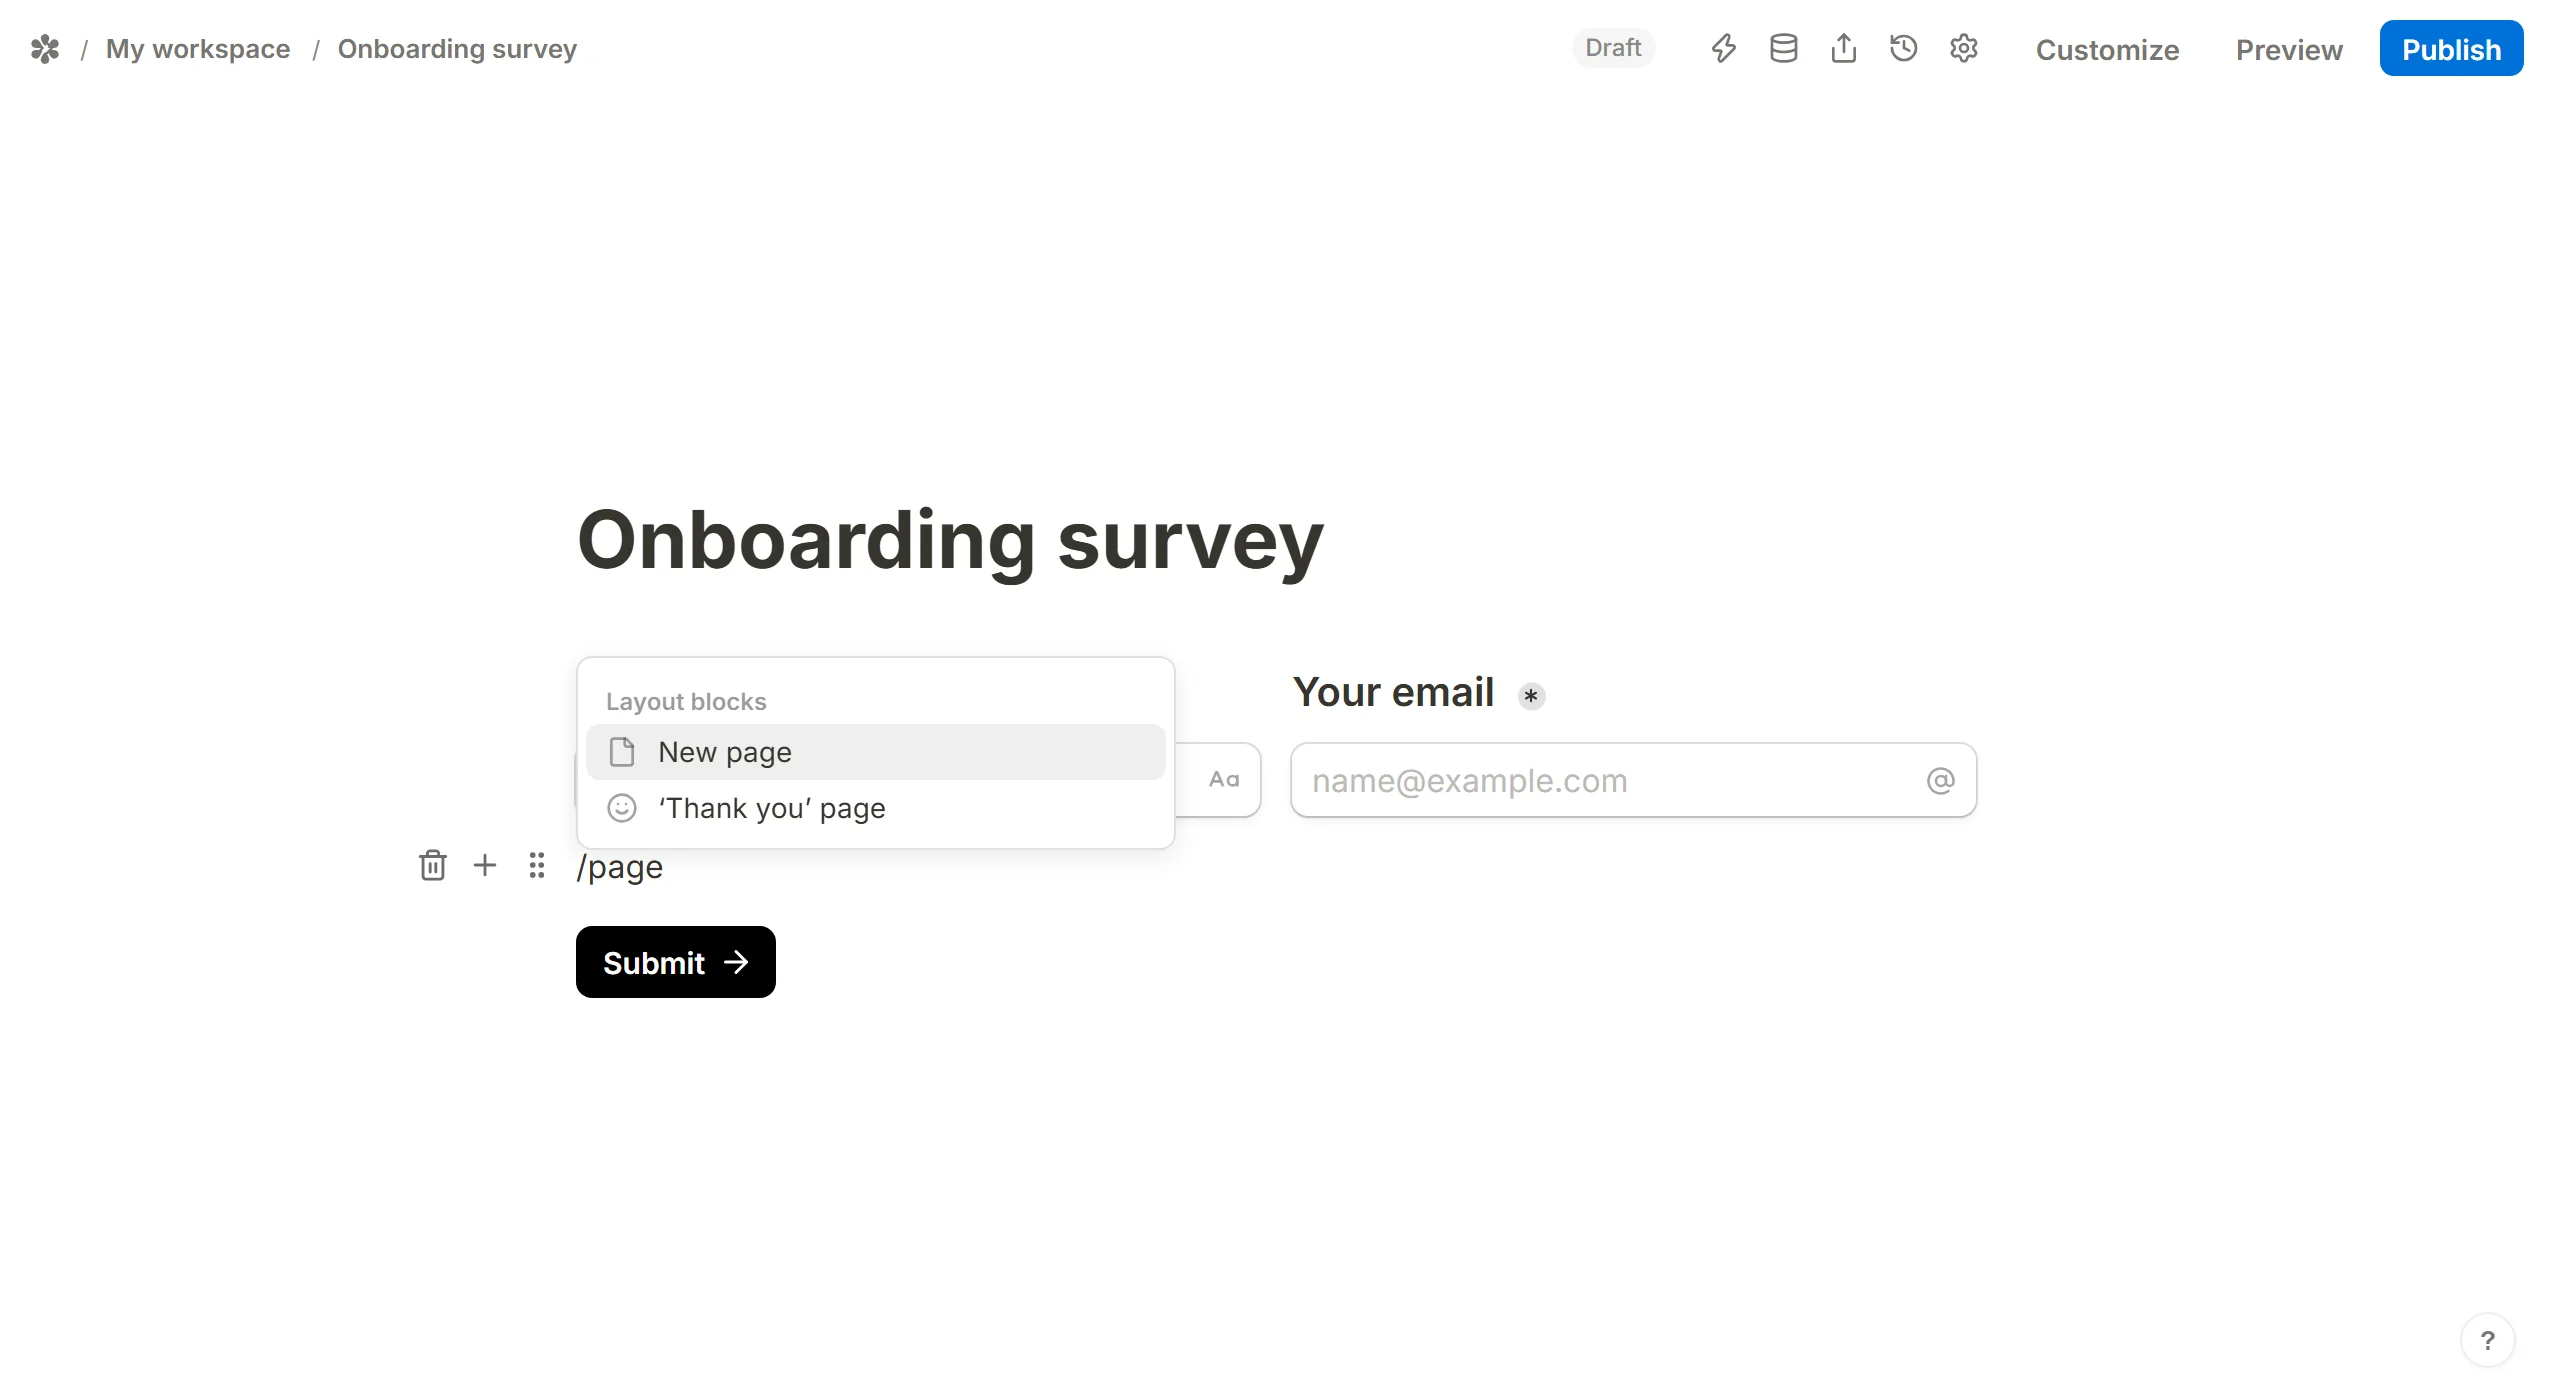
Type /page in the editor and pick New page. A page divider appears at the caret with the page's number beside it; every block below the line is on the new page, and the page above it gains a Next button.
For one question per page, put a New page after each question. There is no ceiling on pages or on questions per page.
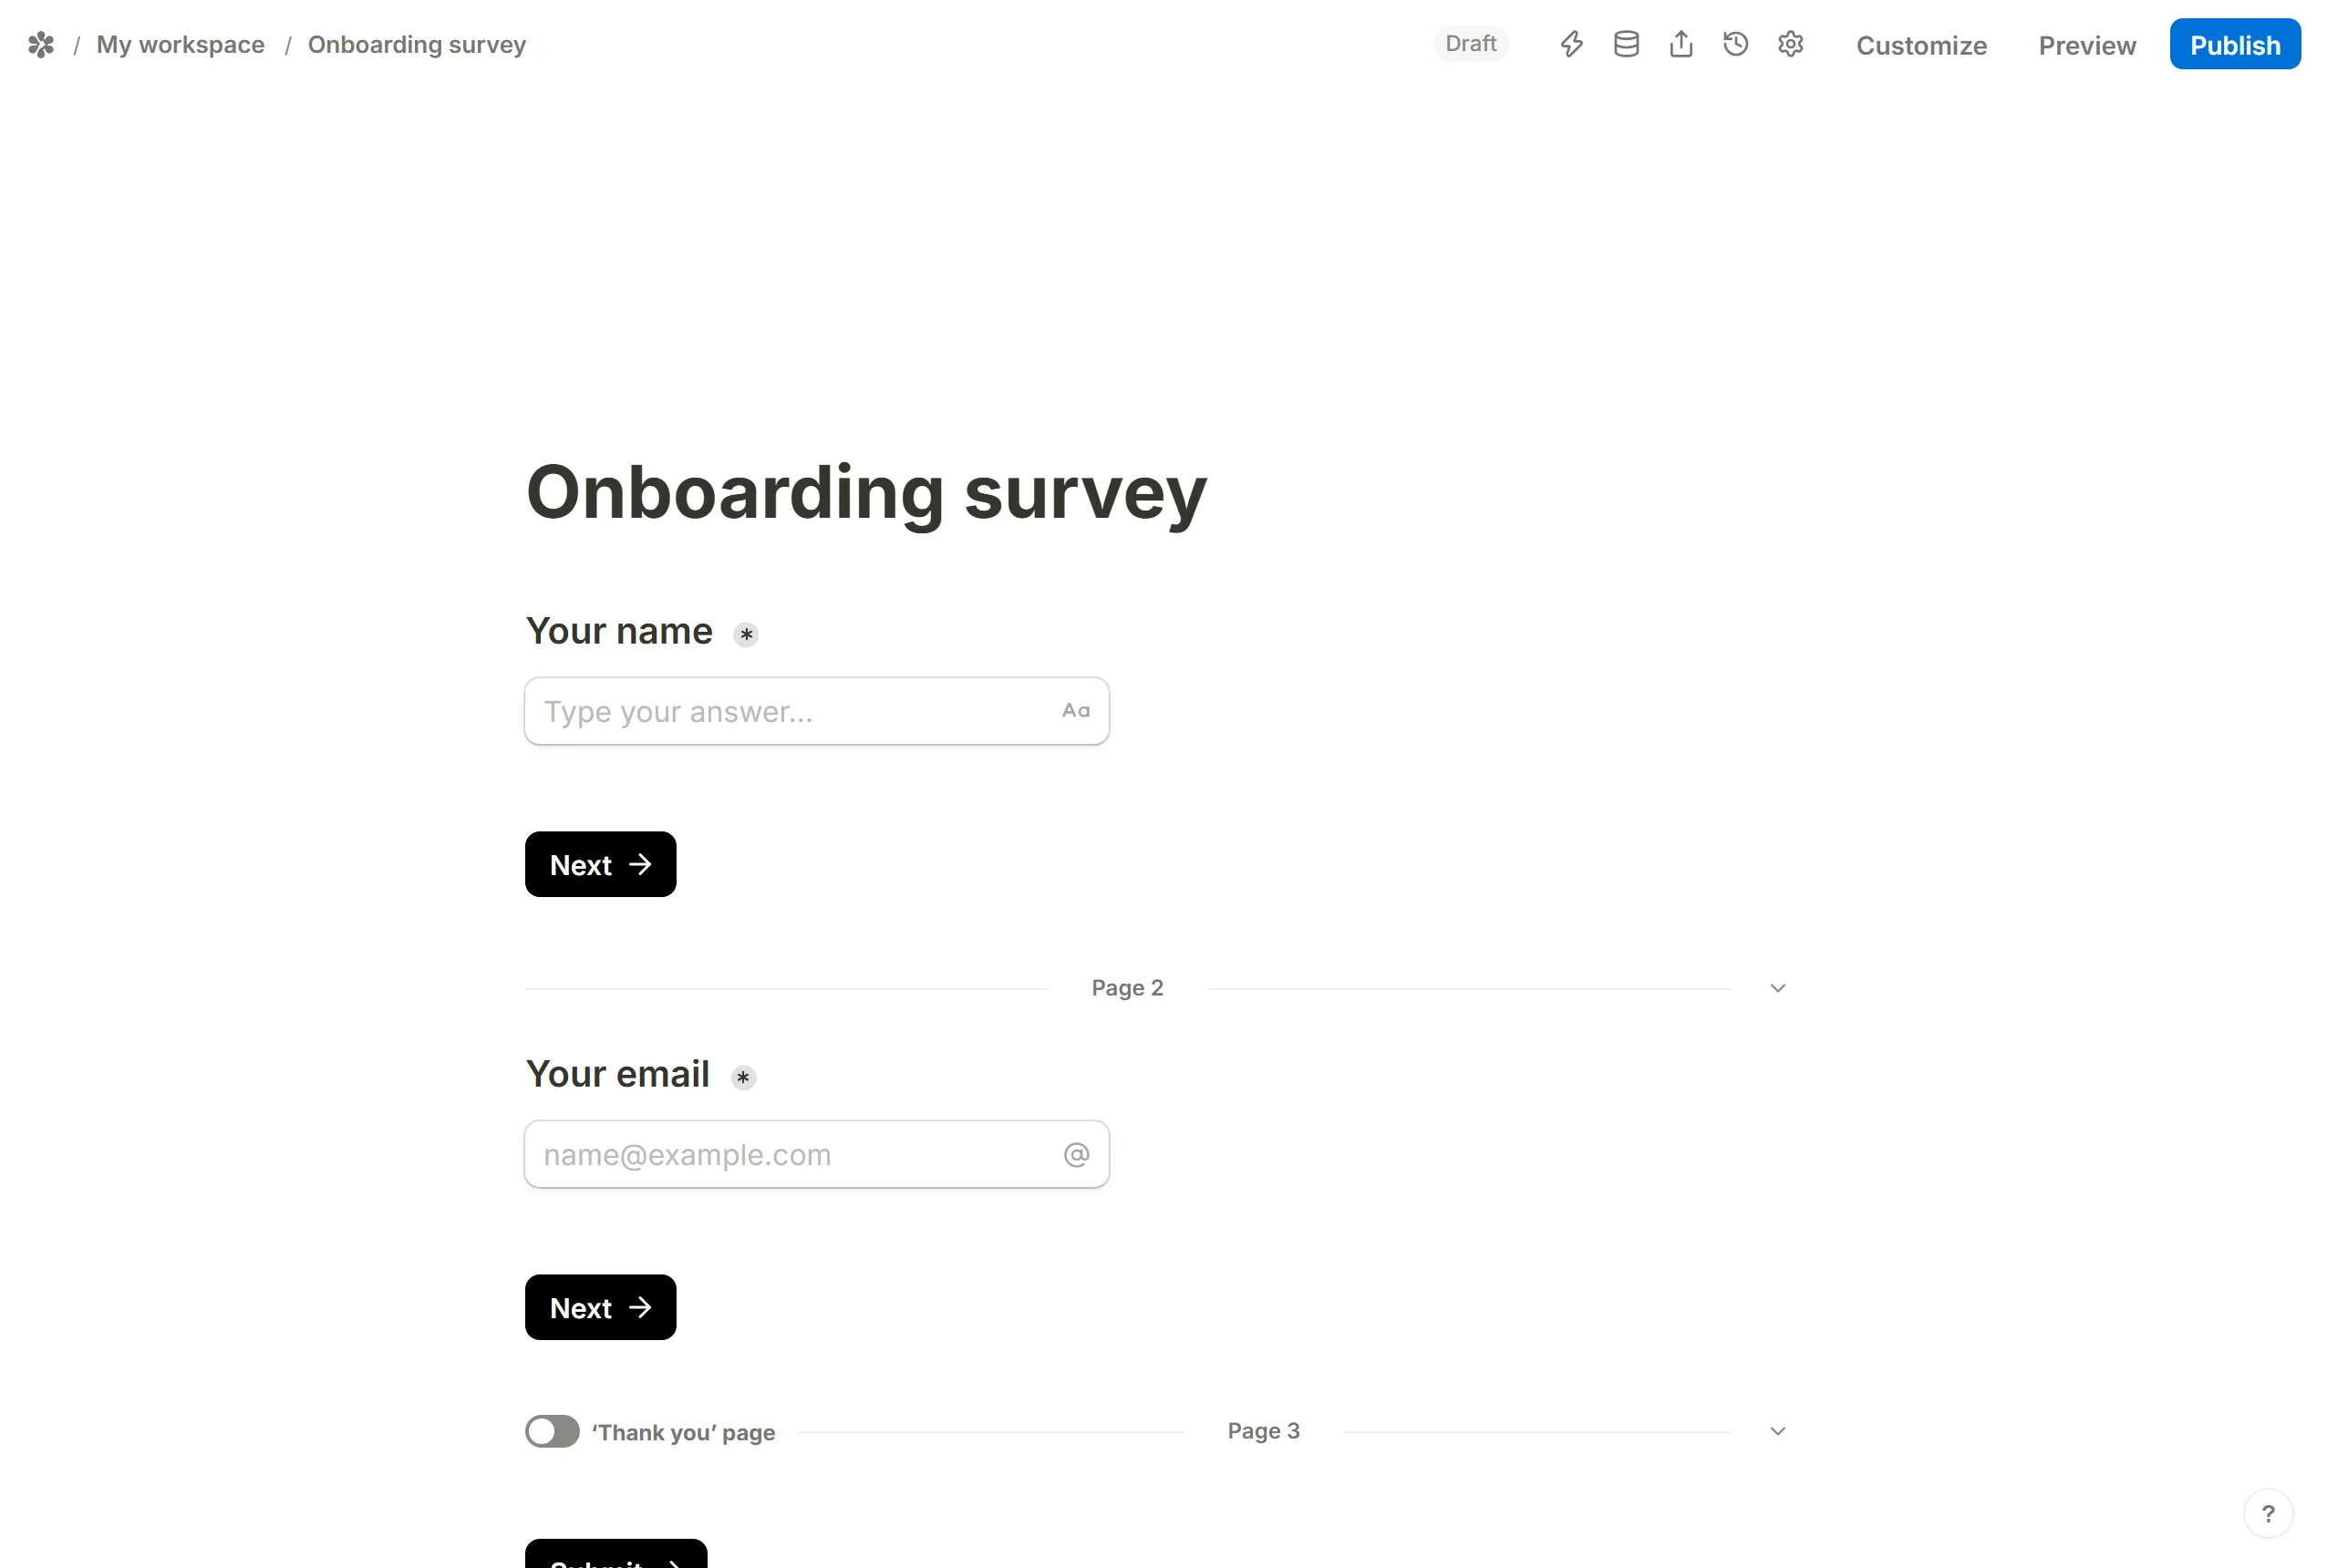

The last page break carries a ‘Thank you’ page switch. Turn it on, or type /thank, to make everything below it the Thank you page: the screen shown after the submit, which can hold any content from a line of text to an embedded video. The page before it then ends with Submit instead of Next.
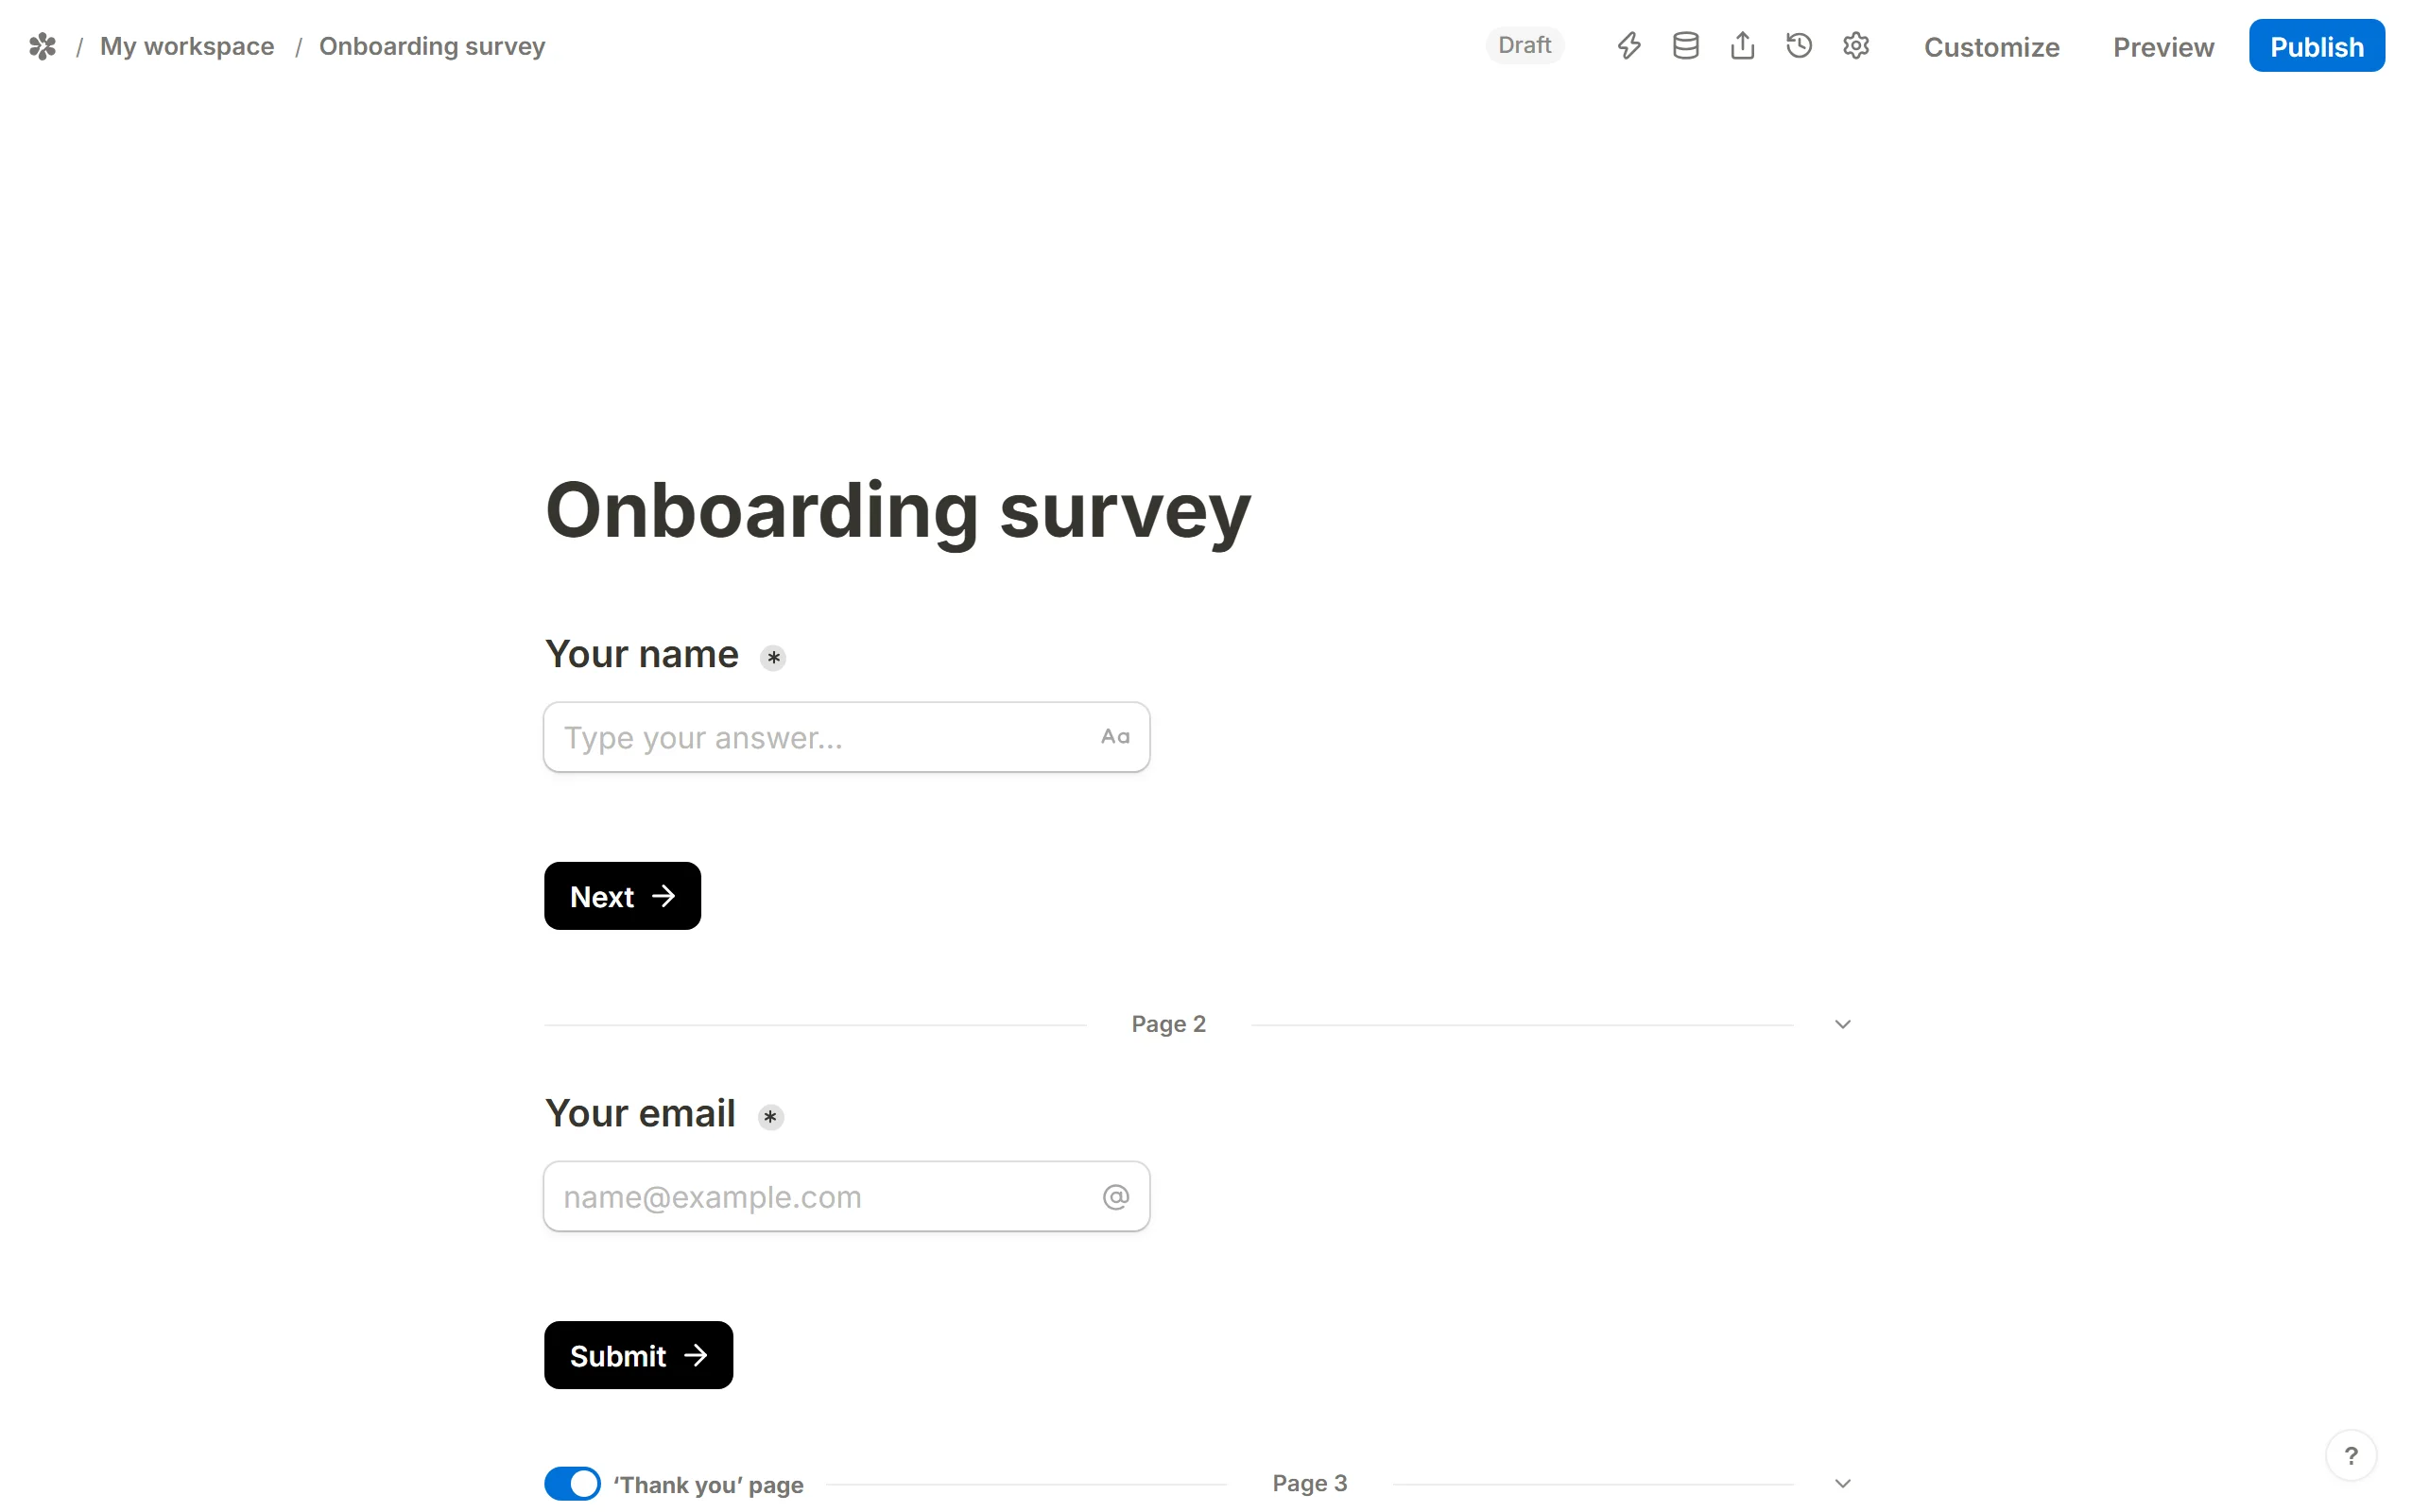
Fold pages to keep a long form readable
On a long form, press the arrow beside a page's name to Fold page. The page collapses to a single line that says how many blocks it holds, and Unfold page opens it again. Press the name itself, Change page name, to give the page a title of its own instead of its number; the name shows on the canvas and in the page picker of a logic block.
Auto-jump to the next page

When a page holds exactly one choice question, the Next button is an extra click. With auto-jump on, picking an answer moves the respondent to the next page by itself.
Auto-jump works for a page whose only question is a multiple choice, a dropdown, a rating or a linear scale.
It is off by default. To turn it on:
Open the form
Go to the form's tabs and pickSettings.Find Behavior
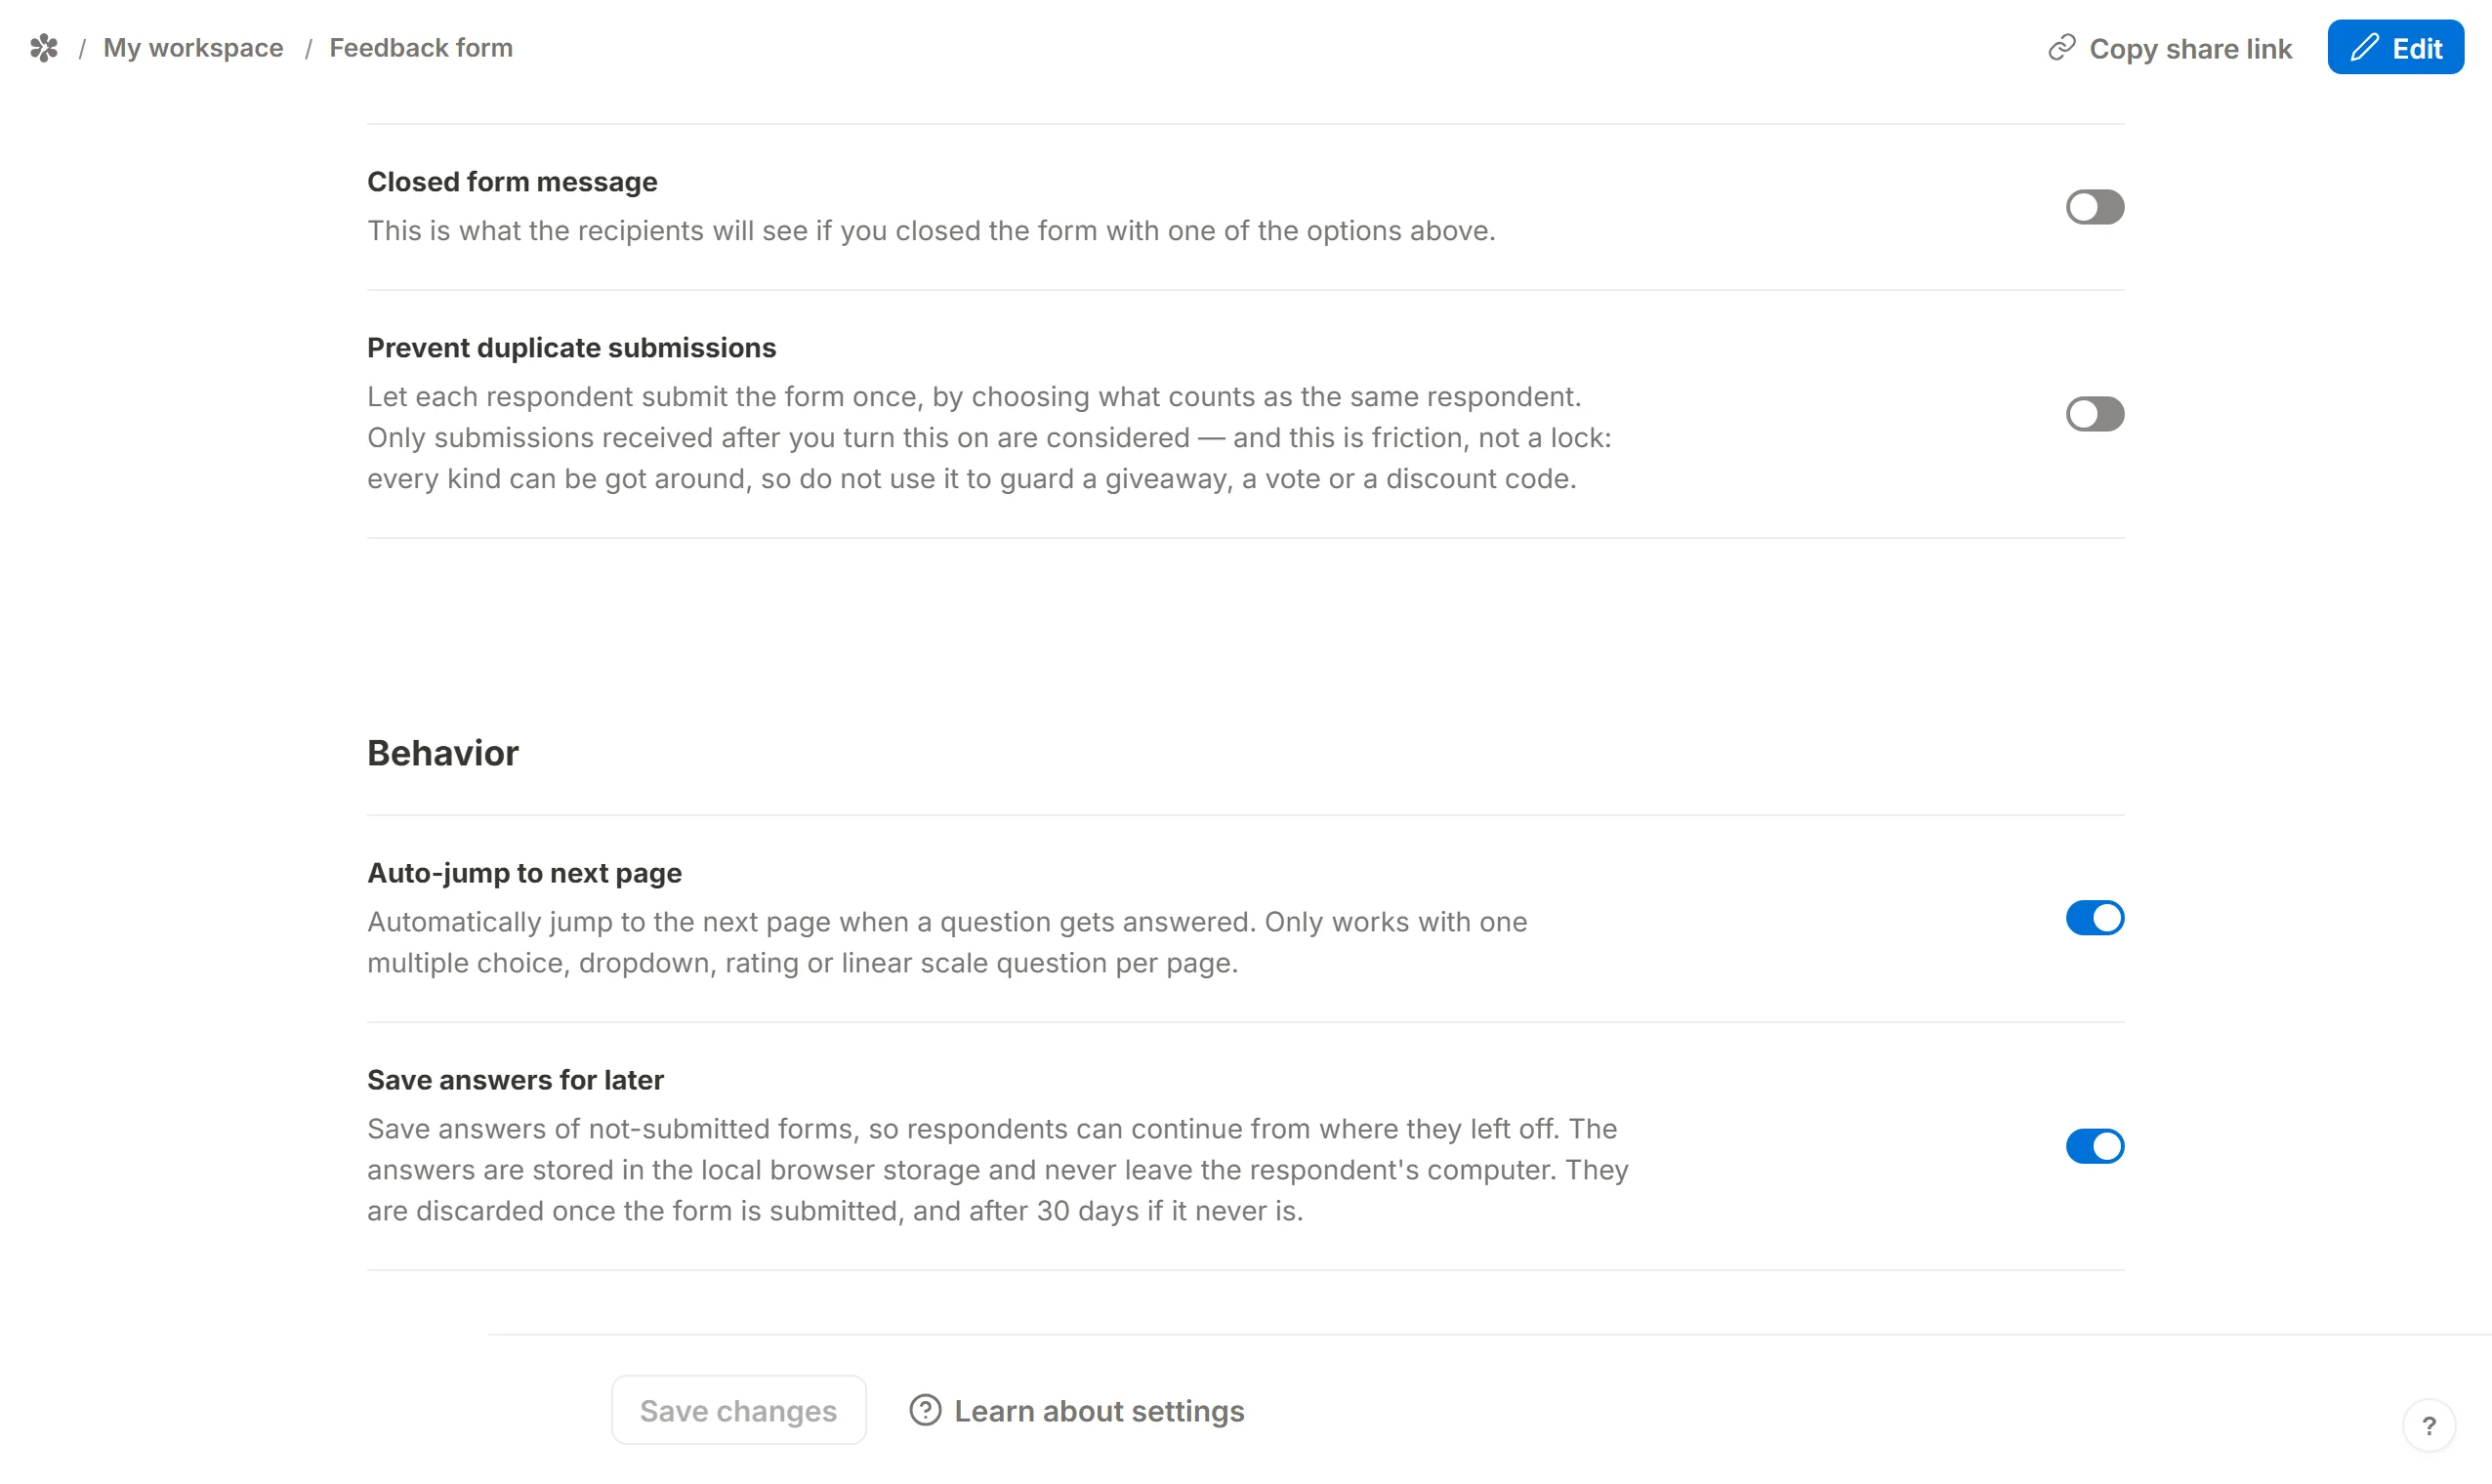
Scroll to theBehaviorsection.Turn on Auto-jump to next page
The switch reads: only works with one multiple choice, dropdown, rating or linear scale question per page.Save
PressSave changesat the foot of the page.