Create Thank You pages
Replace a form's default ending with your own Thank you page, show different endings by score, quote answers and the submission ID, and lay it out with columns.
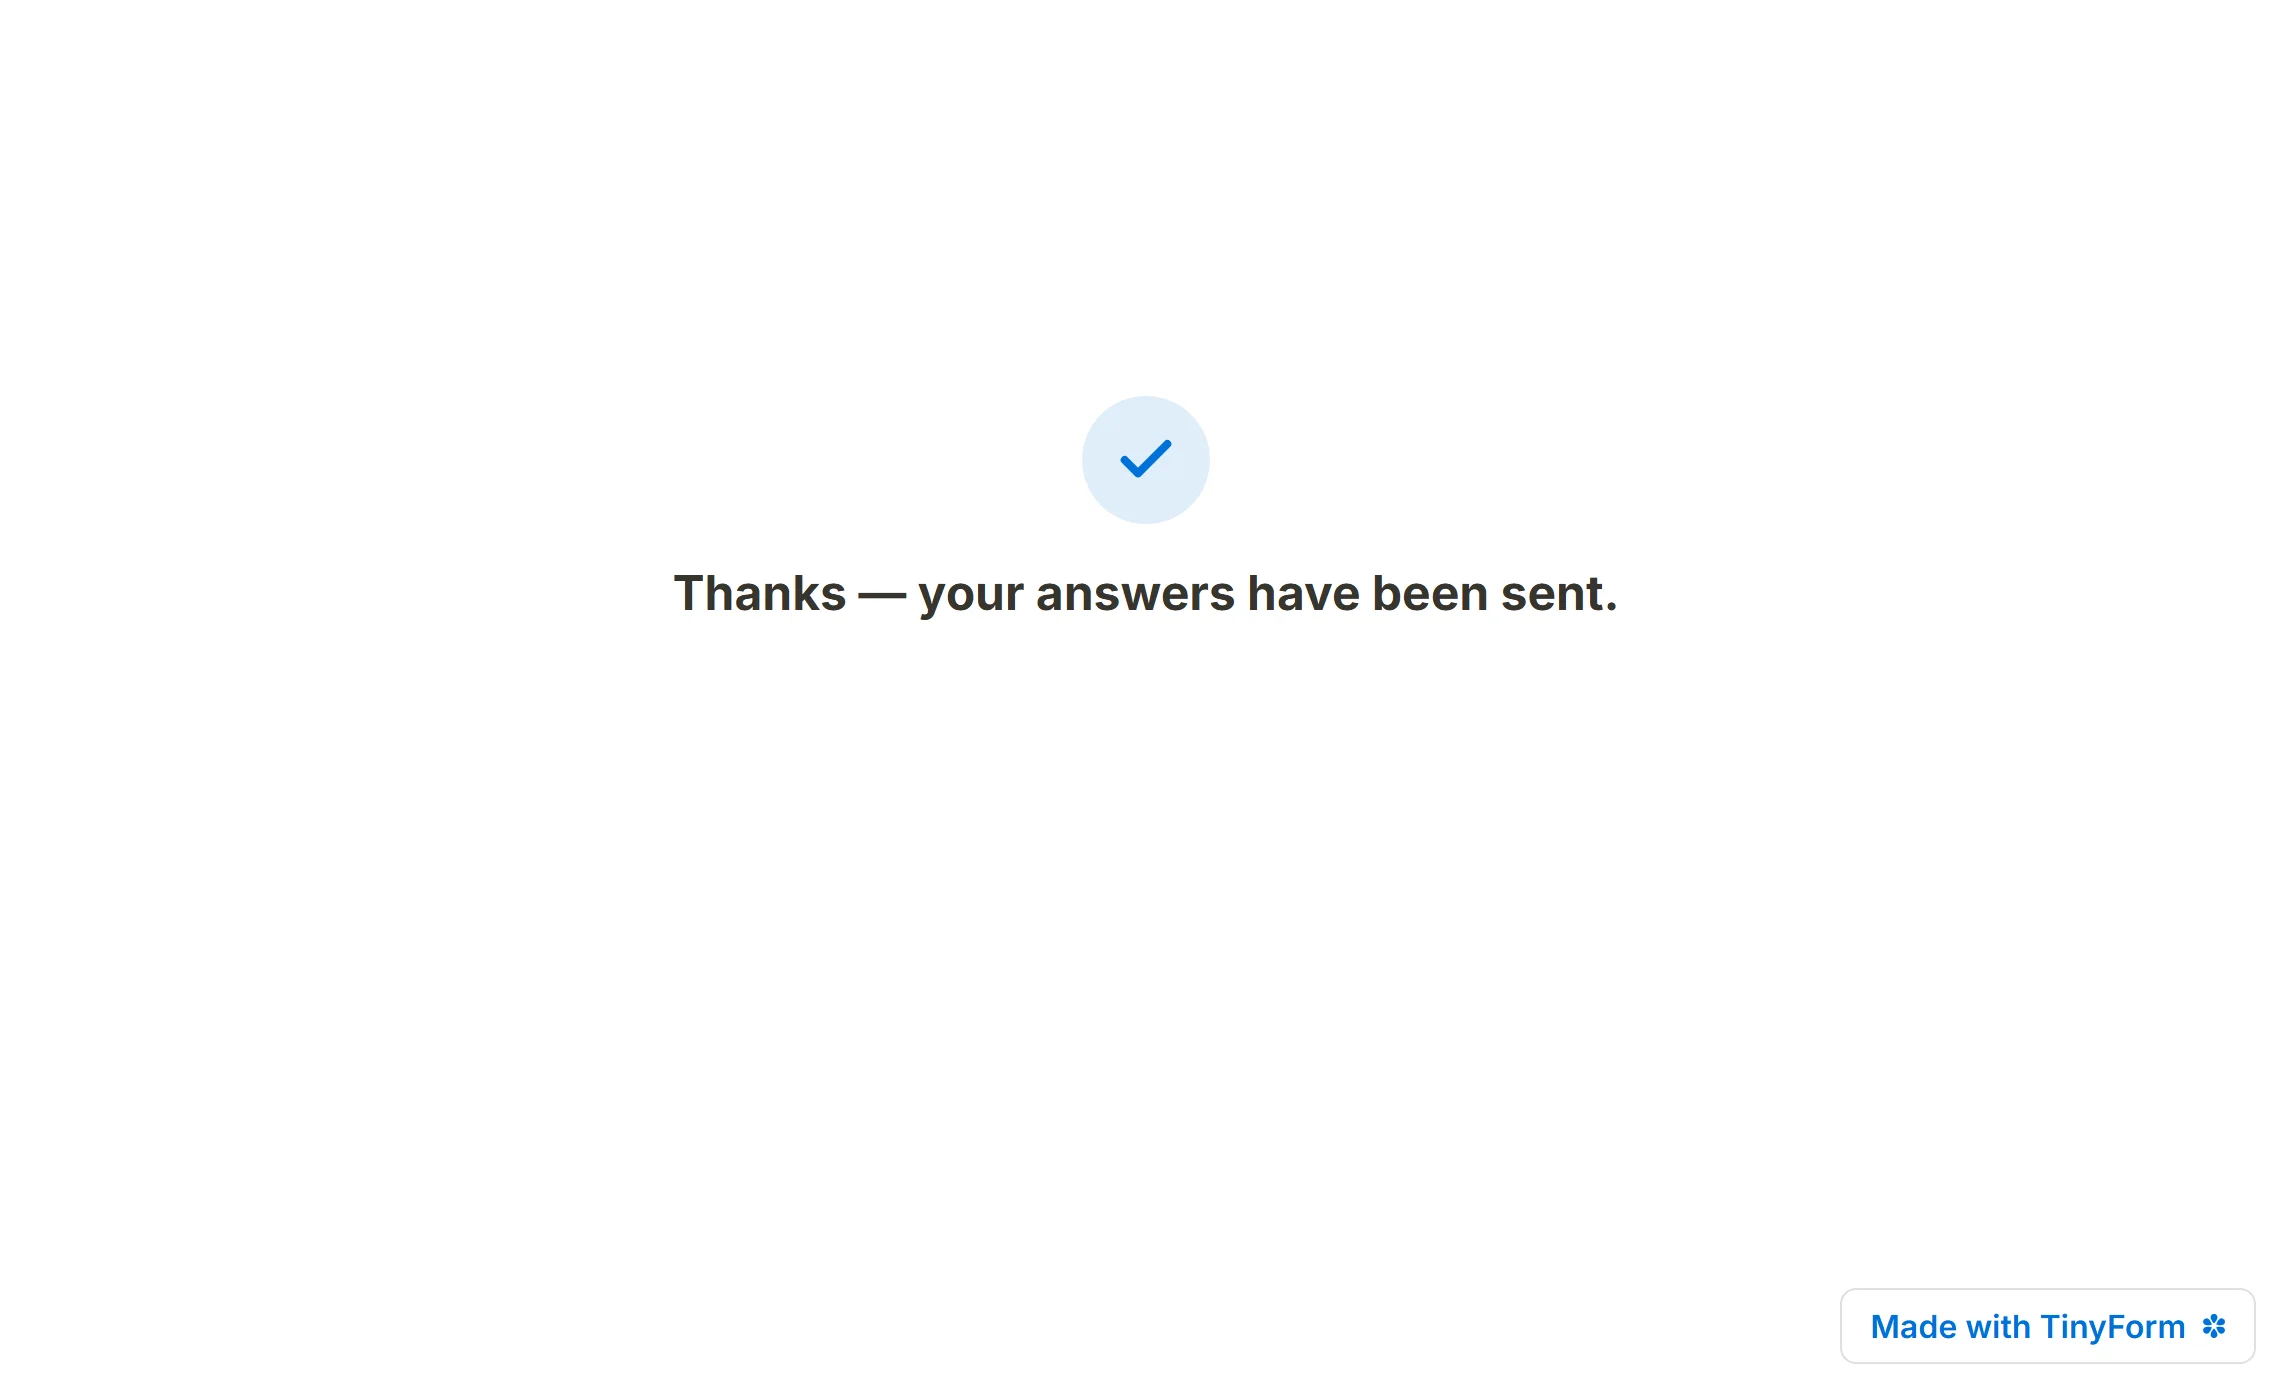
A Thank you page is the last screen a respondent sees, drawn the moment they submit. Every Tinyform form has a default one; a form can carry its own instead, and with conditional logic it can carry several and pick one by the answers given.
Create a Thank You page

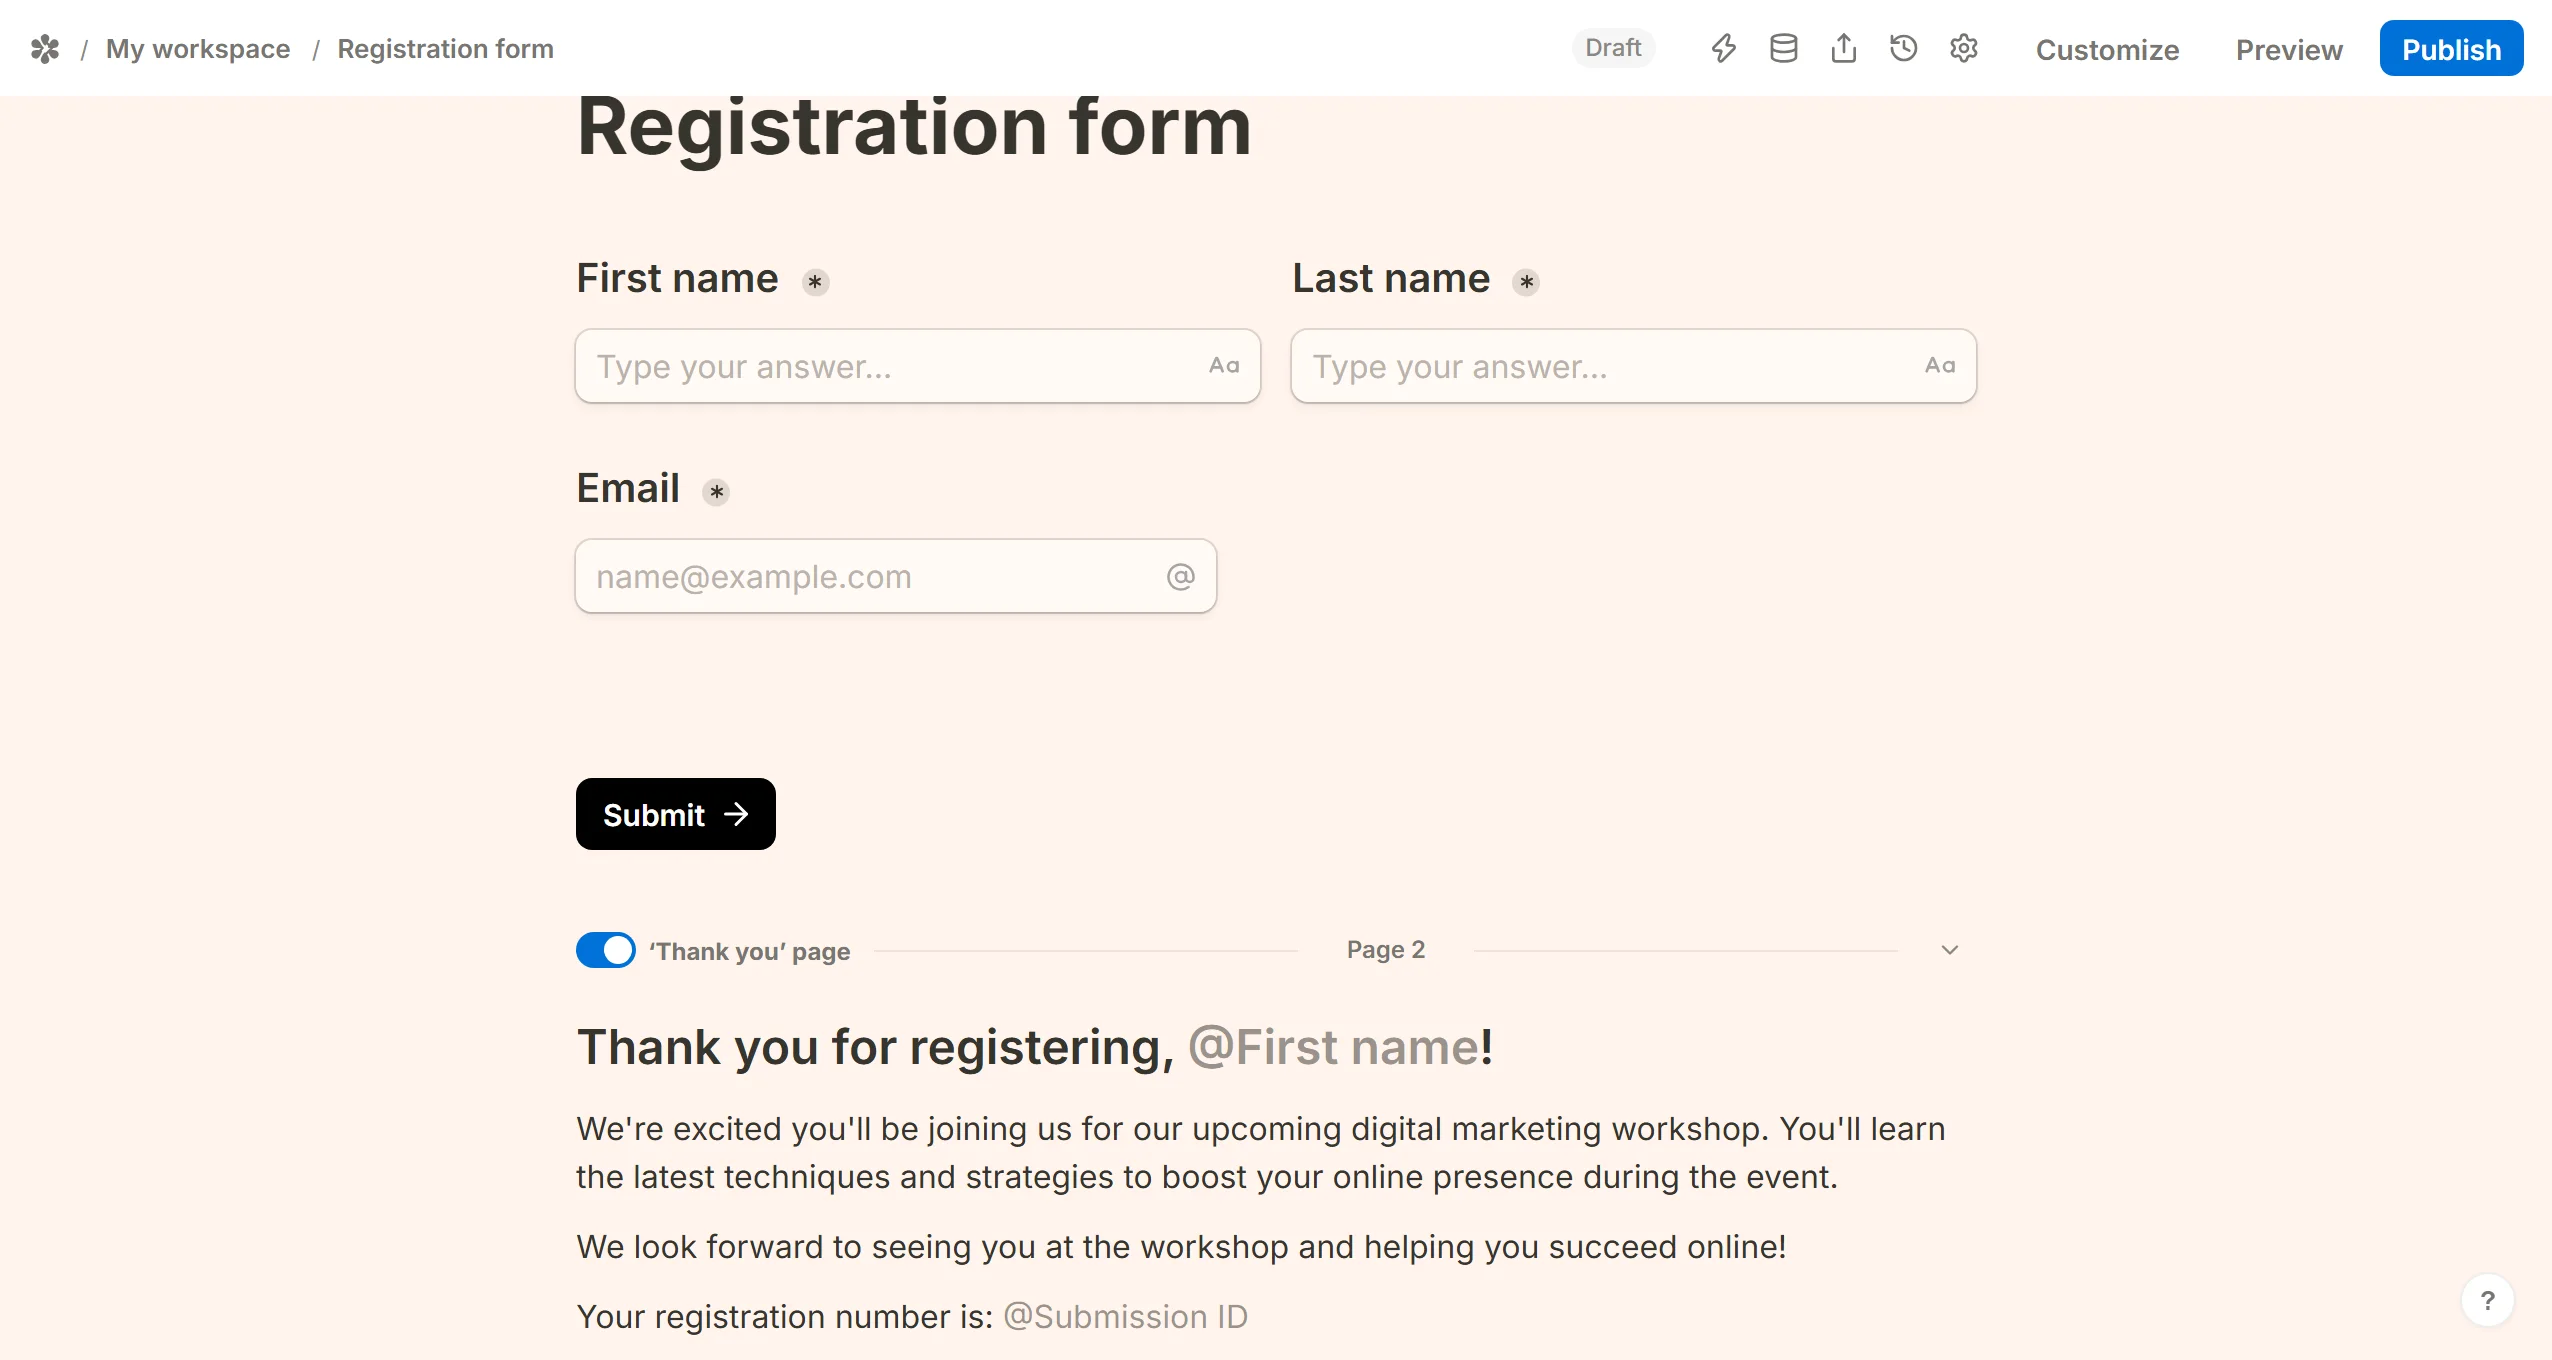
Type /thank in the editor and pick the ‘Thank you’ page block, or use the switch that sits on the last page break of a multi-page form. Either way the page before it becomes the form's last page, and its button changes from Next to Submit.
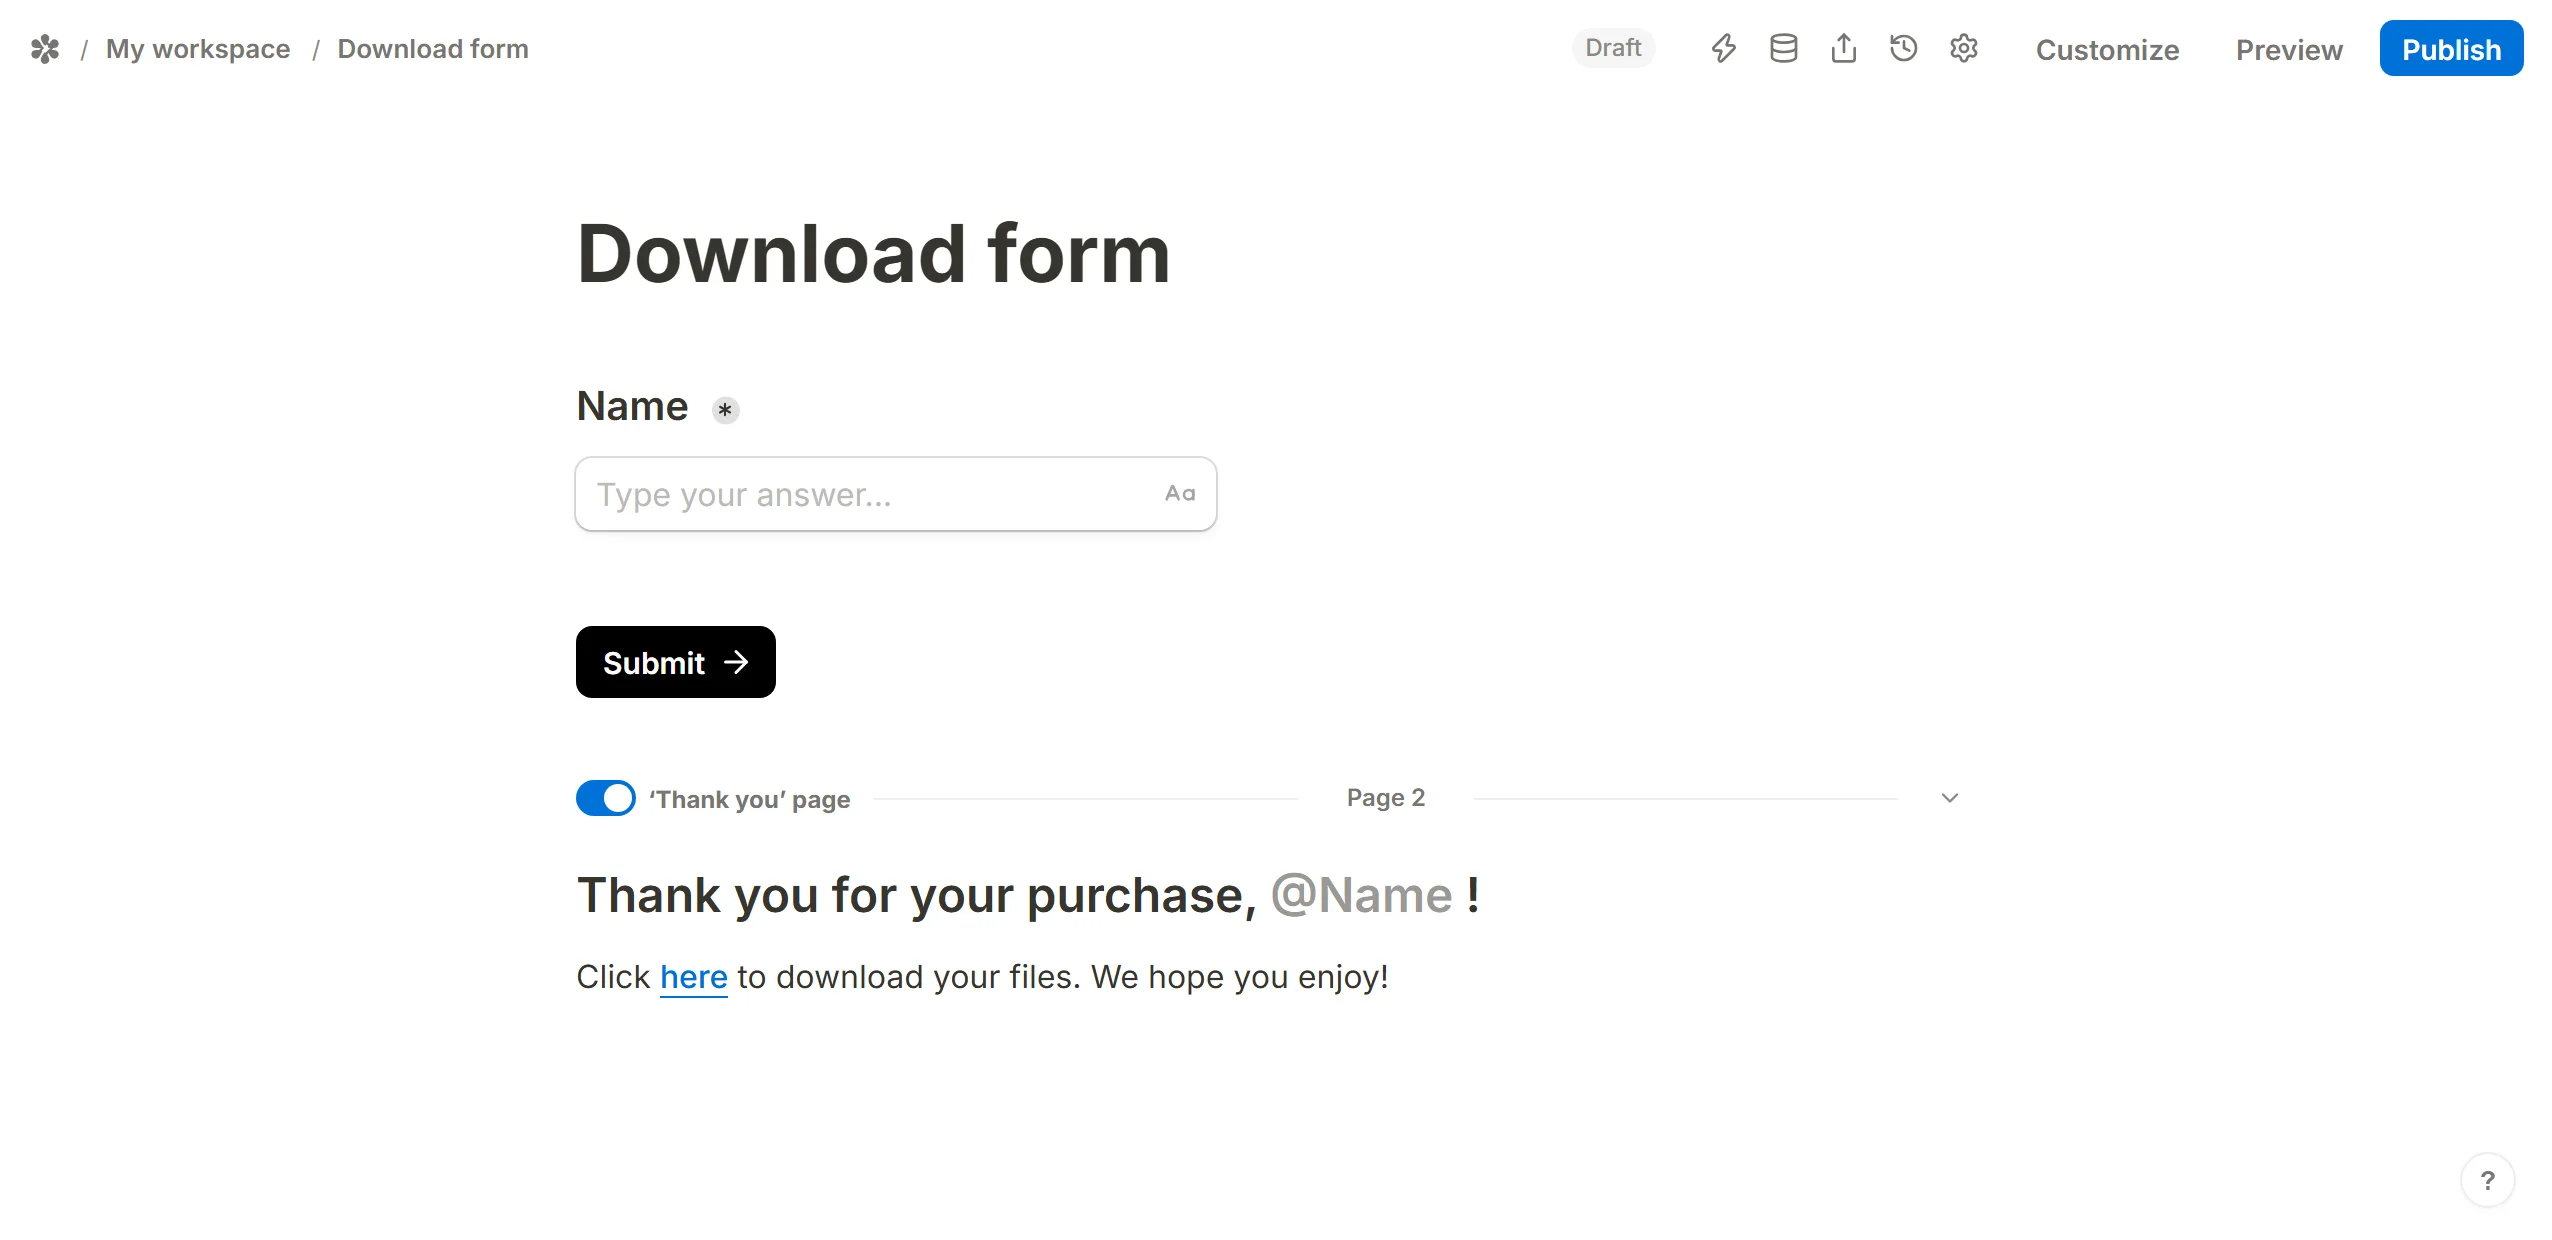
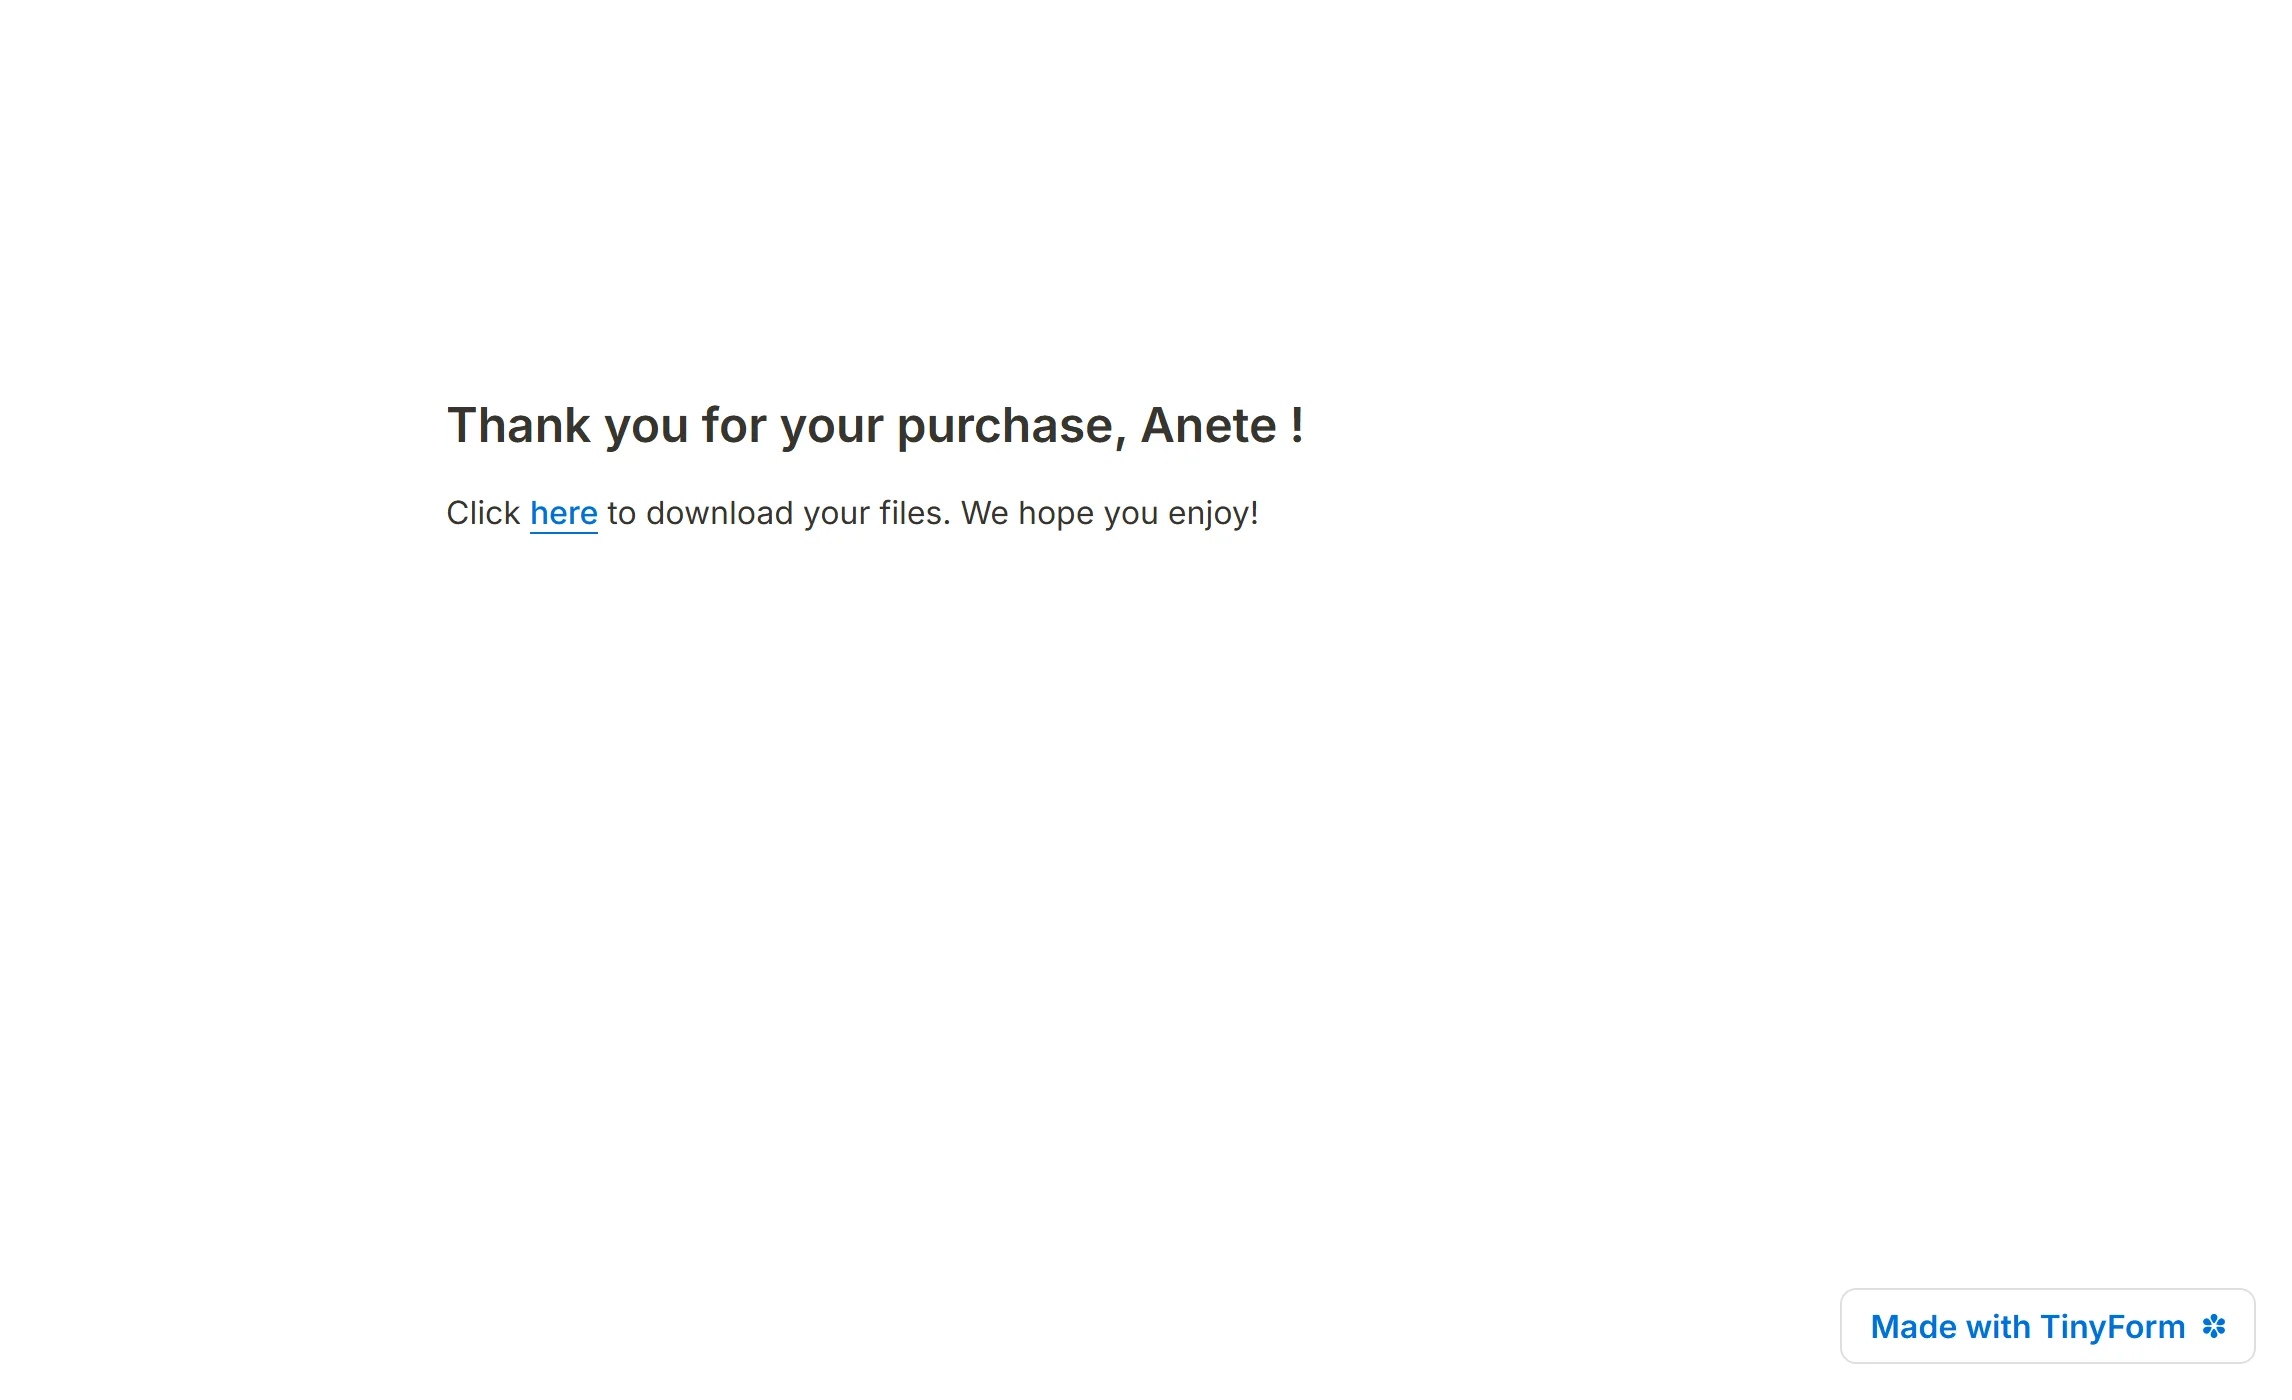
Everything below the break is the Thank you page. Fill it the way you fill any page: headings, text, links, images, video. Type @ to quote an answer the respondent gave, so the ending can use their name or their score; see answer piping.
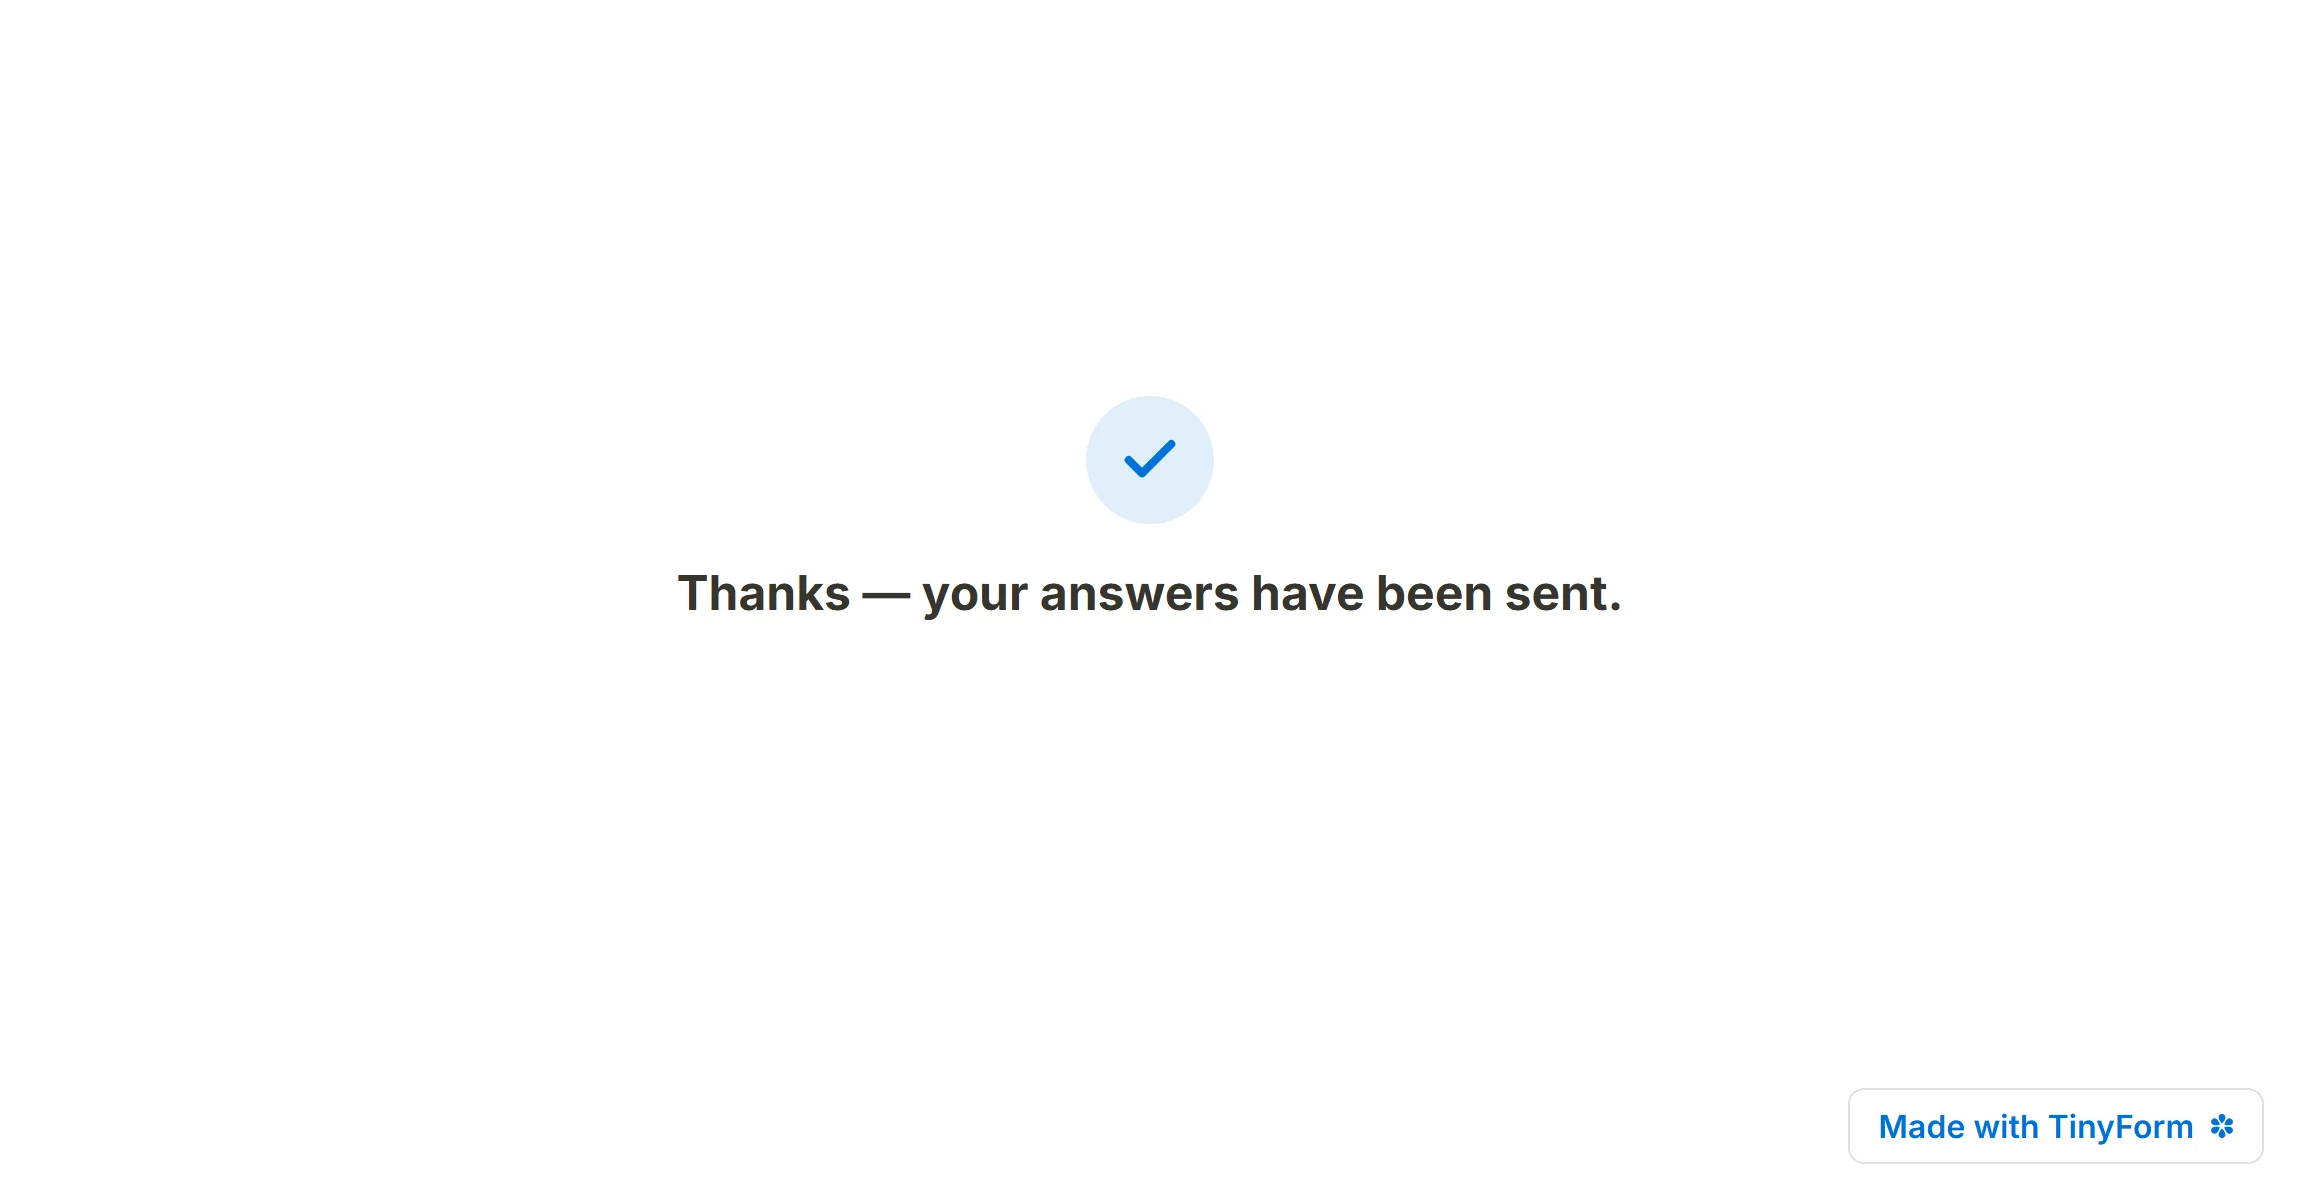
A form with no Thank you page of its own ends on the default one.
Create multiple Thank You pages
Insert as many Thank you pages as you have endings, and let conditional logic decide which one a respondent lands on.
For example: a quiz should congratulate a high score and console a low one.
- Score the quiz with a calculated field, or start from the online trivia quiz template.
- Insert two (or more) Thank you pages, each with its own message.
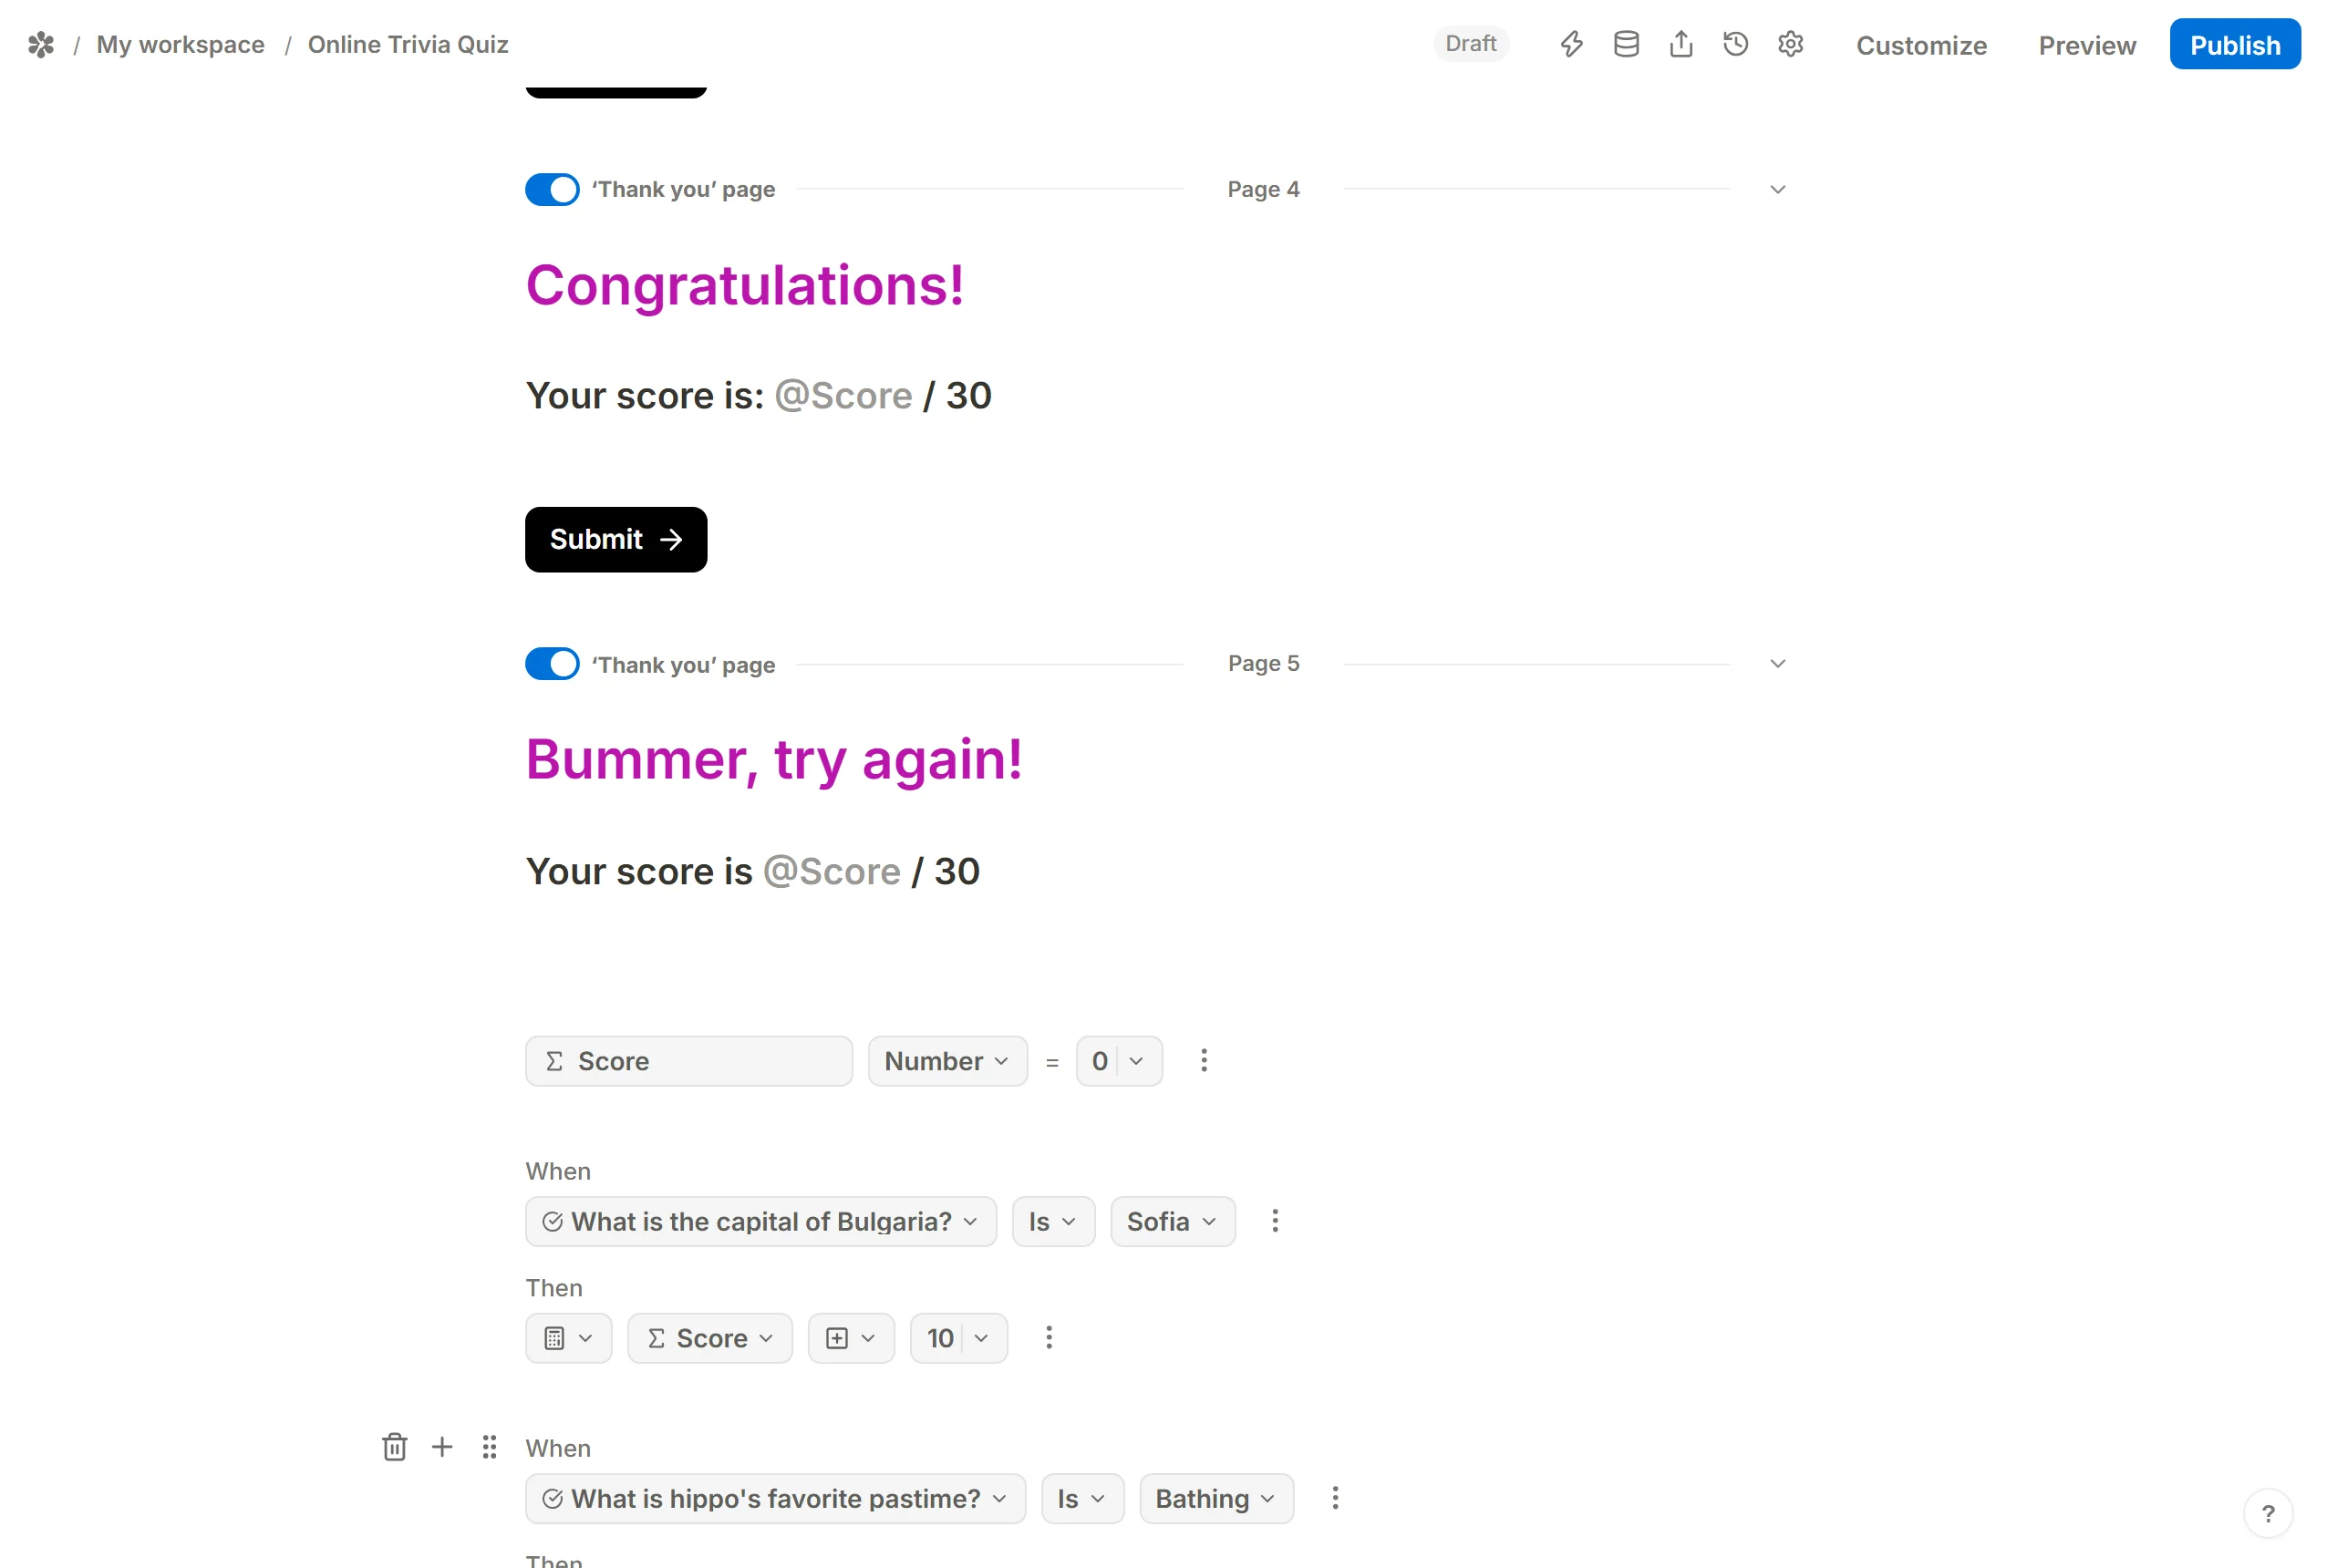
- Add a logic block with a
Jump to pageaction: when the score is above 15, jump to the first Thank you page; otherwise jump to the second. In the page picker a Thank you page is labelled with its number and(‘Thank you’ page), so the two are easy to tell apart. A page jump fires when the respondent presses Submit.
Mention the Submission ID
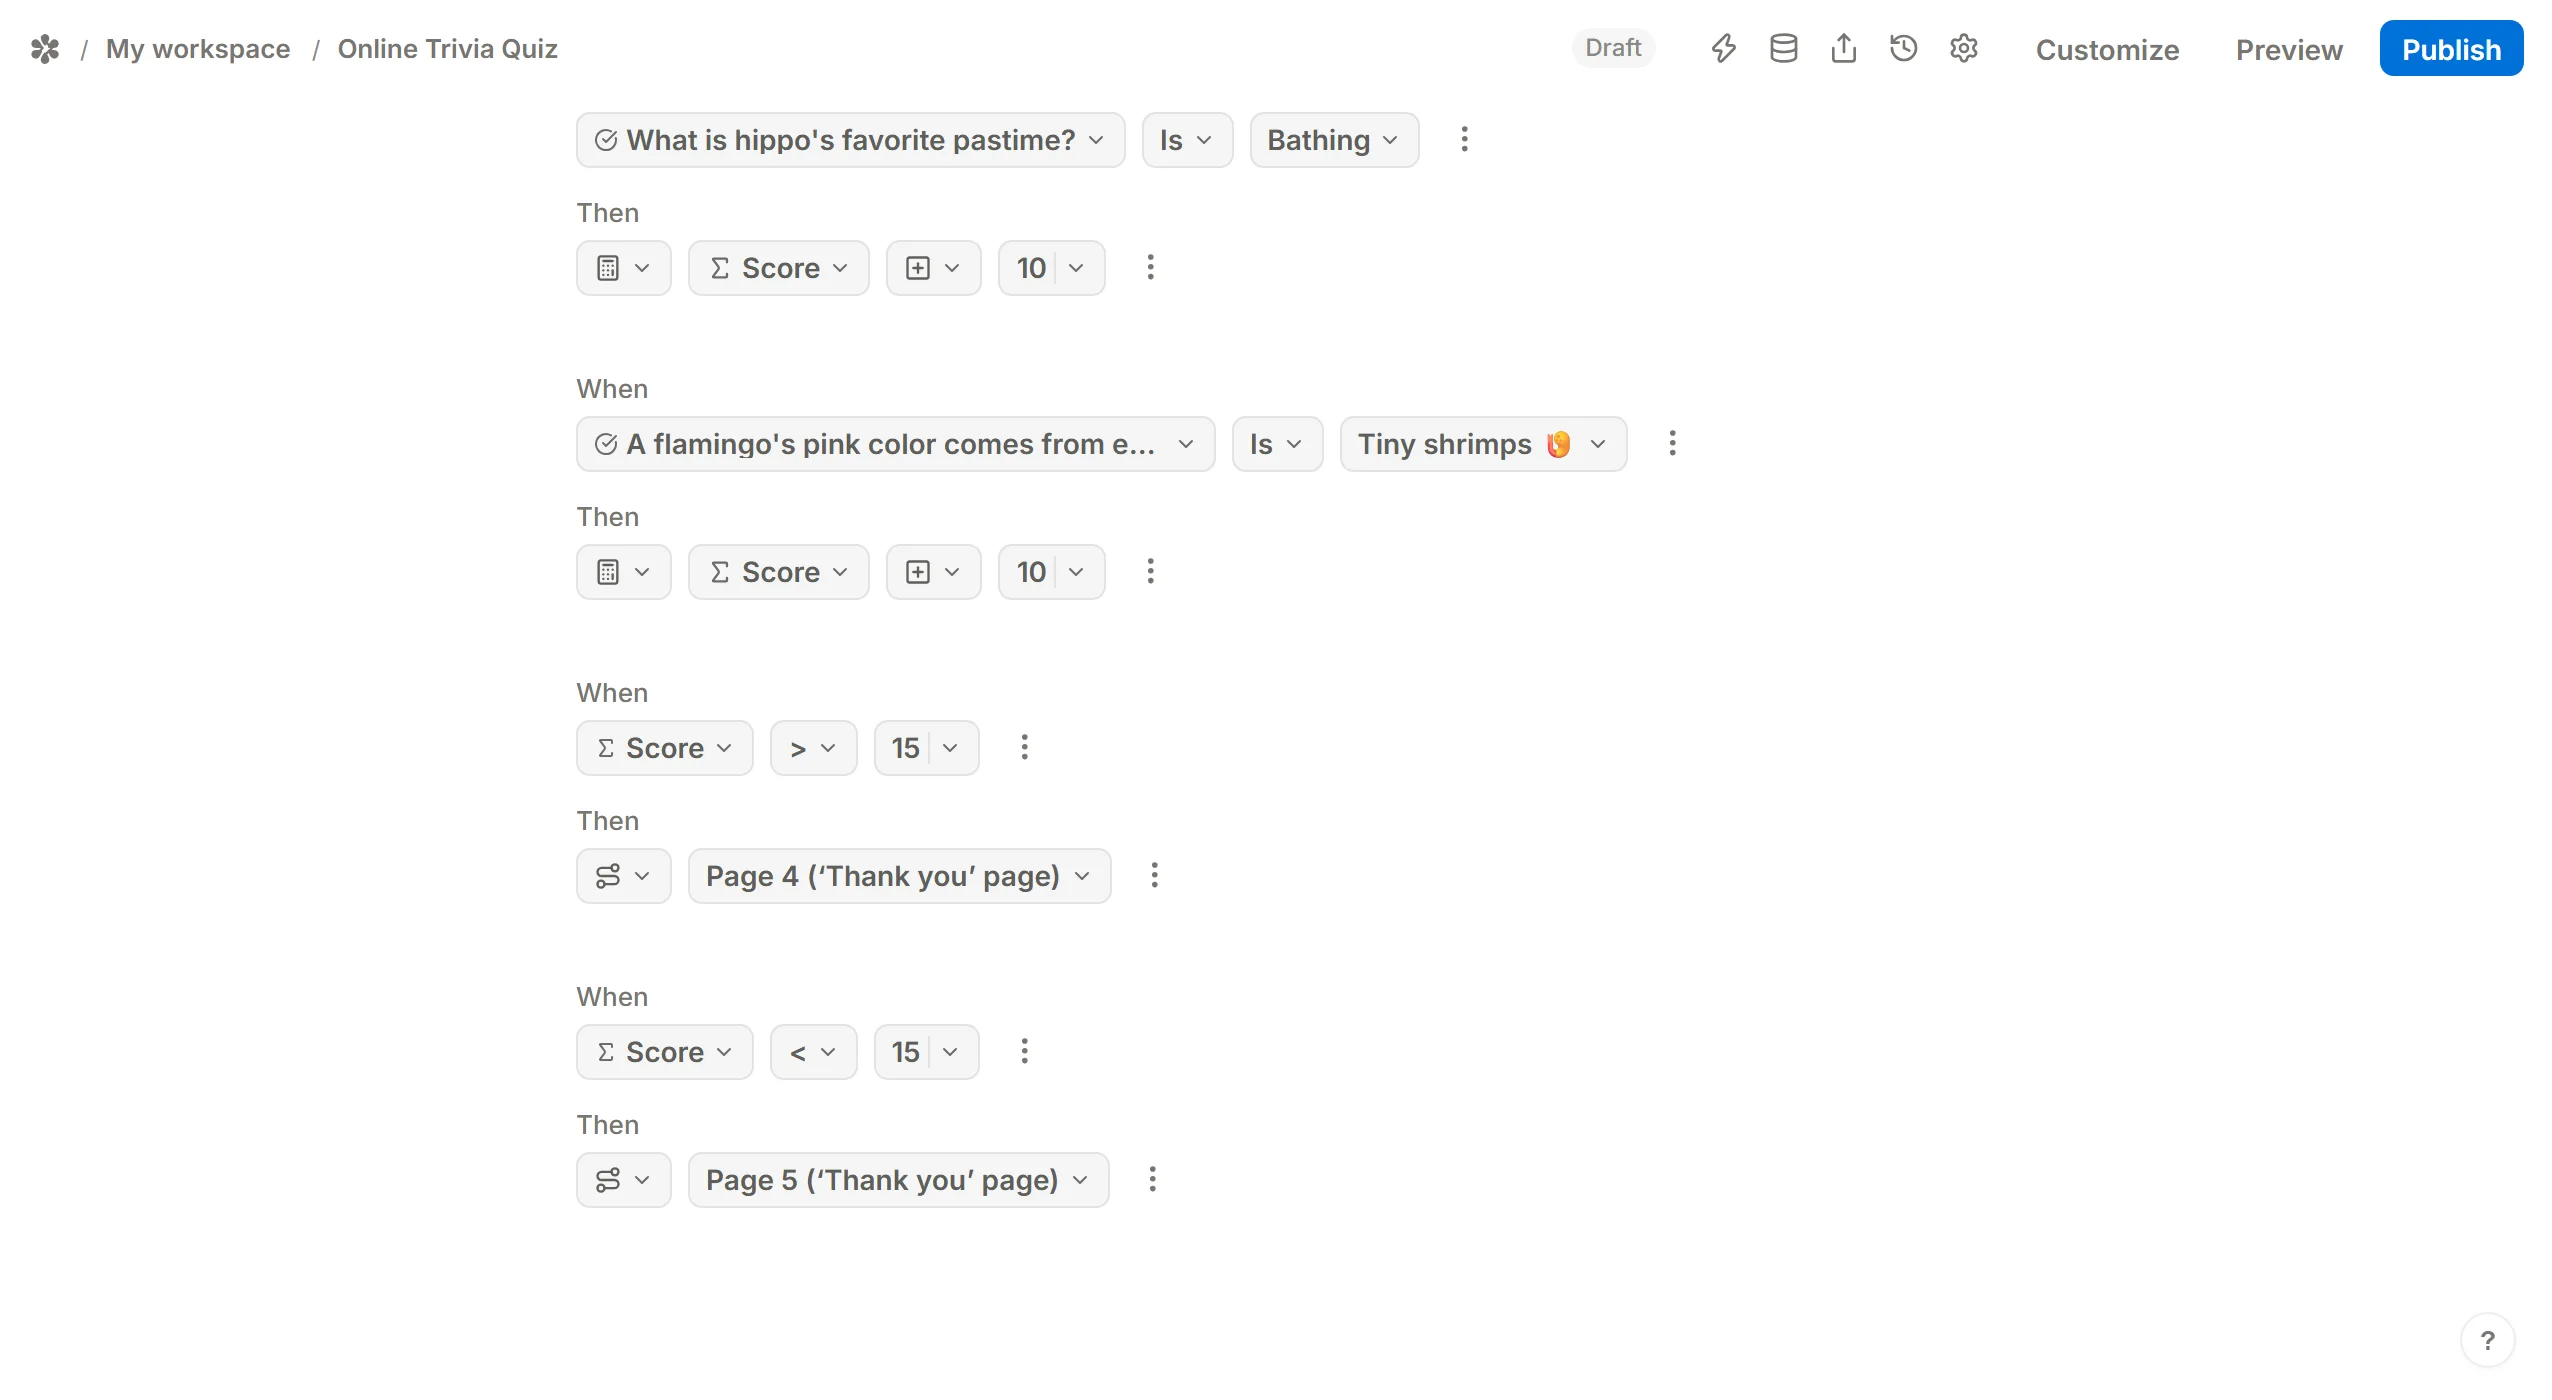
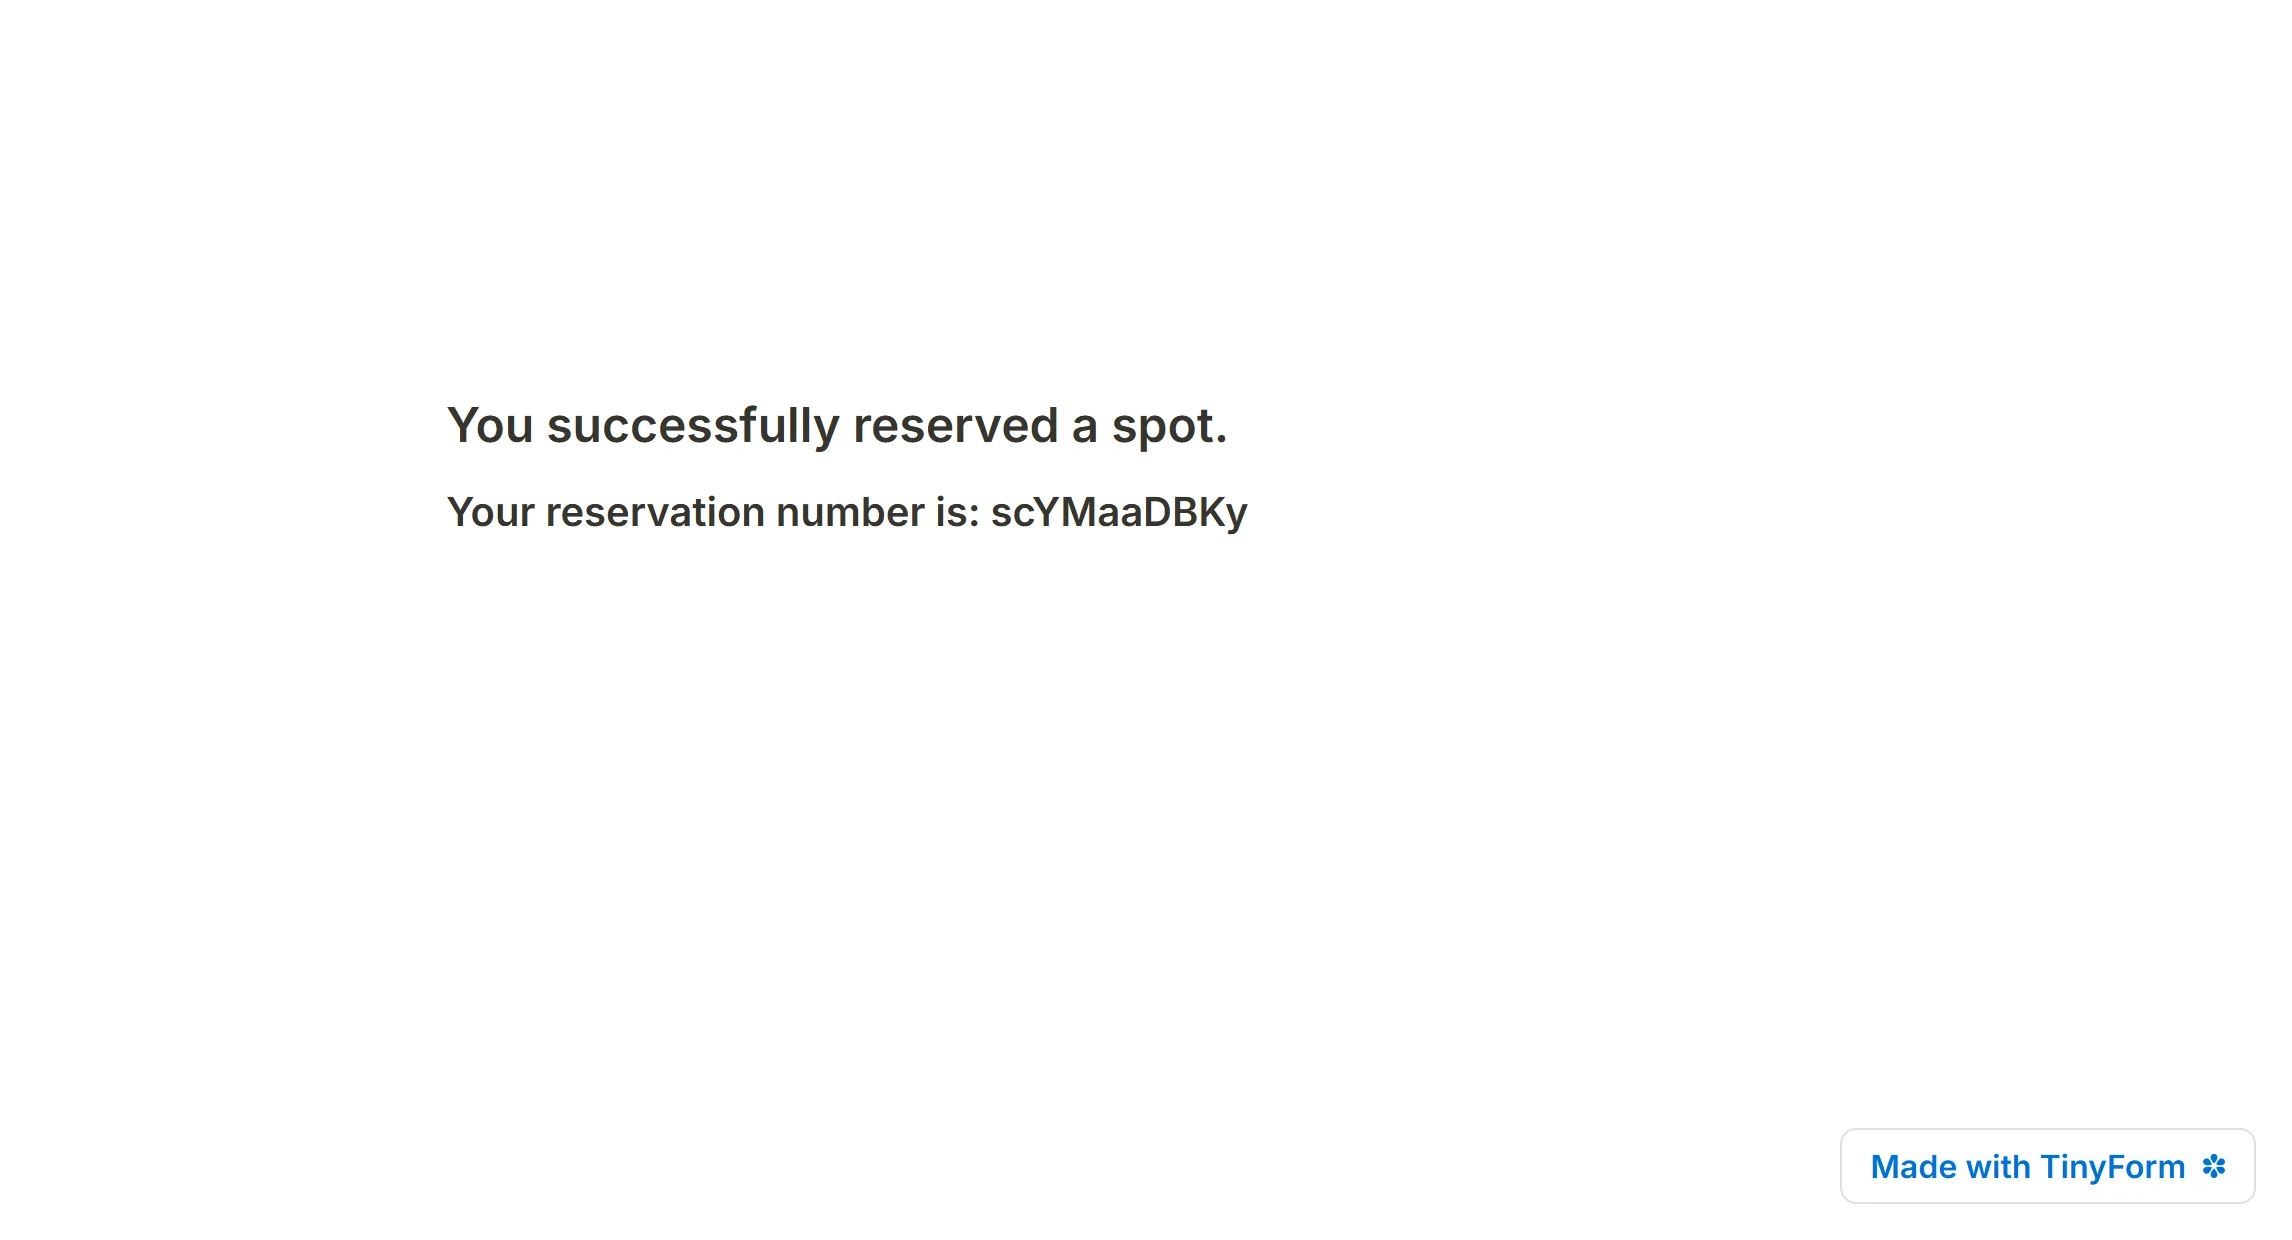
Every submission is given a unique ID when it is stored. It identifies that one fill and nothing else, which makes it usable as a booking reference, a ticket number or a code to quote in a follow-up.
Type @ on the Thank you page and pick Submission ID under Mention the submission. On the published page the mention resolves to the ID the submission was actually stored under. There is no separate respondent ID: the submission ID is the only one offered.
Customize with columns and media
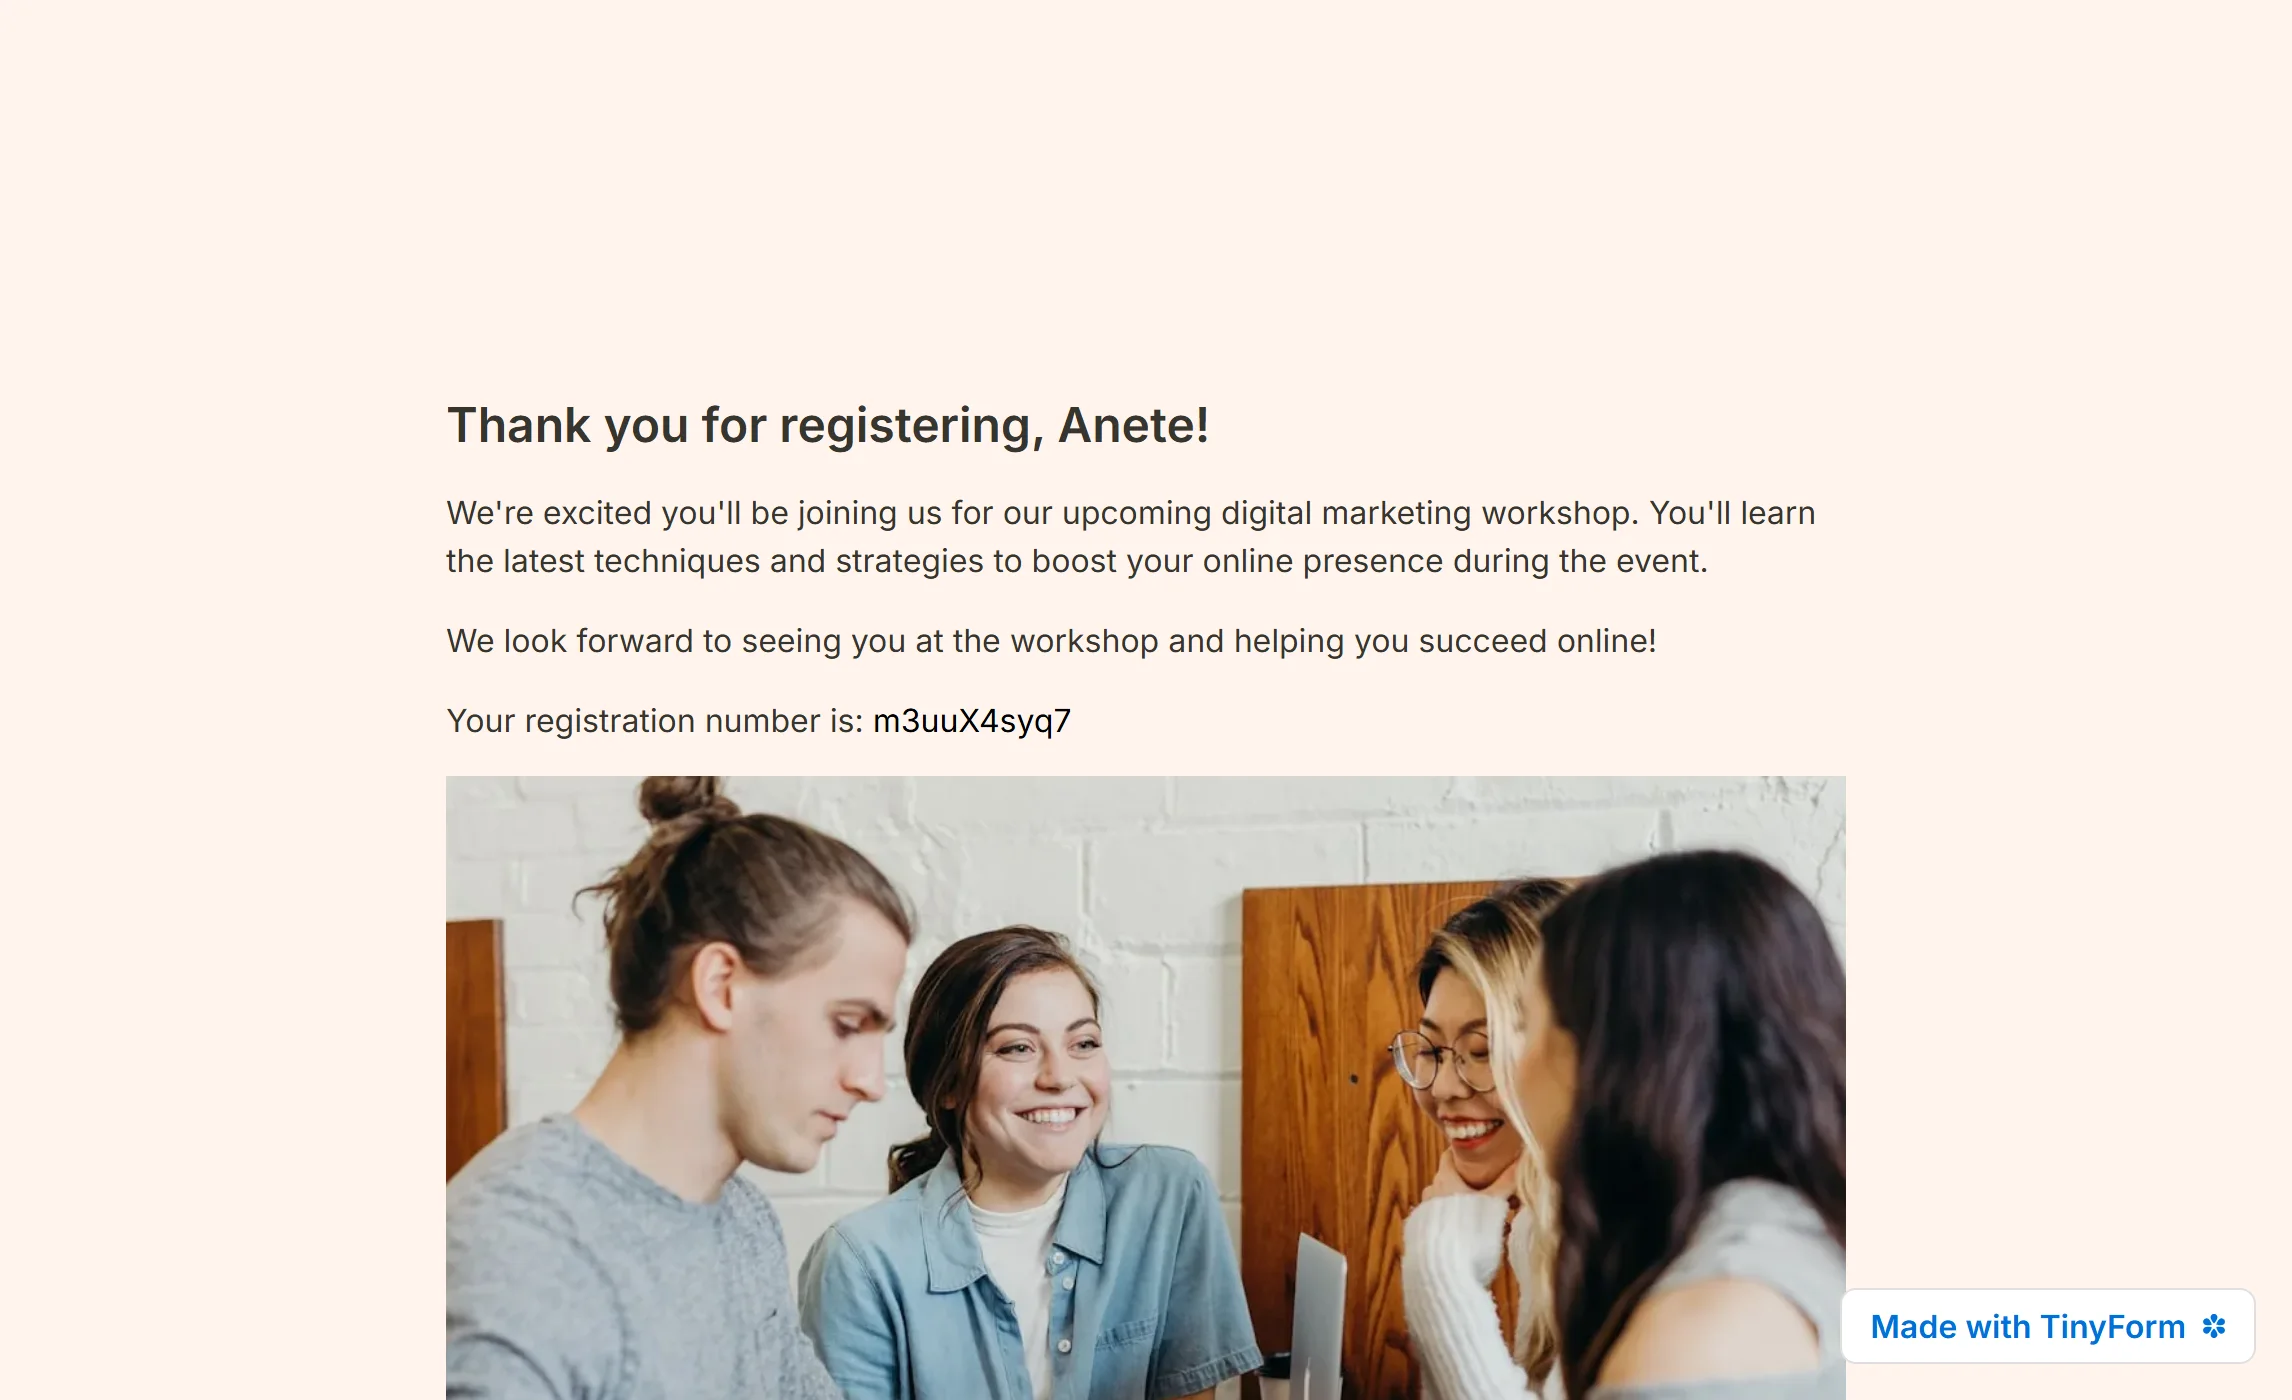
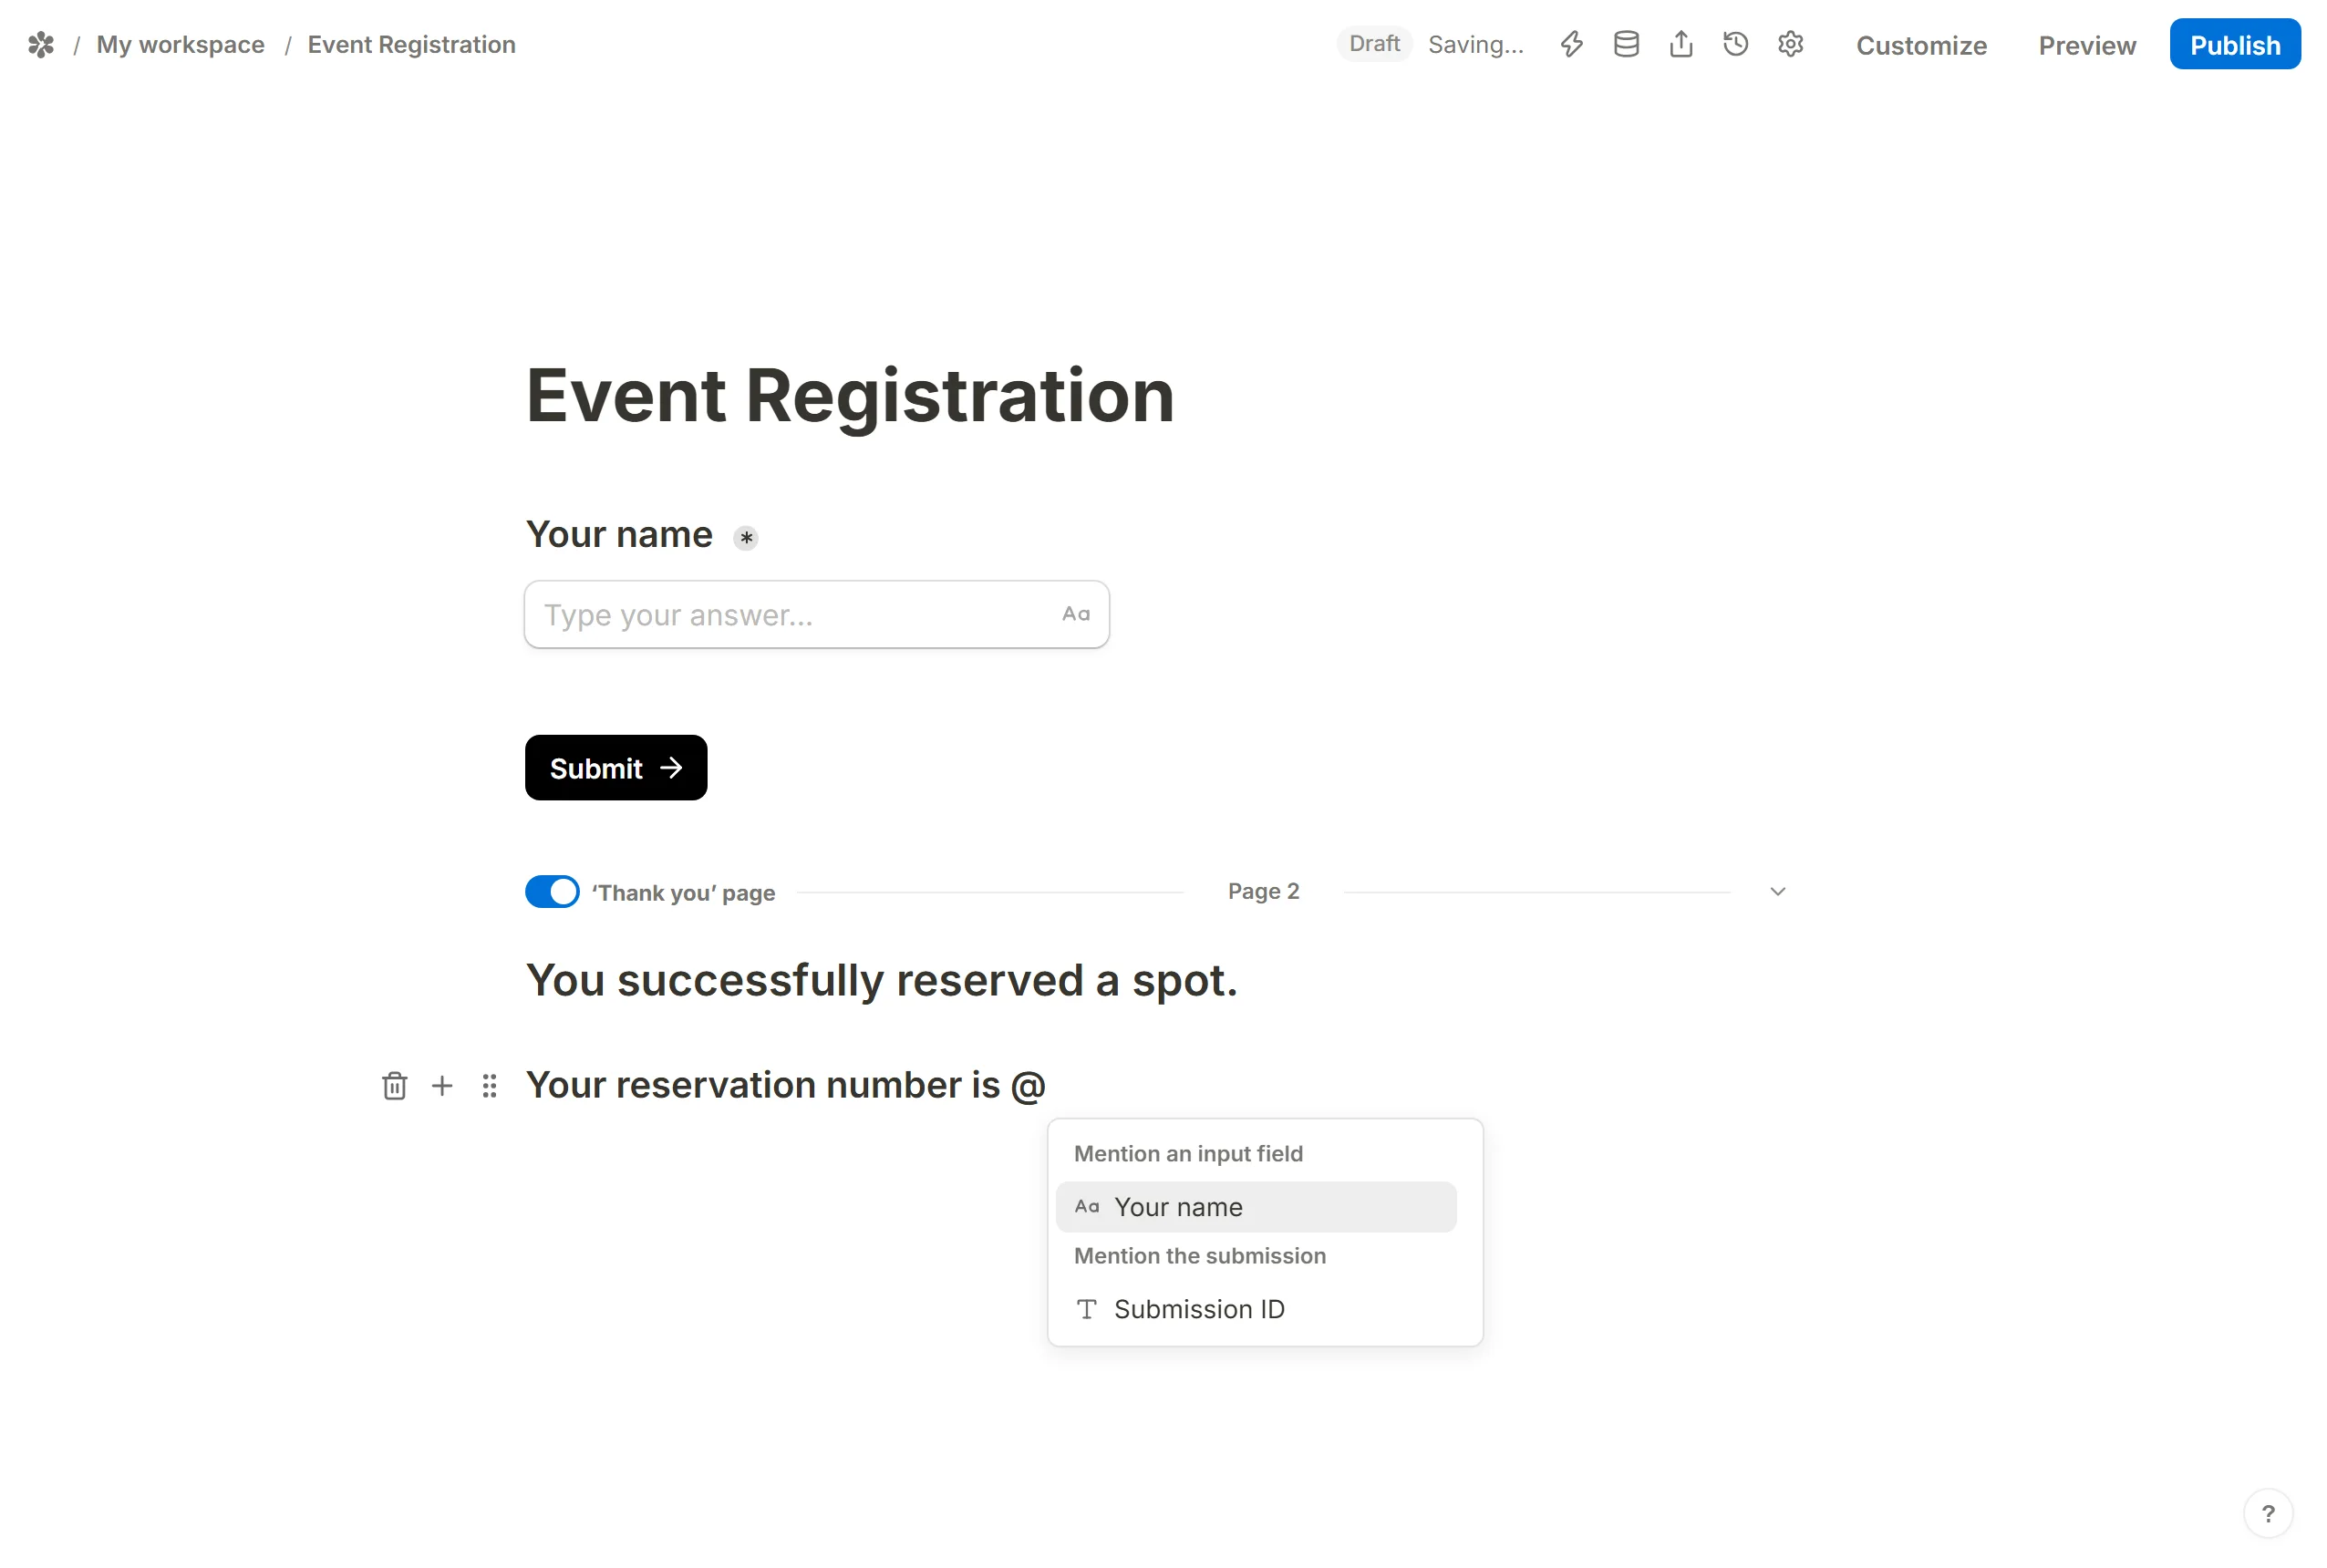

A Thank you page can be as rich as a landing page: a heading, an image beside it, next steps, and a row of links to your site and social profiles. The steps below build the one pictured.
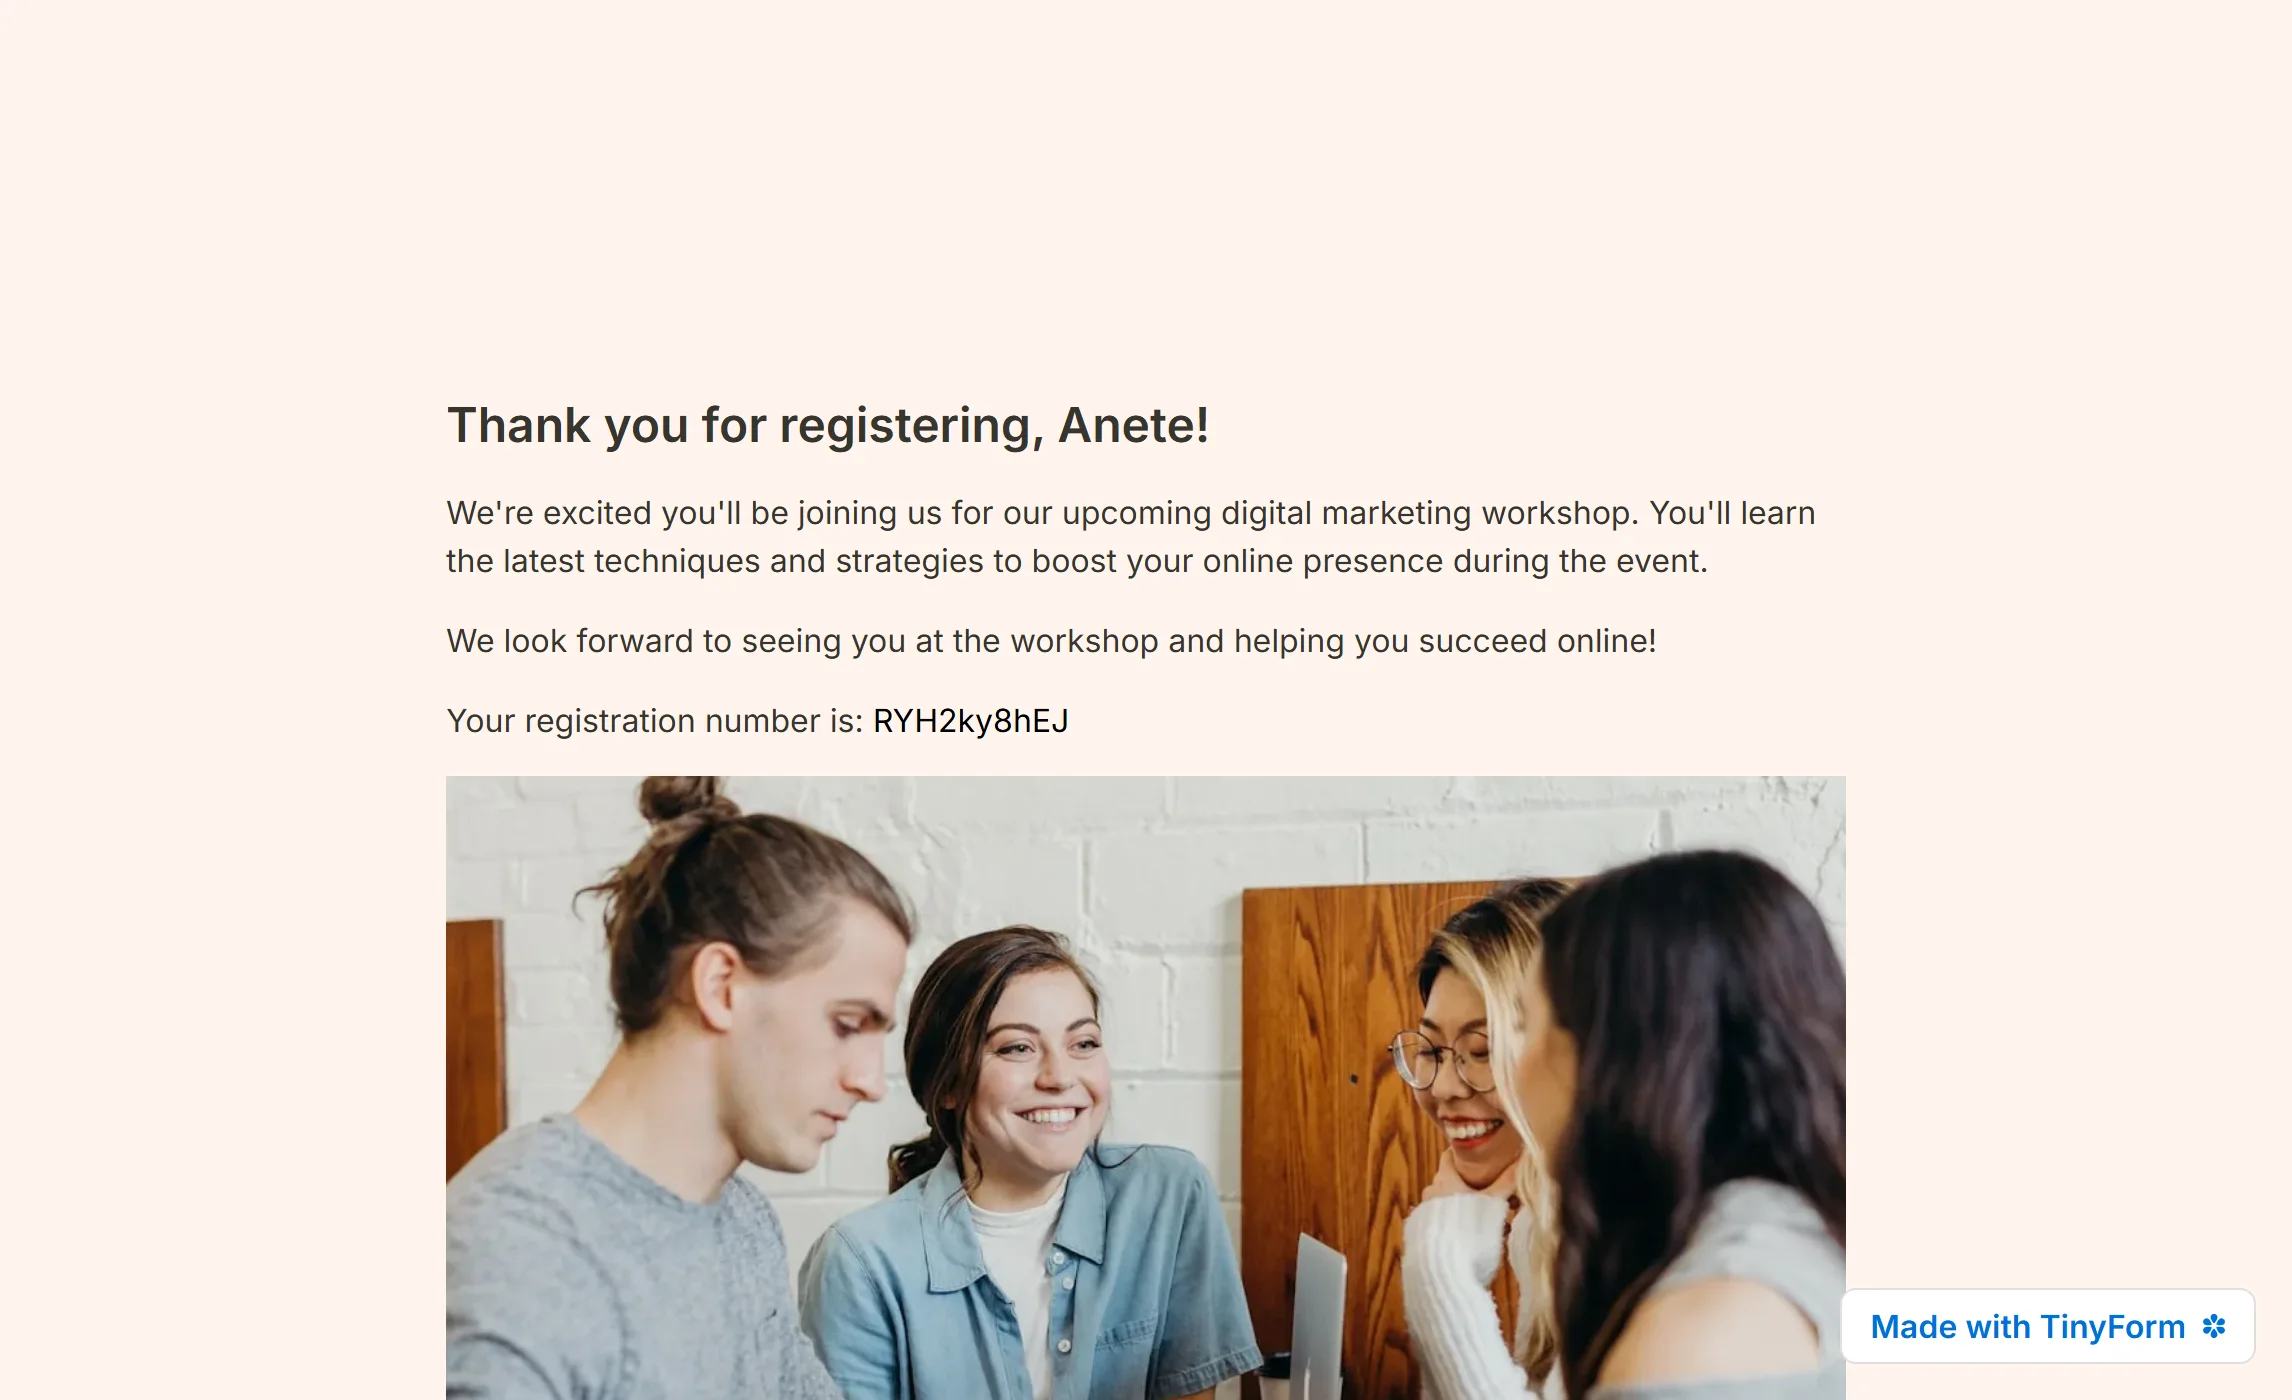
- Type
/thank, or flip the switch on the last page break, to add the page. - Add a heading (
/heading, then pick a size) thanking the respondent. - Personalise it: type
@inside the heading and pick the question that asked for their first name.
- Add a Text block that says what happens next.
- For a registration or ticket code, mention
Submission ID.
- Type
/imageand upload a picture, paste a link to one, or pick one from Pexels. - Drag the text block by its

⋮⋮grip and drop it beside the image to make two columns.

- Hover the seam between the two and drag the
Drag to resize columnshandle until the picture suits the length of the text.
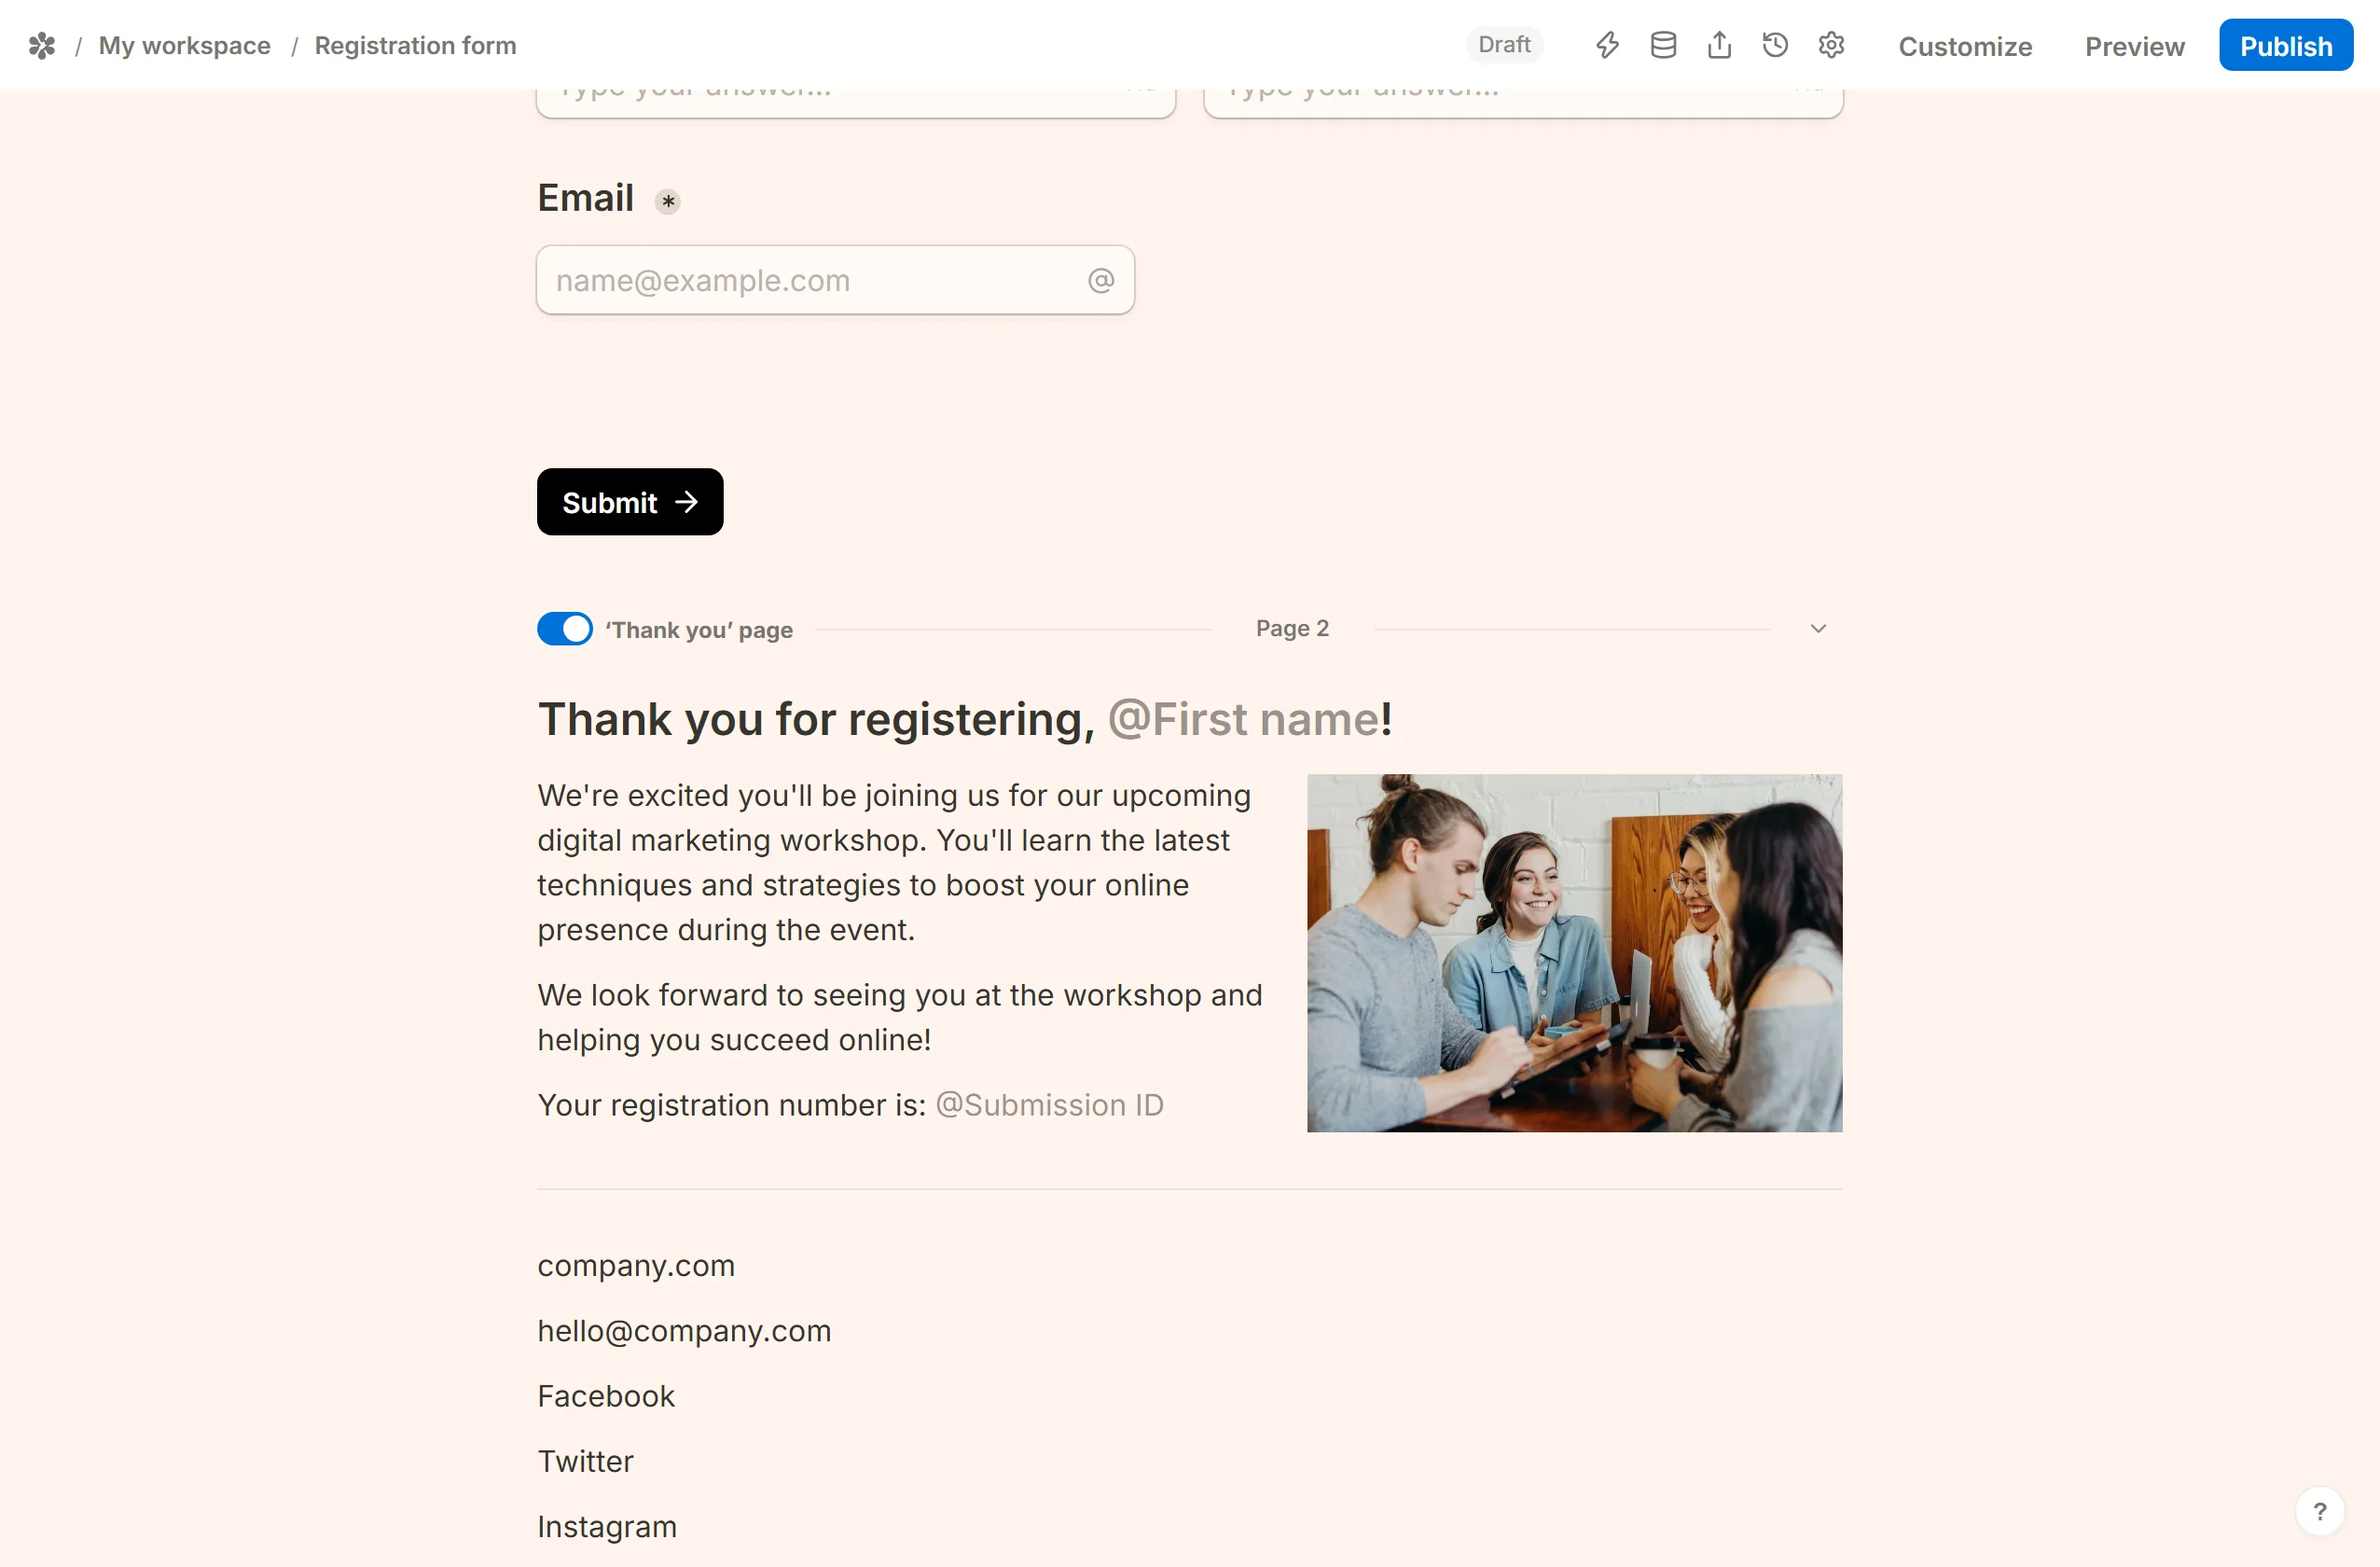
- Type
/dividerunder the pair to separate the message from your contact details. - Add your website, an email address and any social profiles, each on its own line.
- Select each name and press
Add linkin the toolbar, or paste a URL straight onto the selected text. - Drag each link block to the right of the website name.

- Adjust the columns with the handles between the links until the row sits the way you want.
- A few more ideas for the finished page: