Create Forms with file upload in Webflow
Collect documents, images and attachments through a form on a Webflow site: the File upload block, its limits, and the Code Embed element that shows it.
Webflow is a good place to design a site, but a file input on a form is reserved for its higher site plans. If visitors need to send a CV, a screenshot or a photo and you would rather not change plan for it, embed a form instead. A Tinyform form with a File upload question goes into a Webflow page through a Code Embed element, and the upload works inside the frame exactly as it does on the form's own page.
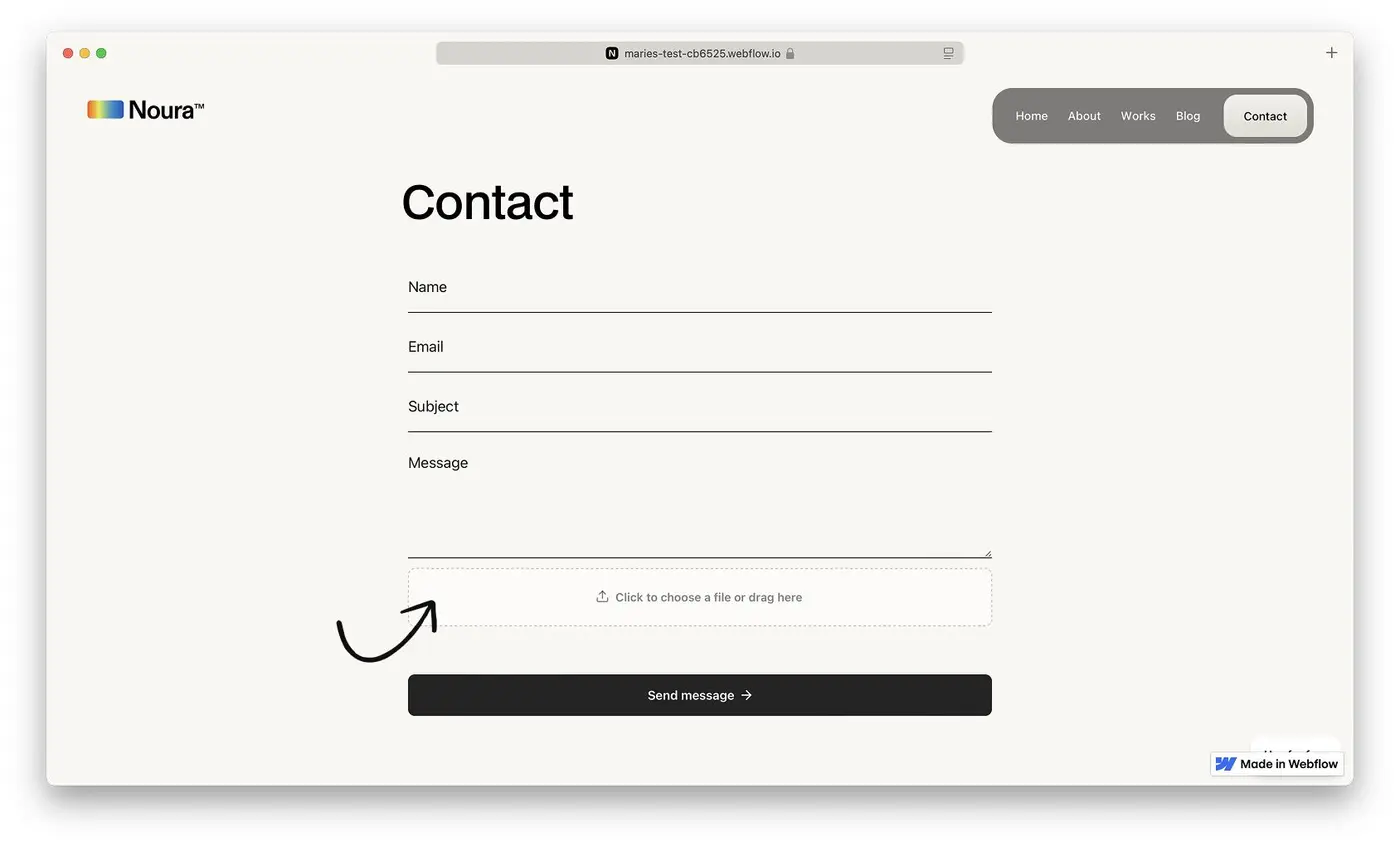
How an embedded form compares with Webflow's
| Embedded form | Webflow form | |
|---|---|---|
| File uploads | On every form, up to 10 MB a file and 5 files a question | Only on the Business and Ecommerce site plans |
| Where the files live | A private bucket on your own install, with no public address | Webflow's storage |
| Conditional logic | Show, hide, require, jump, calculate | None |
| Setup | Insert a block, paste a snippet | Configure the file input in the Designer |
Create a form with a file upload
In the editor at /forms/<id>/edit, type / on an empty line and pick File upload. The block's settings hold Multiple files, Min files and Max files, Max size (MB) and Allowed files, which restricts the upload to certain types. Whatever the settings say, a file cannot be larger than 10 MB and a question cannot take more than 5. File upload forms goes through each setting.
What a respondent attaches is stored in a private bucket with no public address. The files are reachable only from the form's Submissions tab, one at a time on each row or all together as a ZIP.
Embed the form in Webflow
Press Publish in the editor and open the Share tab. Embed Form opens the embed dialog, where the embed type is chosen at the top.
Leave the type on Standard, check the switches, and press Get the code.
Add a Code Embed element
In Webflow, drag a Code Embed element into your layout, or start a blank page for a full-width form.Paste the snippet
Paste the code into the HTML embed editor that opens and pressSave & Close.Publish
PressPublishat the top right, choose the domains, and open the live page. Uploads go straight from the visitor's browser to your Tinyform install; the Webflow page never handles the bytes.
Send the submissions on
Every fill lands in the form's Submissions tab. A webhook posts each one to an address of your choosing as it is made, and the REST API reads them back. Direct connections to the tools below are on the way; the Integrations section shows what is live today.