How to create a free personality quiz
Build a personality quiz: count points per outcome with calculated fields, send each respondent to the matching ending page, and email them their type.
A personality quiz does not add up right answers; it counts which kind of answer someone picks most and hands them the outcome that fits. Tinyform builds one from the same parts as a scored quiz, with one calculated field per outcome instead of one for the total, and a set of ending pages the respondent is routed to. This guide sets it up step by step.
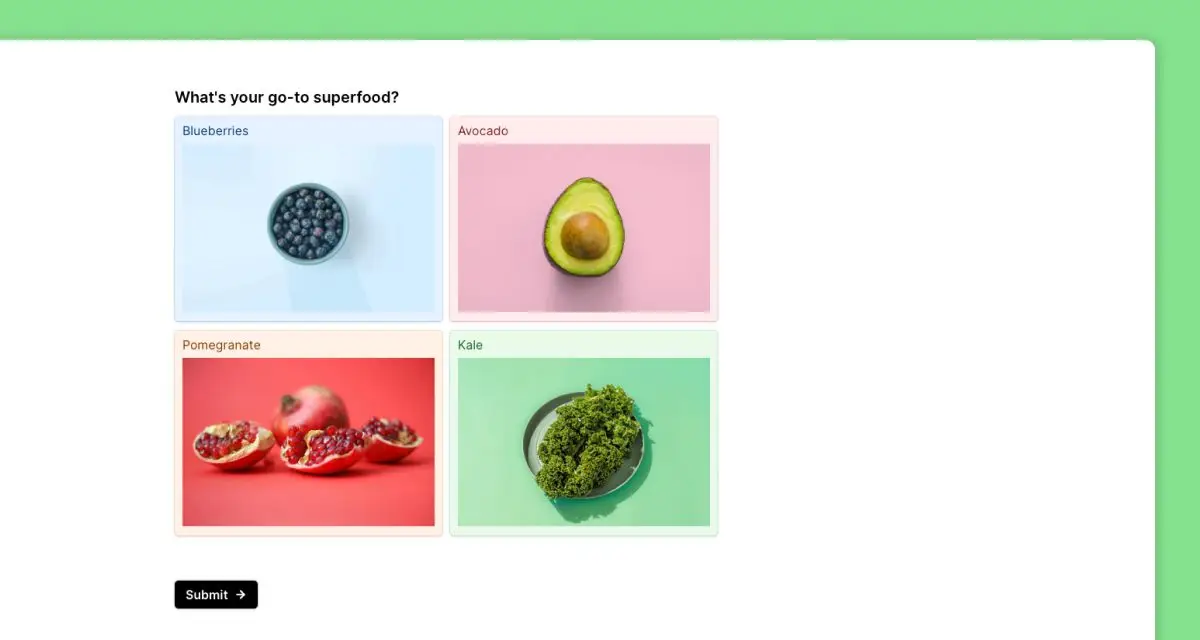
What a personality quiz is
A personality or category quiz tells the respondent something about themselves: which dessert they are, which working style they have, which product line suits them. Each question offers a few options, every option leans towards one outcome, and the outcome with the most picks at the end is the result.
Using a quiz for marketing
A quiz is cheap to make, takes a respondent two or three minutes, and gets shared more than most forms do. With Customize your form you can give it your logo, colours and font so it reads as part of your brand rather than as a survey. A kitchen retailer could match visitors to a style of kitchen; a skincare brand could identify a skin type and suggest a product for it.
Other ways a quiz earns its keep:
- Offer the result in exchange for an email address.
- Recommend a product or a plan that matches the outcome.
- Make something people want to post, which brings new visitors.
- Learn what your audience cares about from the answers themselves.
- Follow up with content that fits the outcome each person got.
Building the quiz
Personality quizzes work by giving each answer option a point towards one outcome. Say the outcomes are A, B, C and D: every question has four options, one per outcome, and each option adds one point to its outcome's counter. Whoever picks mostly A answers is type A.
1. Start from the template
Open /templates/personality-quiz-template and press Use this template. The copy that lands in your workspace already has sample questions, one counter per outcome, the logic that increments them, and the routing to the ending pages, so most of the work is renaming rather than wiring.
2. Reword the questions
Keep the outcomes in mind and rewrite each question title and its options. Two things make the questions livelier:
- An
Embed anything, video or audio block between questions, when a clip is the thing being reacted to. - An image on each option, set from the option's own menu (
Image), so a question can be answered by picture.
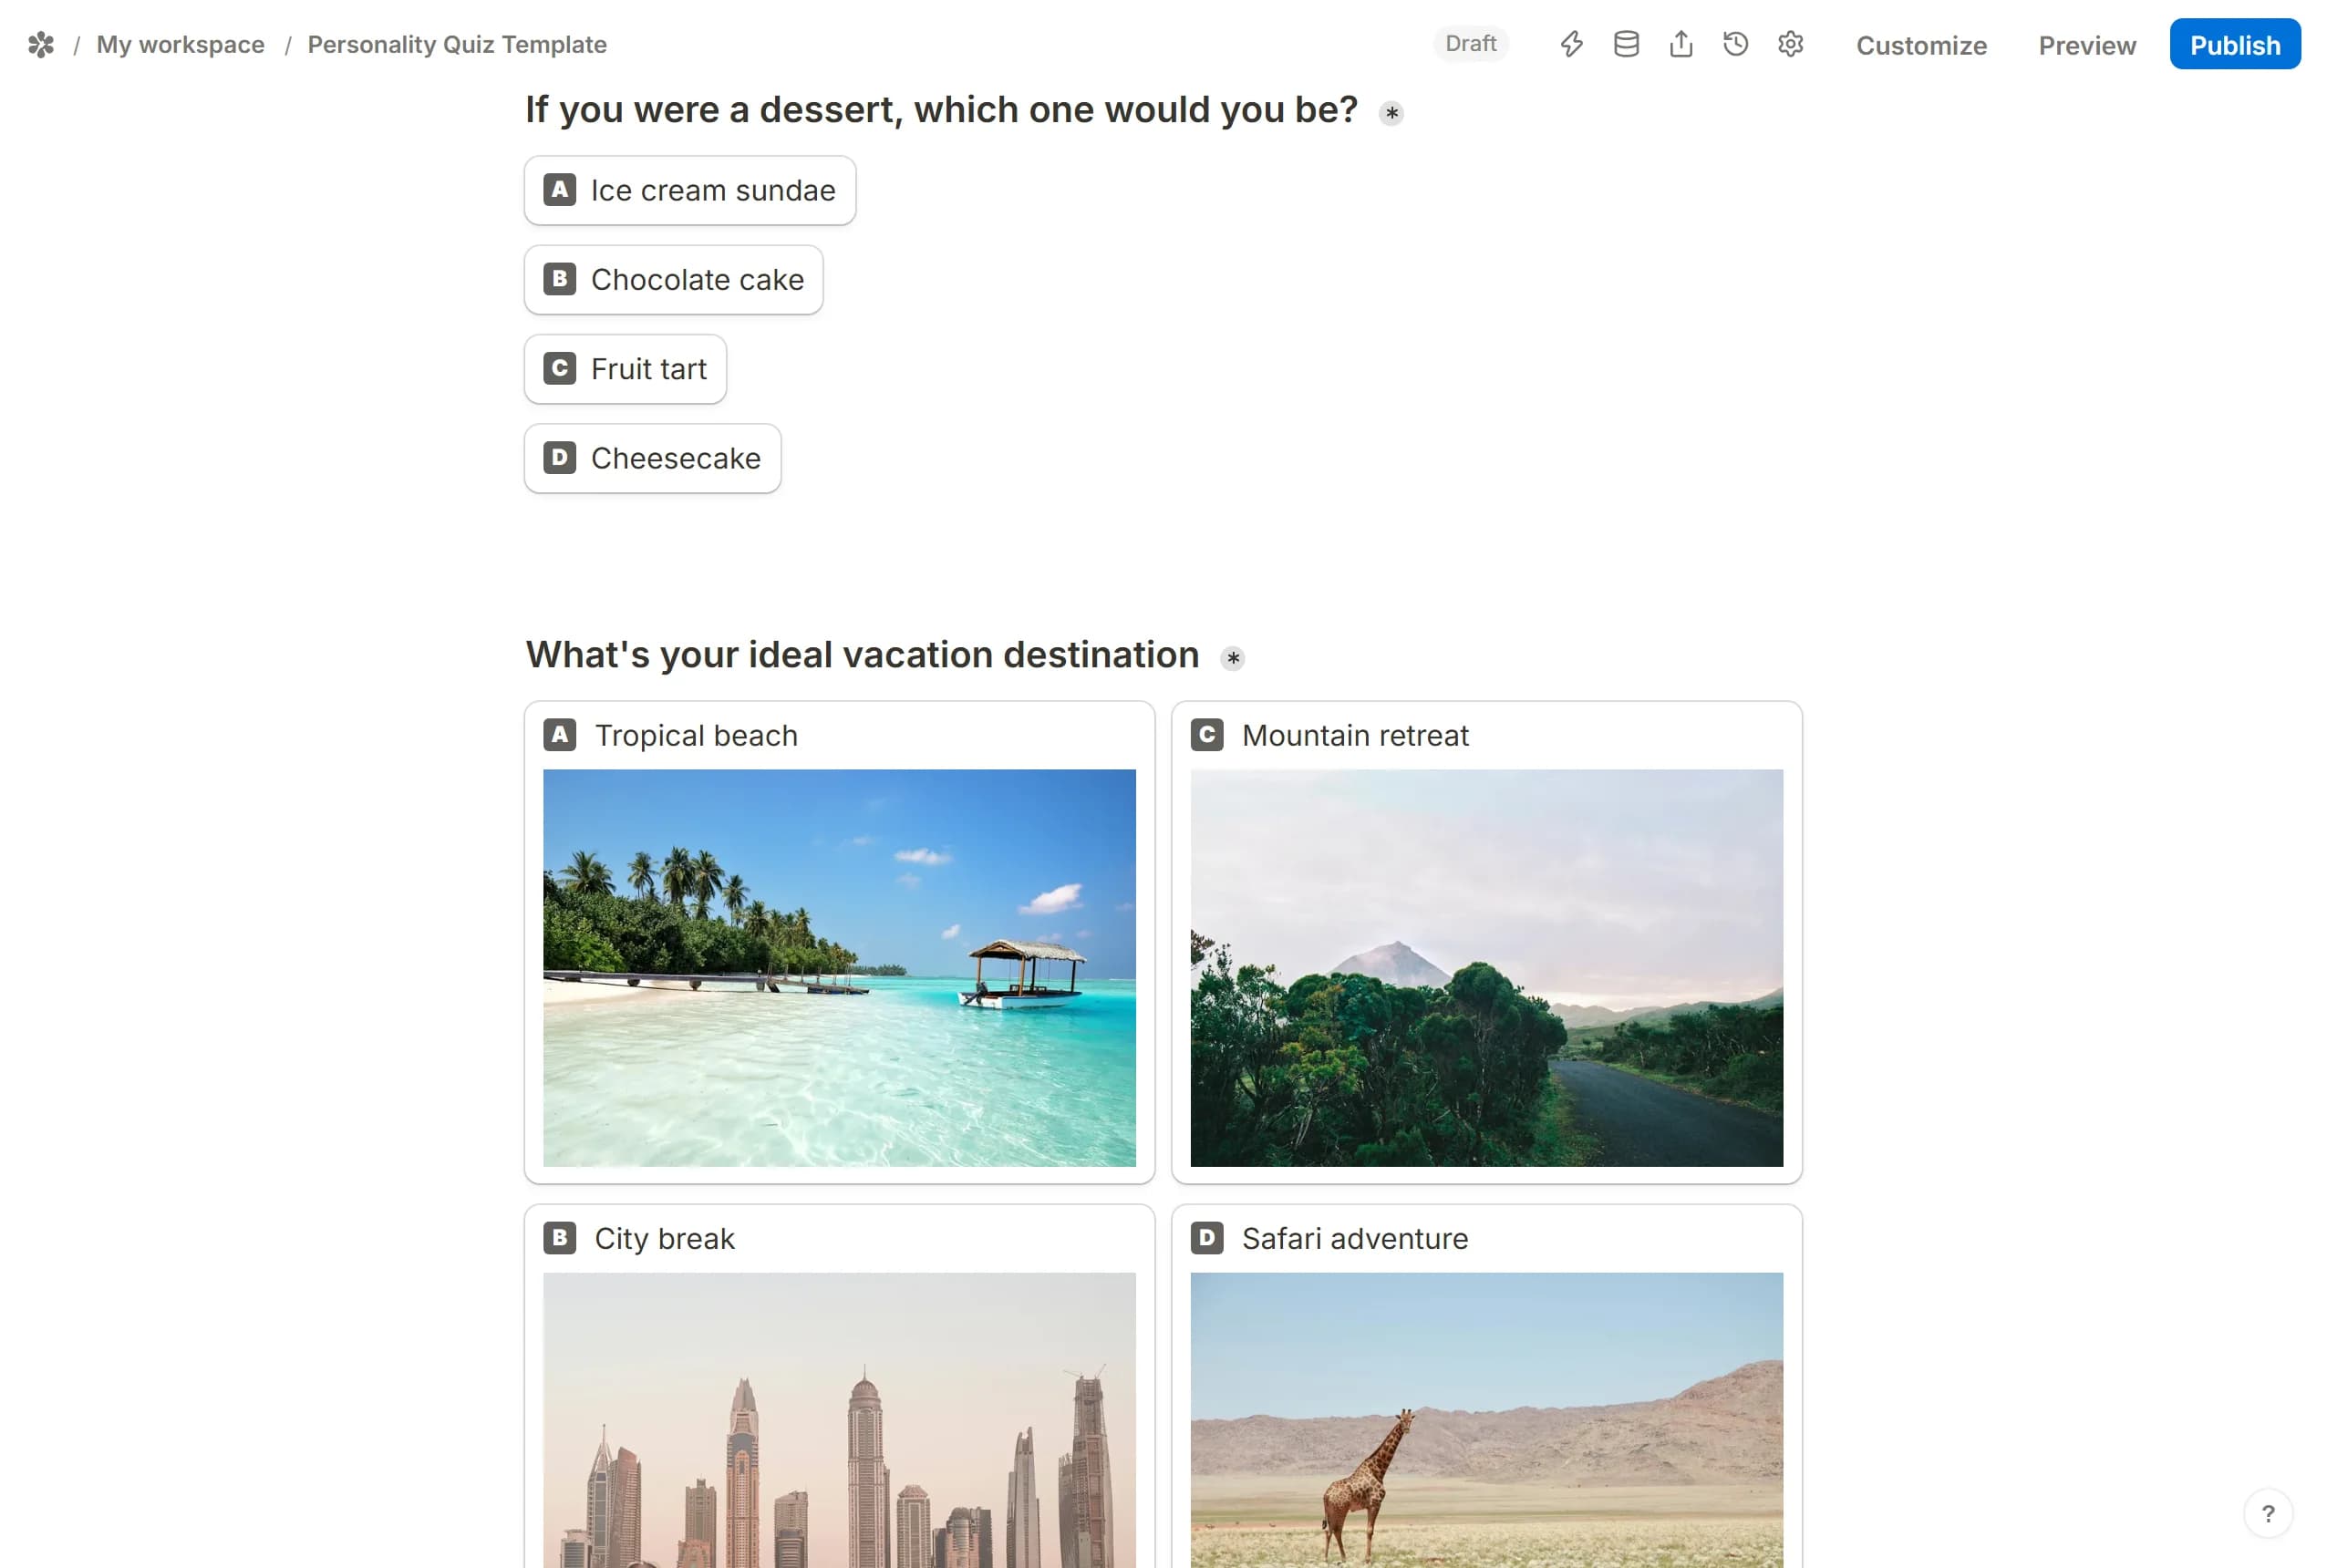
You can reorder the options, but the logic block under a question reads a specific option, so make sure each option keeps pointing at the outcome it counts for. If option A means "Adventurer" in question one, an option that counts for Adventurer in question two must be the one the logic block names, wherever it sits in the list.
3. Add more questions
Each new question needs the same set of logic blocks under it as the ones in the template. The quickest way to get them is to copy an existing question and its blocks: open the question's block menu from its ⋮⋮ handle and choose Duplicate, then do the same for each logic block beneath it. The copies land right under the originals; drag them into place and reword the question.
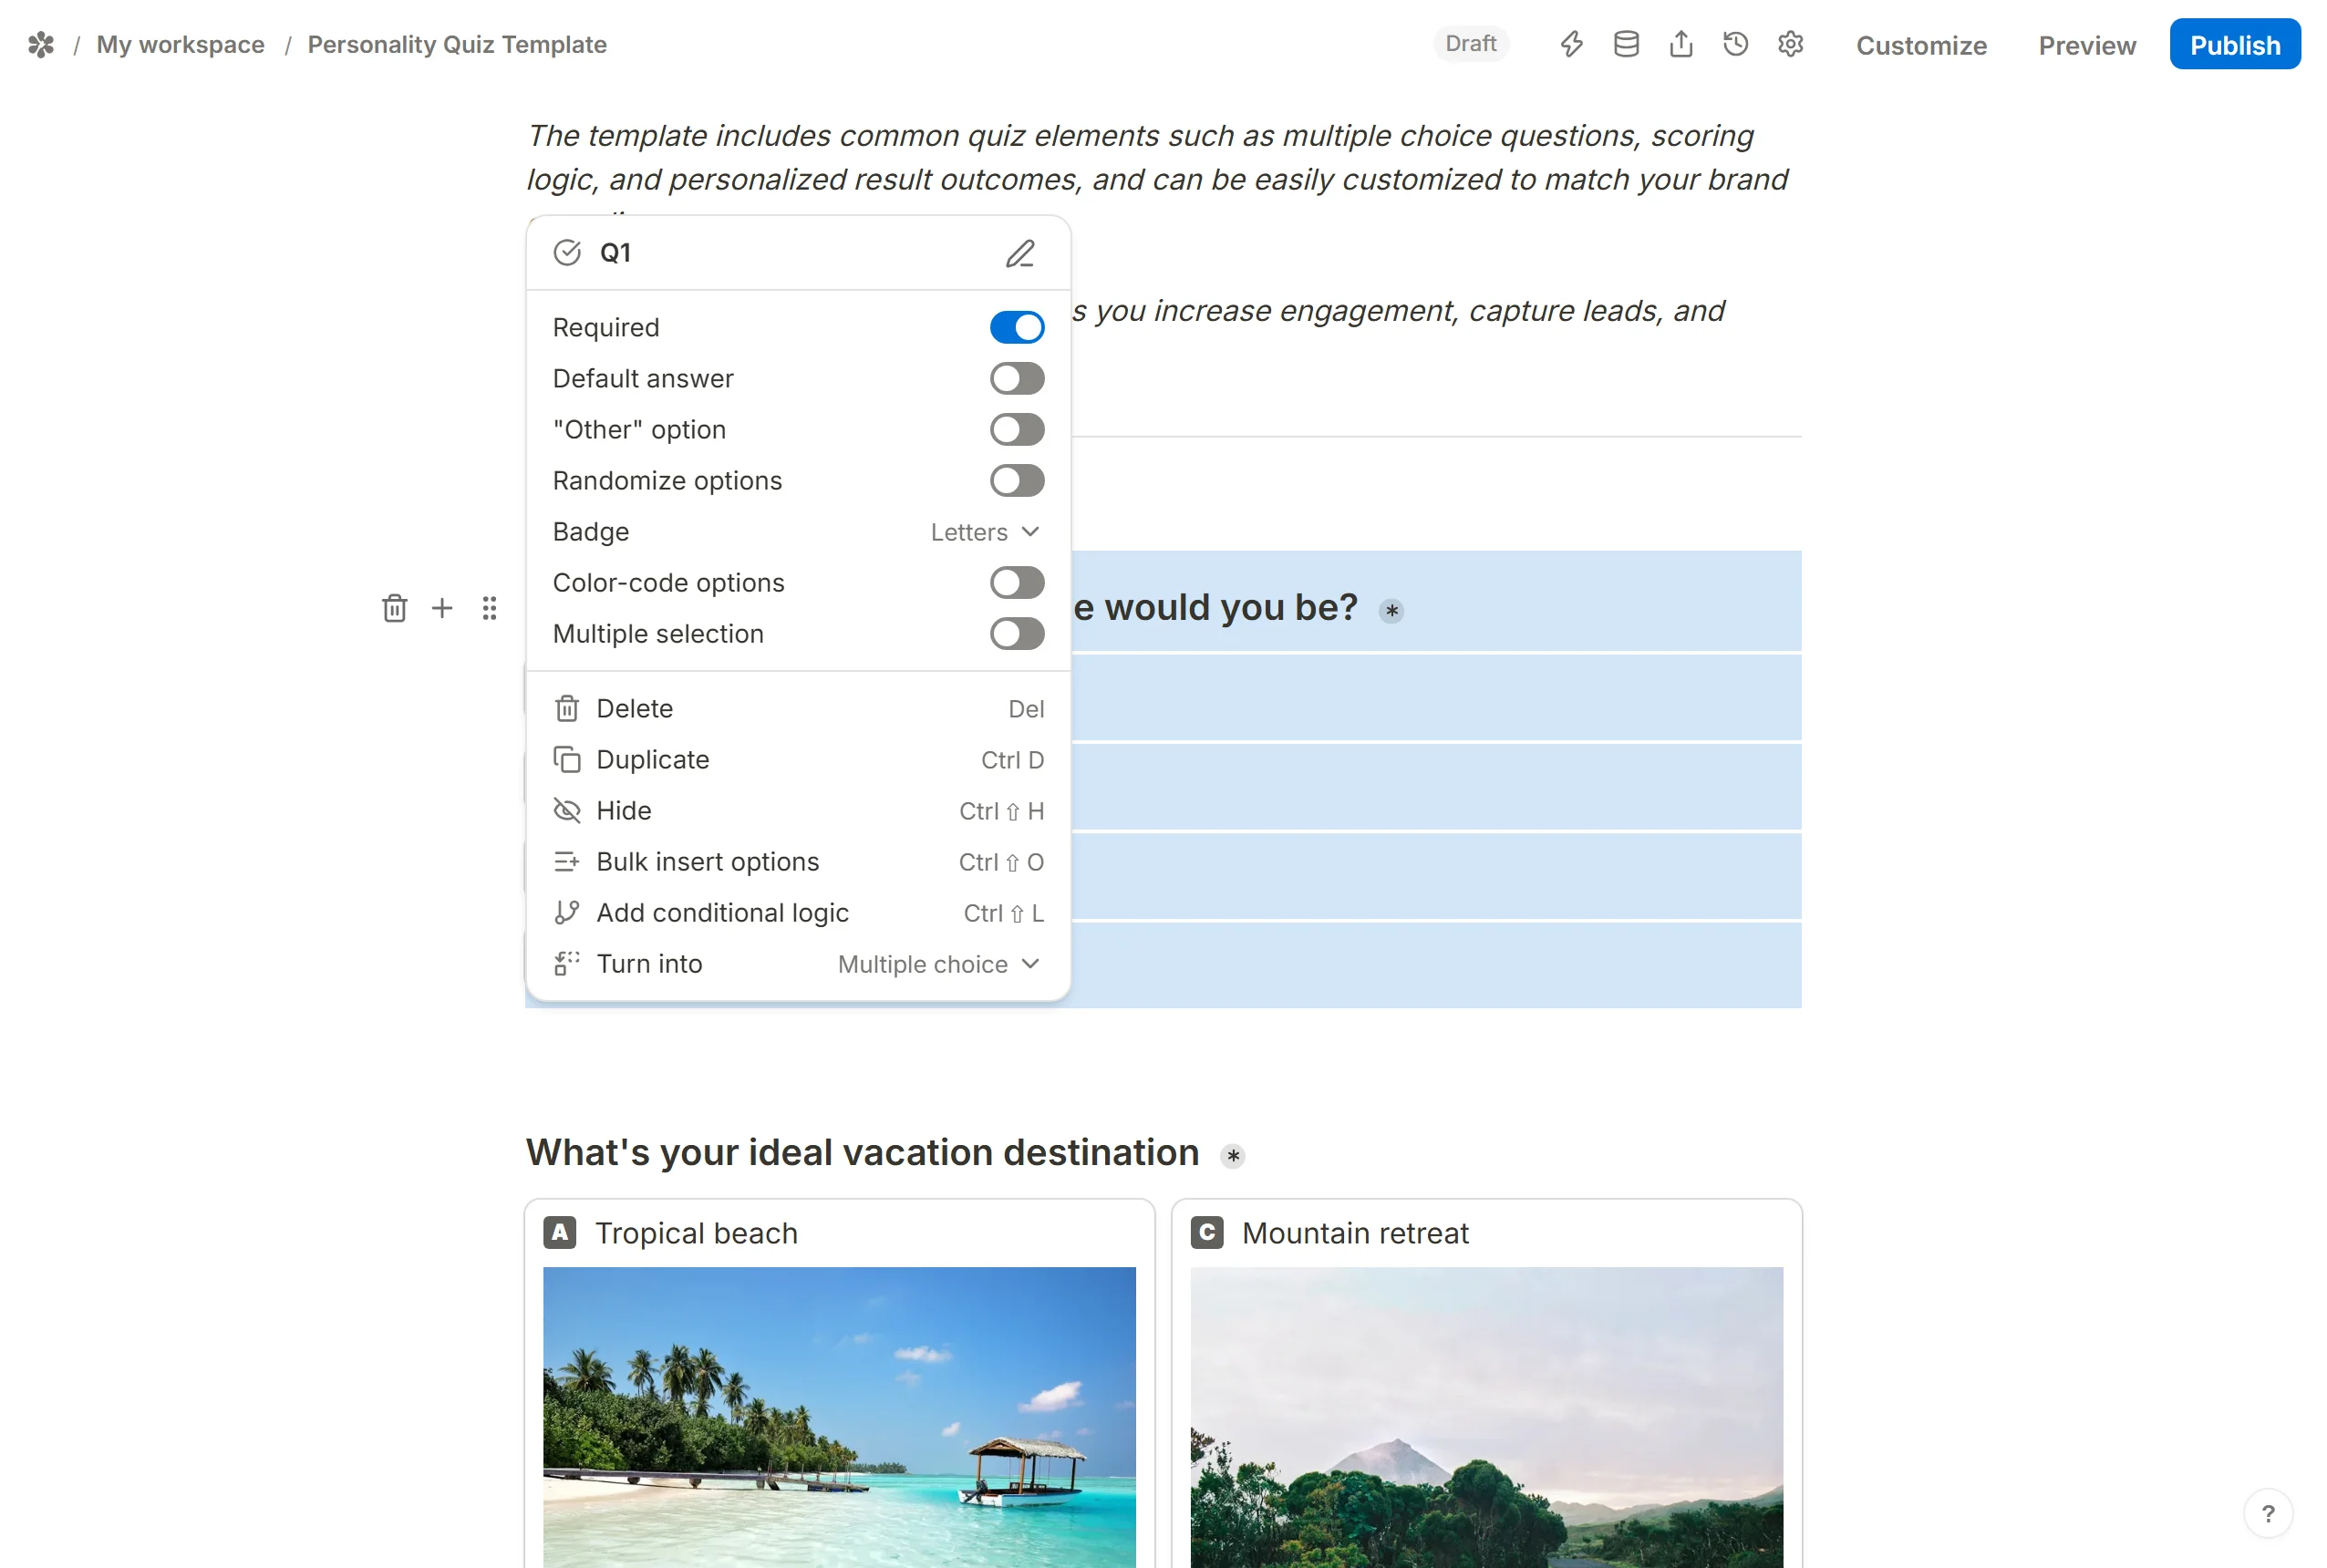
Repeat until the quiz has as many questions as you want. Each duplicated logic block still points at the counter it was copied from, so check that the copy under a new question reads the new question's option and not the old one's.
4. Name the outcomes

Below the last question sits a set of calculated fields and logic blocks that do the counting: one block counts the A picks, one the B picks, and so on, and a further set compares the counters and decides which ending to show. Respondents never see any of this.
The only edit these need is the name each outcome hands the respondent. Each of the four deciding blocks ends with an Assign action that writes a title into the text field named mostPicked and then a Jump to page to that outcome's ending page. Where the template assigns "Adventurer" for the most-picked A, put the label you want. Do the same for the other three.
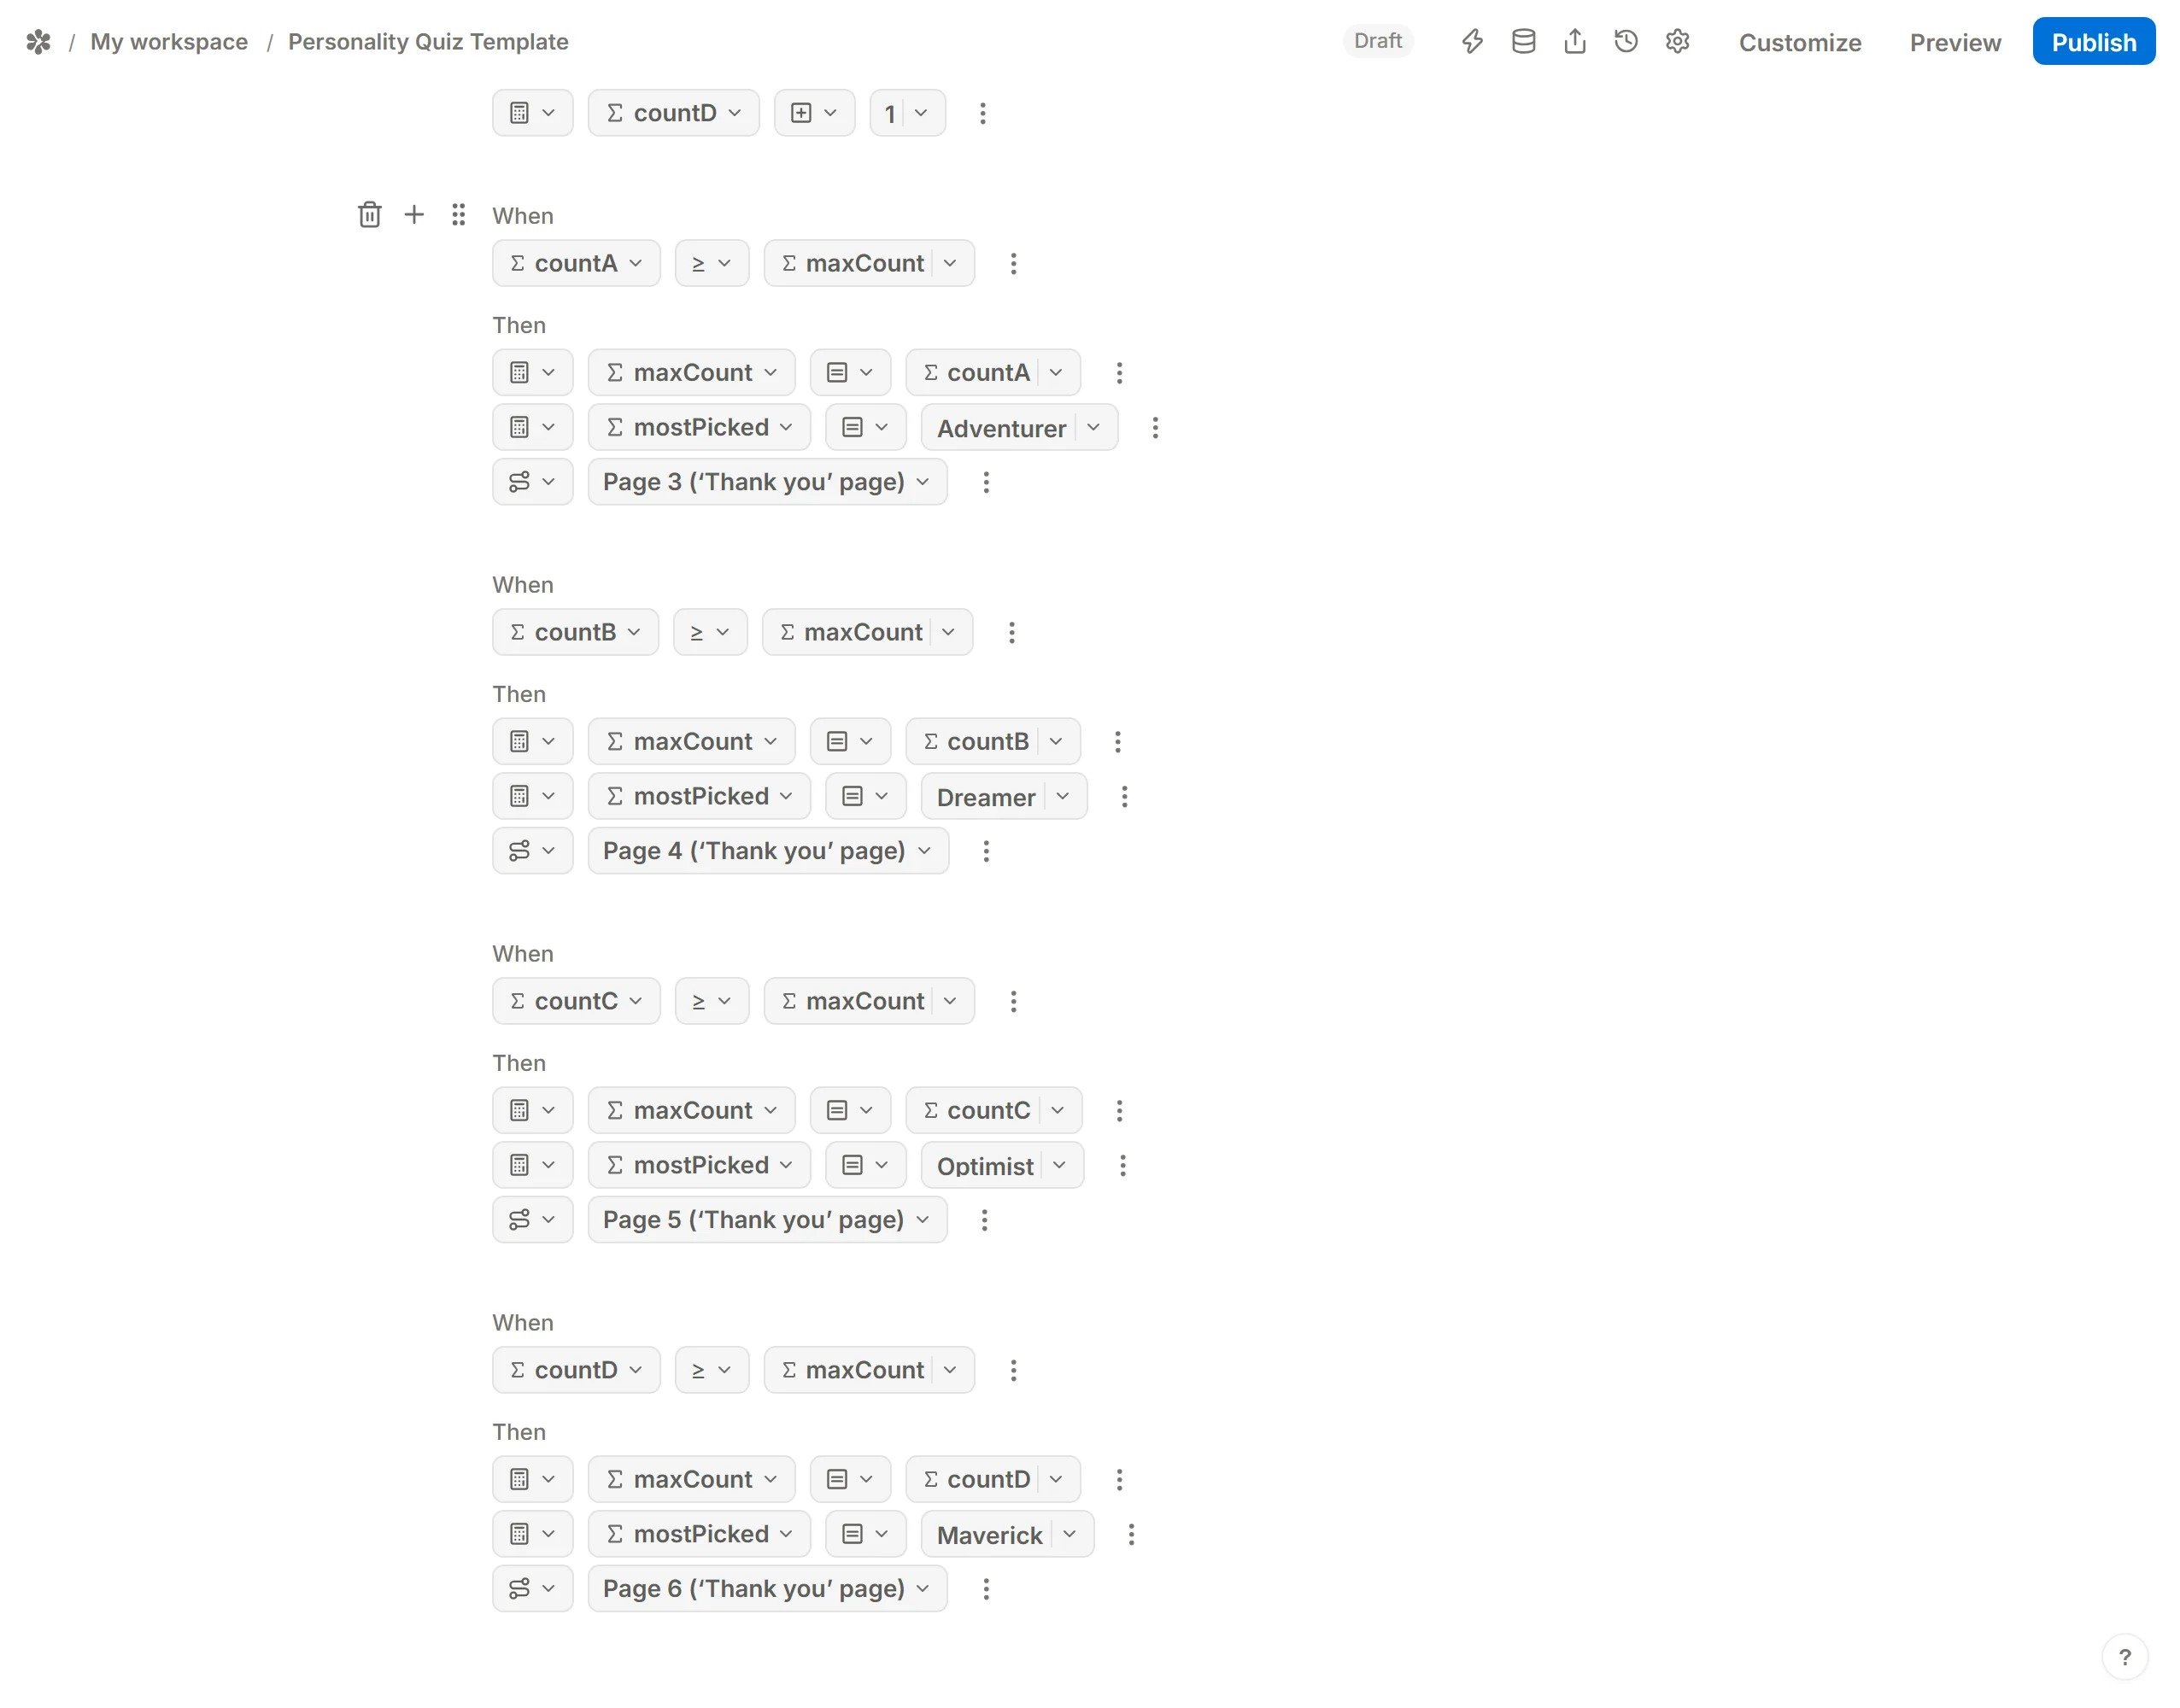
5. Write the ending pages
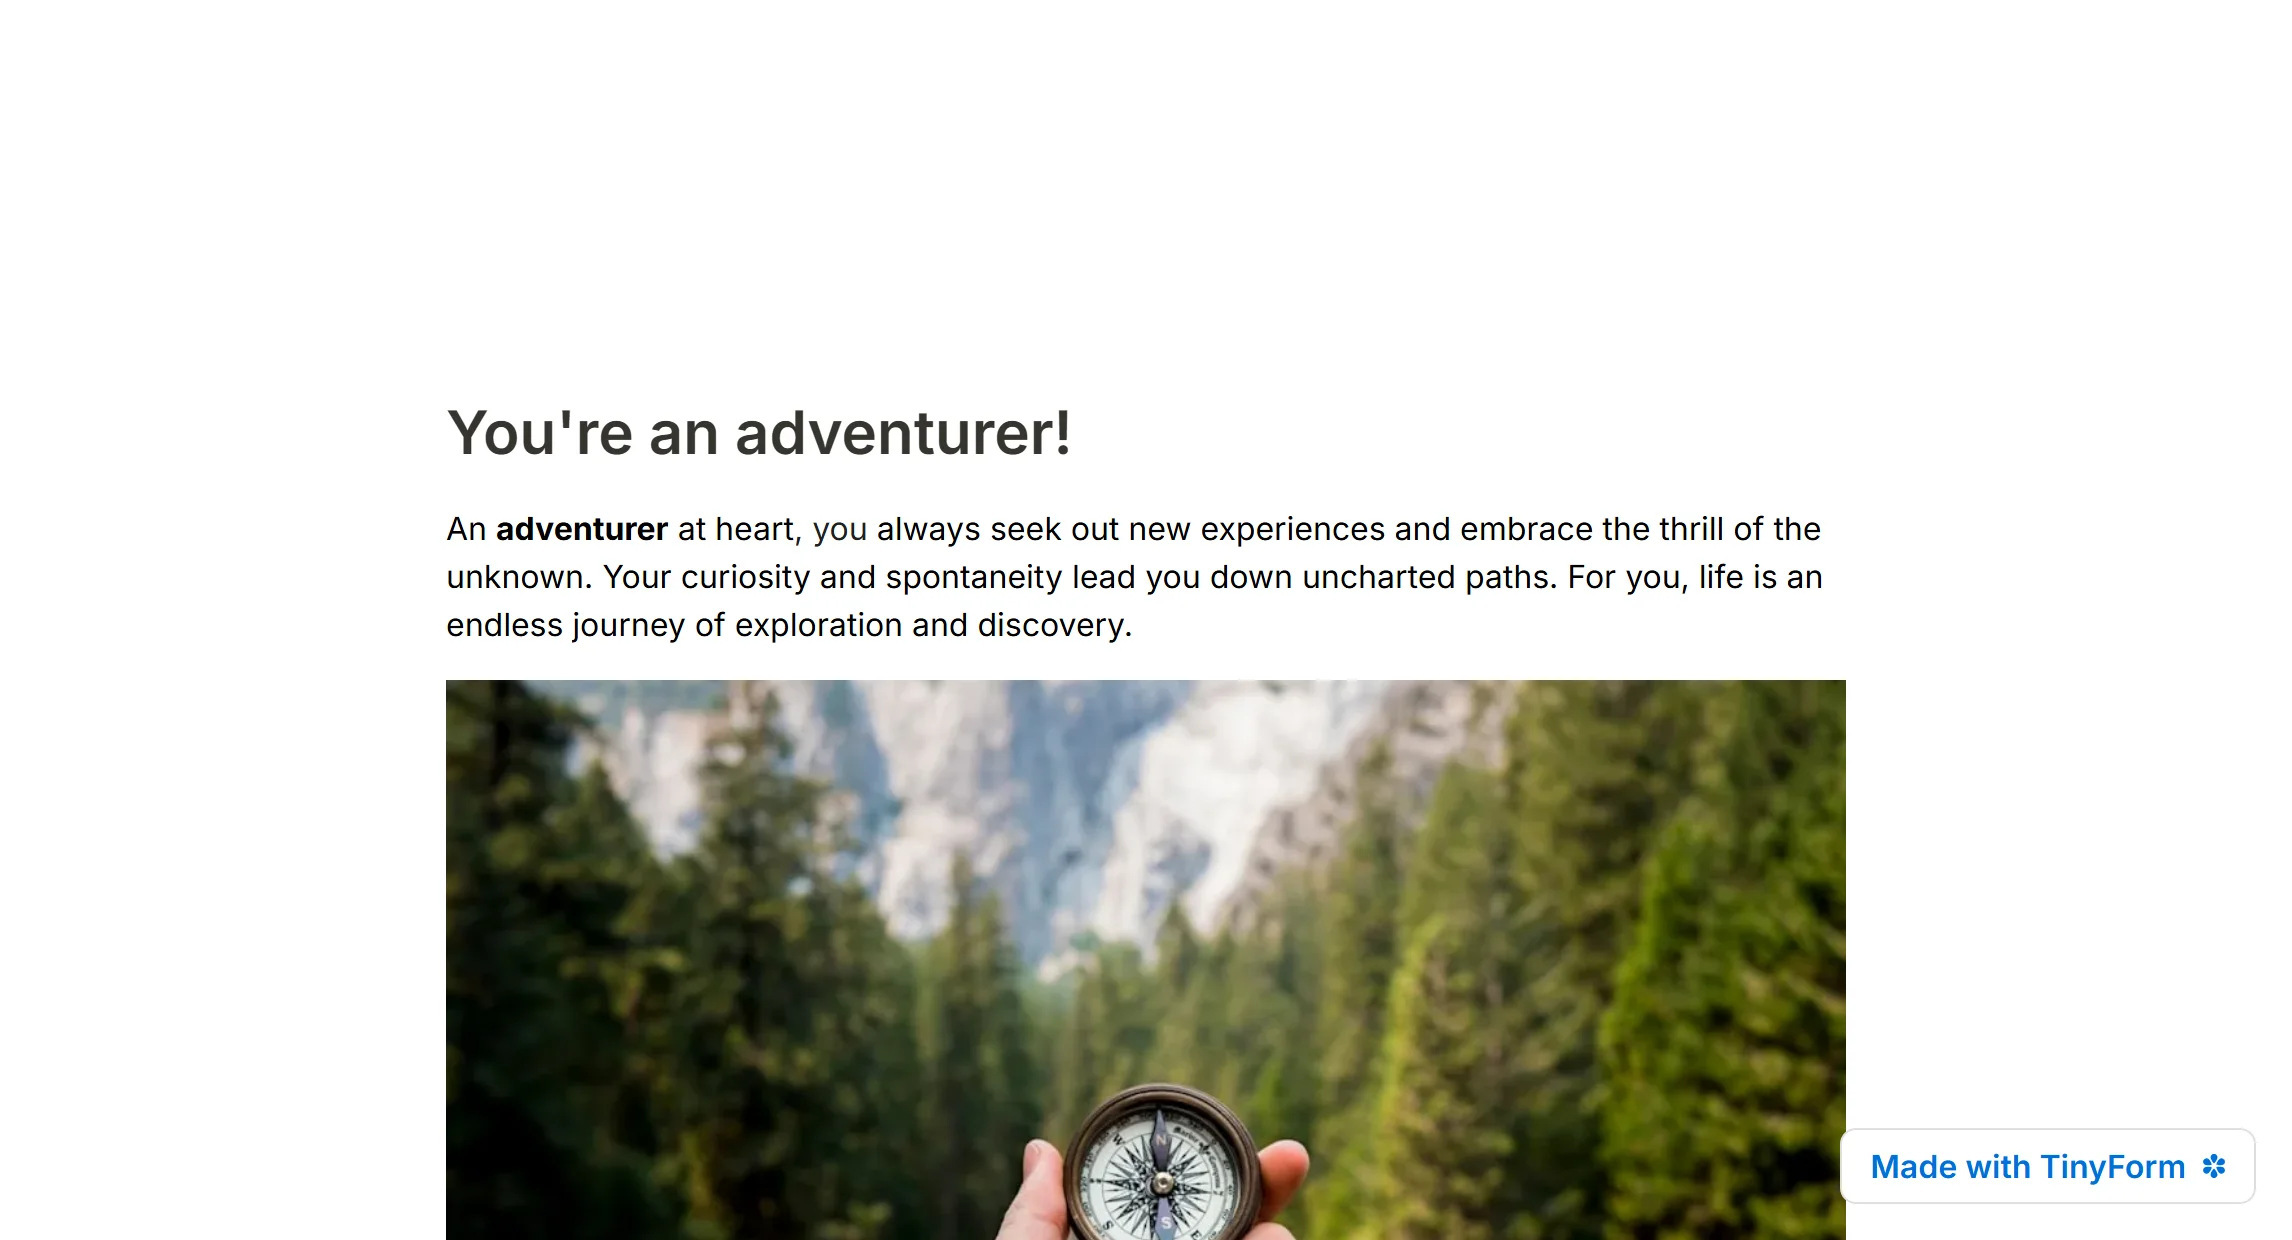
The quiz ends in one Thank you page per outcome, and the routing logic under the last page picks one with Jump to page. The template's ending pages are already titled to match their outcome, so it is clear which page is which.
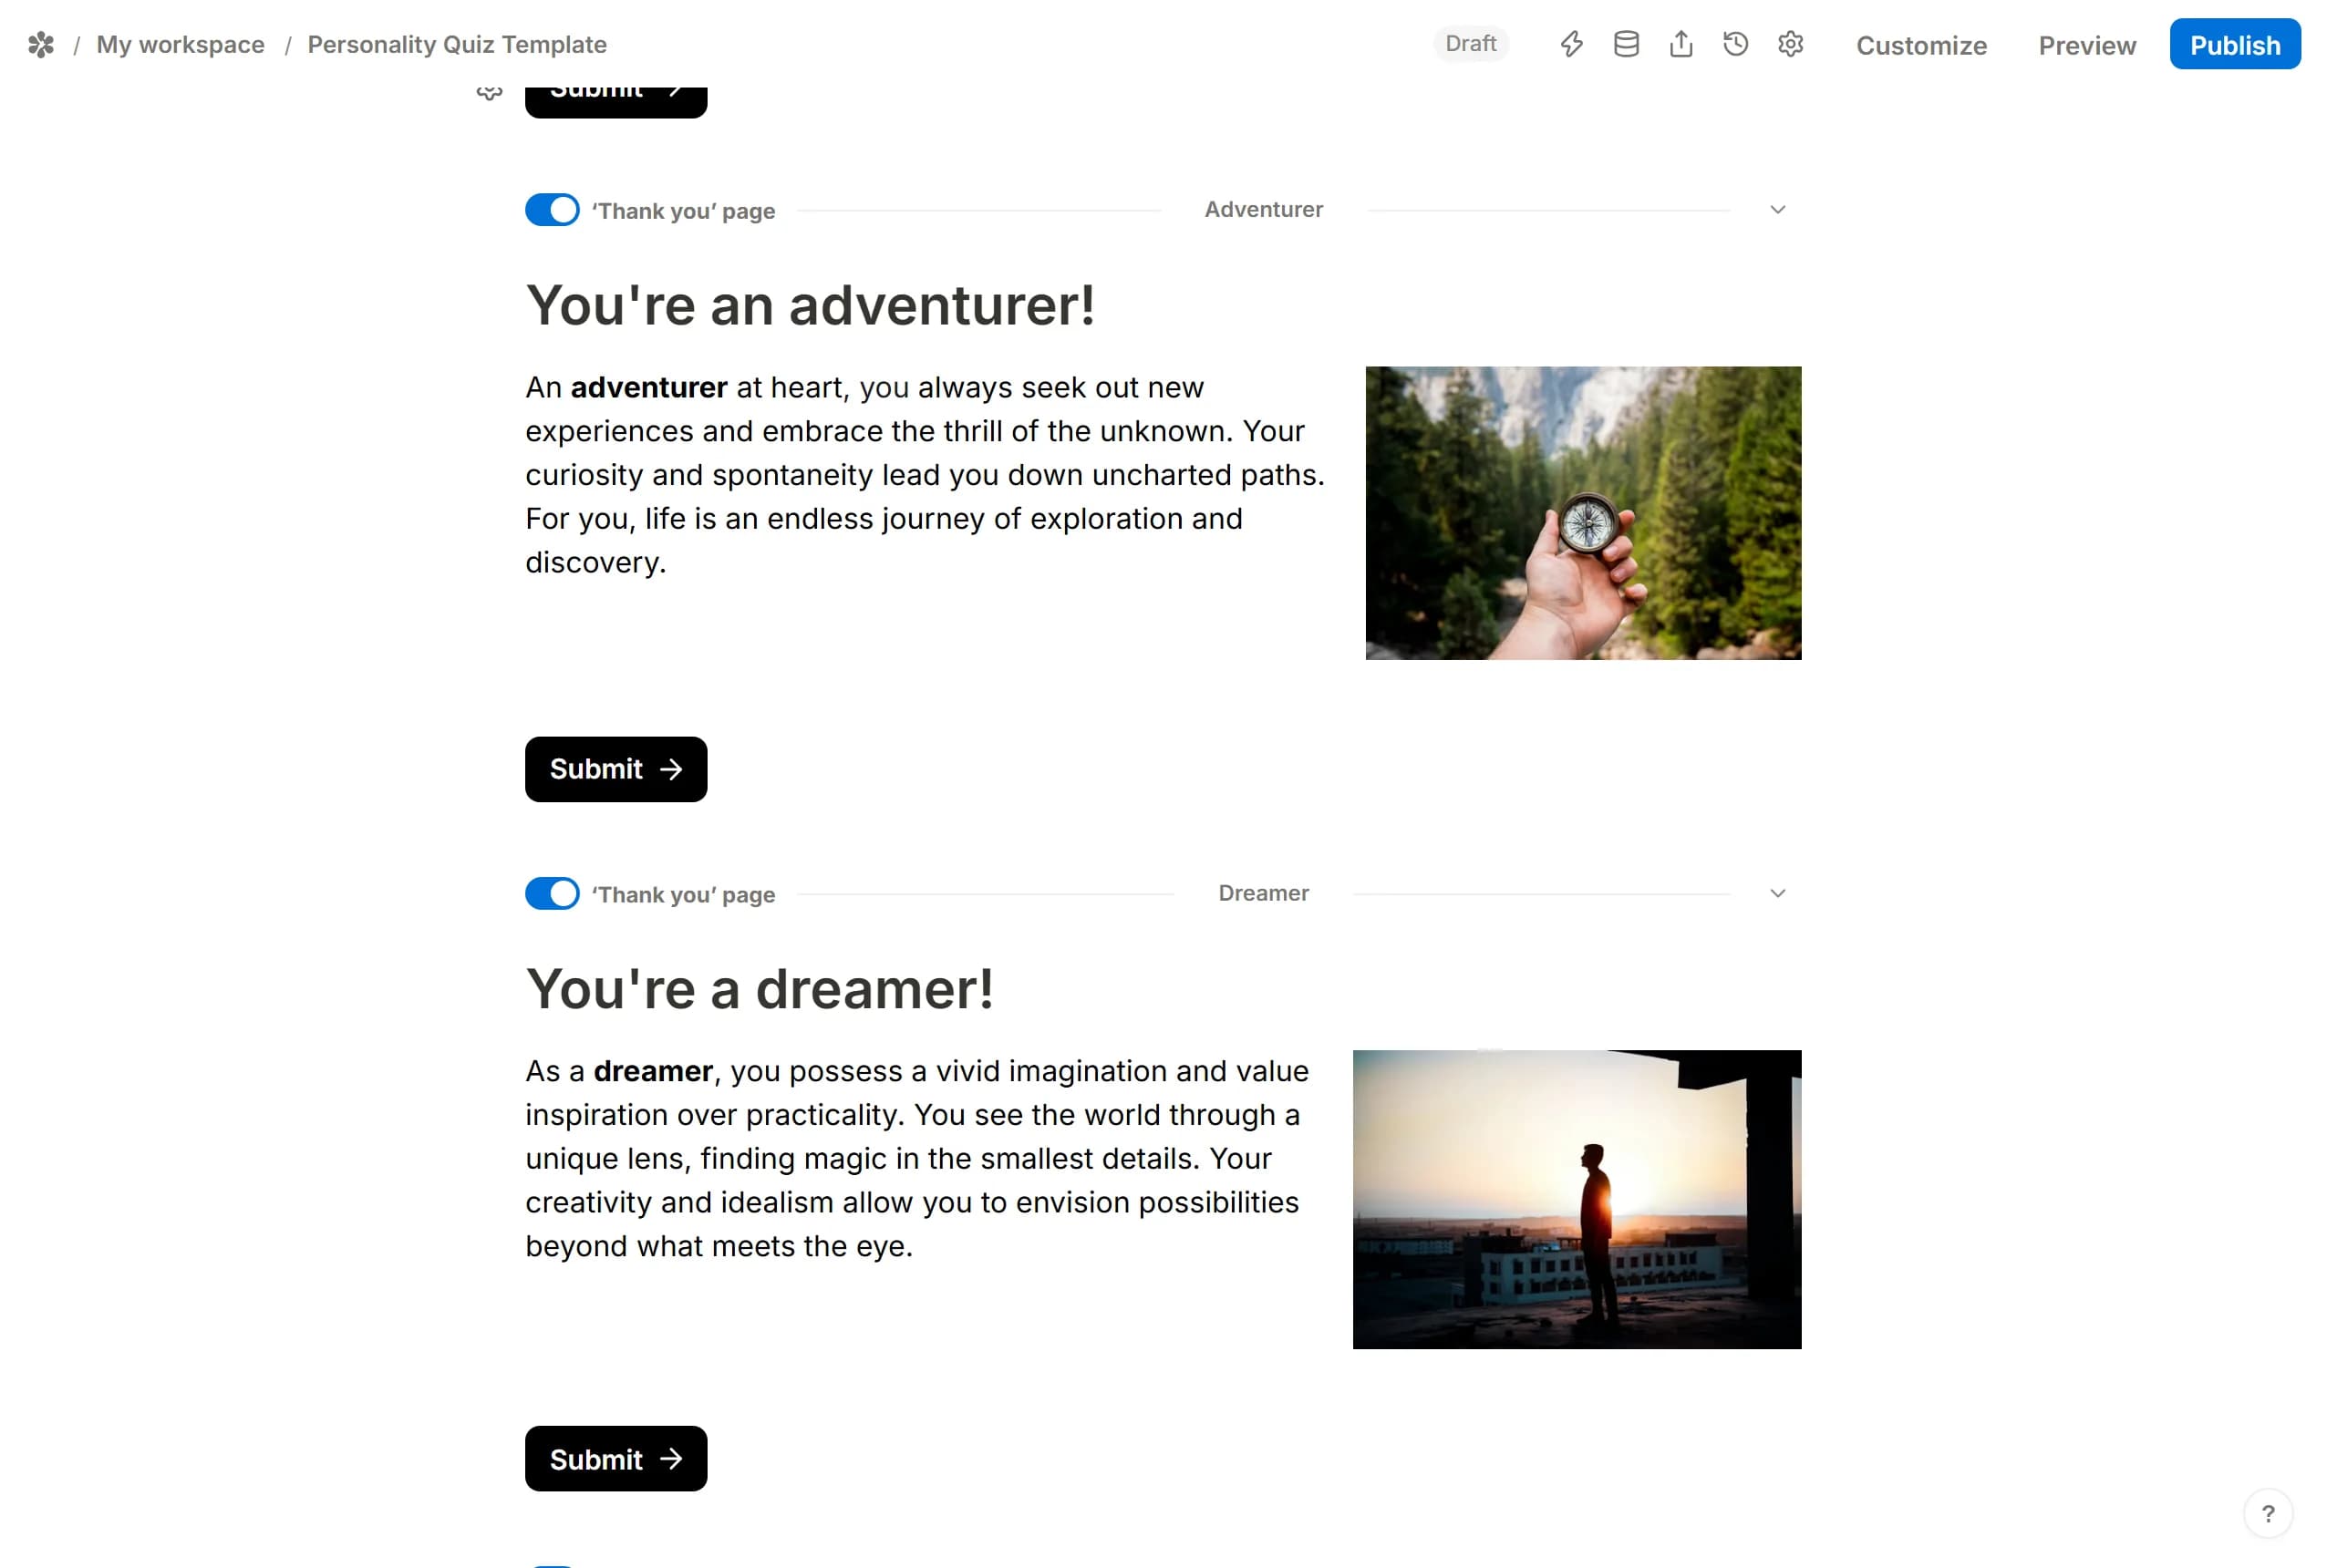
Fill each page with whatever suits its outcome: a heading, a paragraph, an image or a video, and a link or a button pointing at the next thing you want that kind of respondent to do. To quote the outcome itself, type @ and pick mostPicked under Mention a calculated field.
6. Optional: one question per page
The template shows every question on one page. For a multi-page quiz, with one or a few questions per page, type /page after a question and its logic blocks and pick New page.
Put the page break after the logic blocks, never between a question and the blocks that read it. A break in the wrong place stops those blocks counting.
Put the quiz on your website
The published quiz is at /r/<id> and can be shared as a link. To place it on a page of your own, open the form's Share tab; the embed dialog offers a Standard frame, a Popup and a Full page version. Embed your form explains each.
Email the result to the respondent, and to yourself
To get a message for every completed quiz, switch on Self email notifications in the form's Settings tab. Leave the address empty to notify the whole workspace, or list the addresses that should get it.
To email each respondent their outcome, the form first needs their email address, and then a Respondent email notifications message that quotes the result. Neither costs anything extra.
1. Ask for the email address
The Email question can go at the start, which captures the address even if someone leaves halfway, or at the end, which keeps the door open for people who would not give an address before seeing what the quiz is like. Choose the placement that fits what the quiz is for; you can pair it with a name or another question if that is useful.
You can also leave the question optional. Someone who skips it still lands on their ending page; they do not get the email.
The example asks at the end, on a page of its own:
Add a page
After the last question, and before the hidden counting blocks, type/pageand pickNew page.Add the question
Type/emailand insert theEmailquestion. It isRequiredby default; open its menu to change that.Add any wording
A heading or a sentence saying what the address is for.
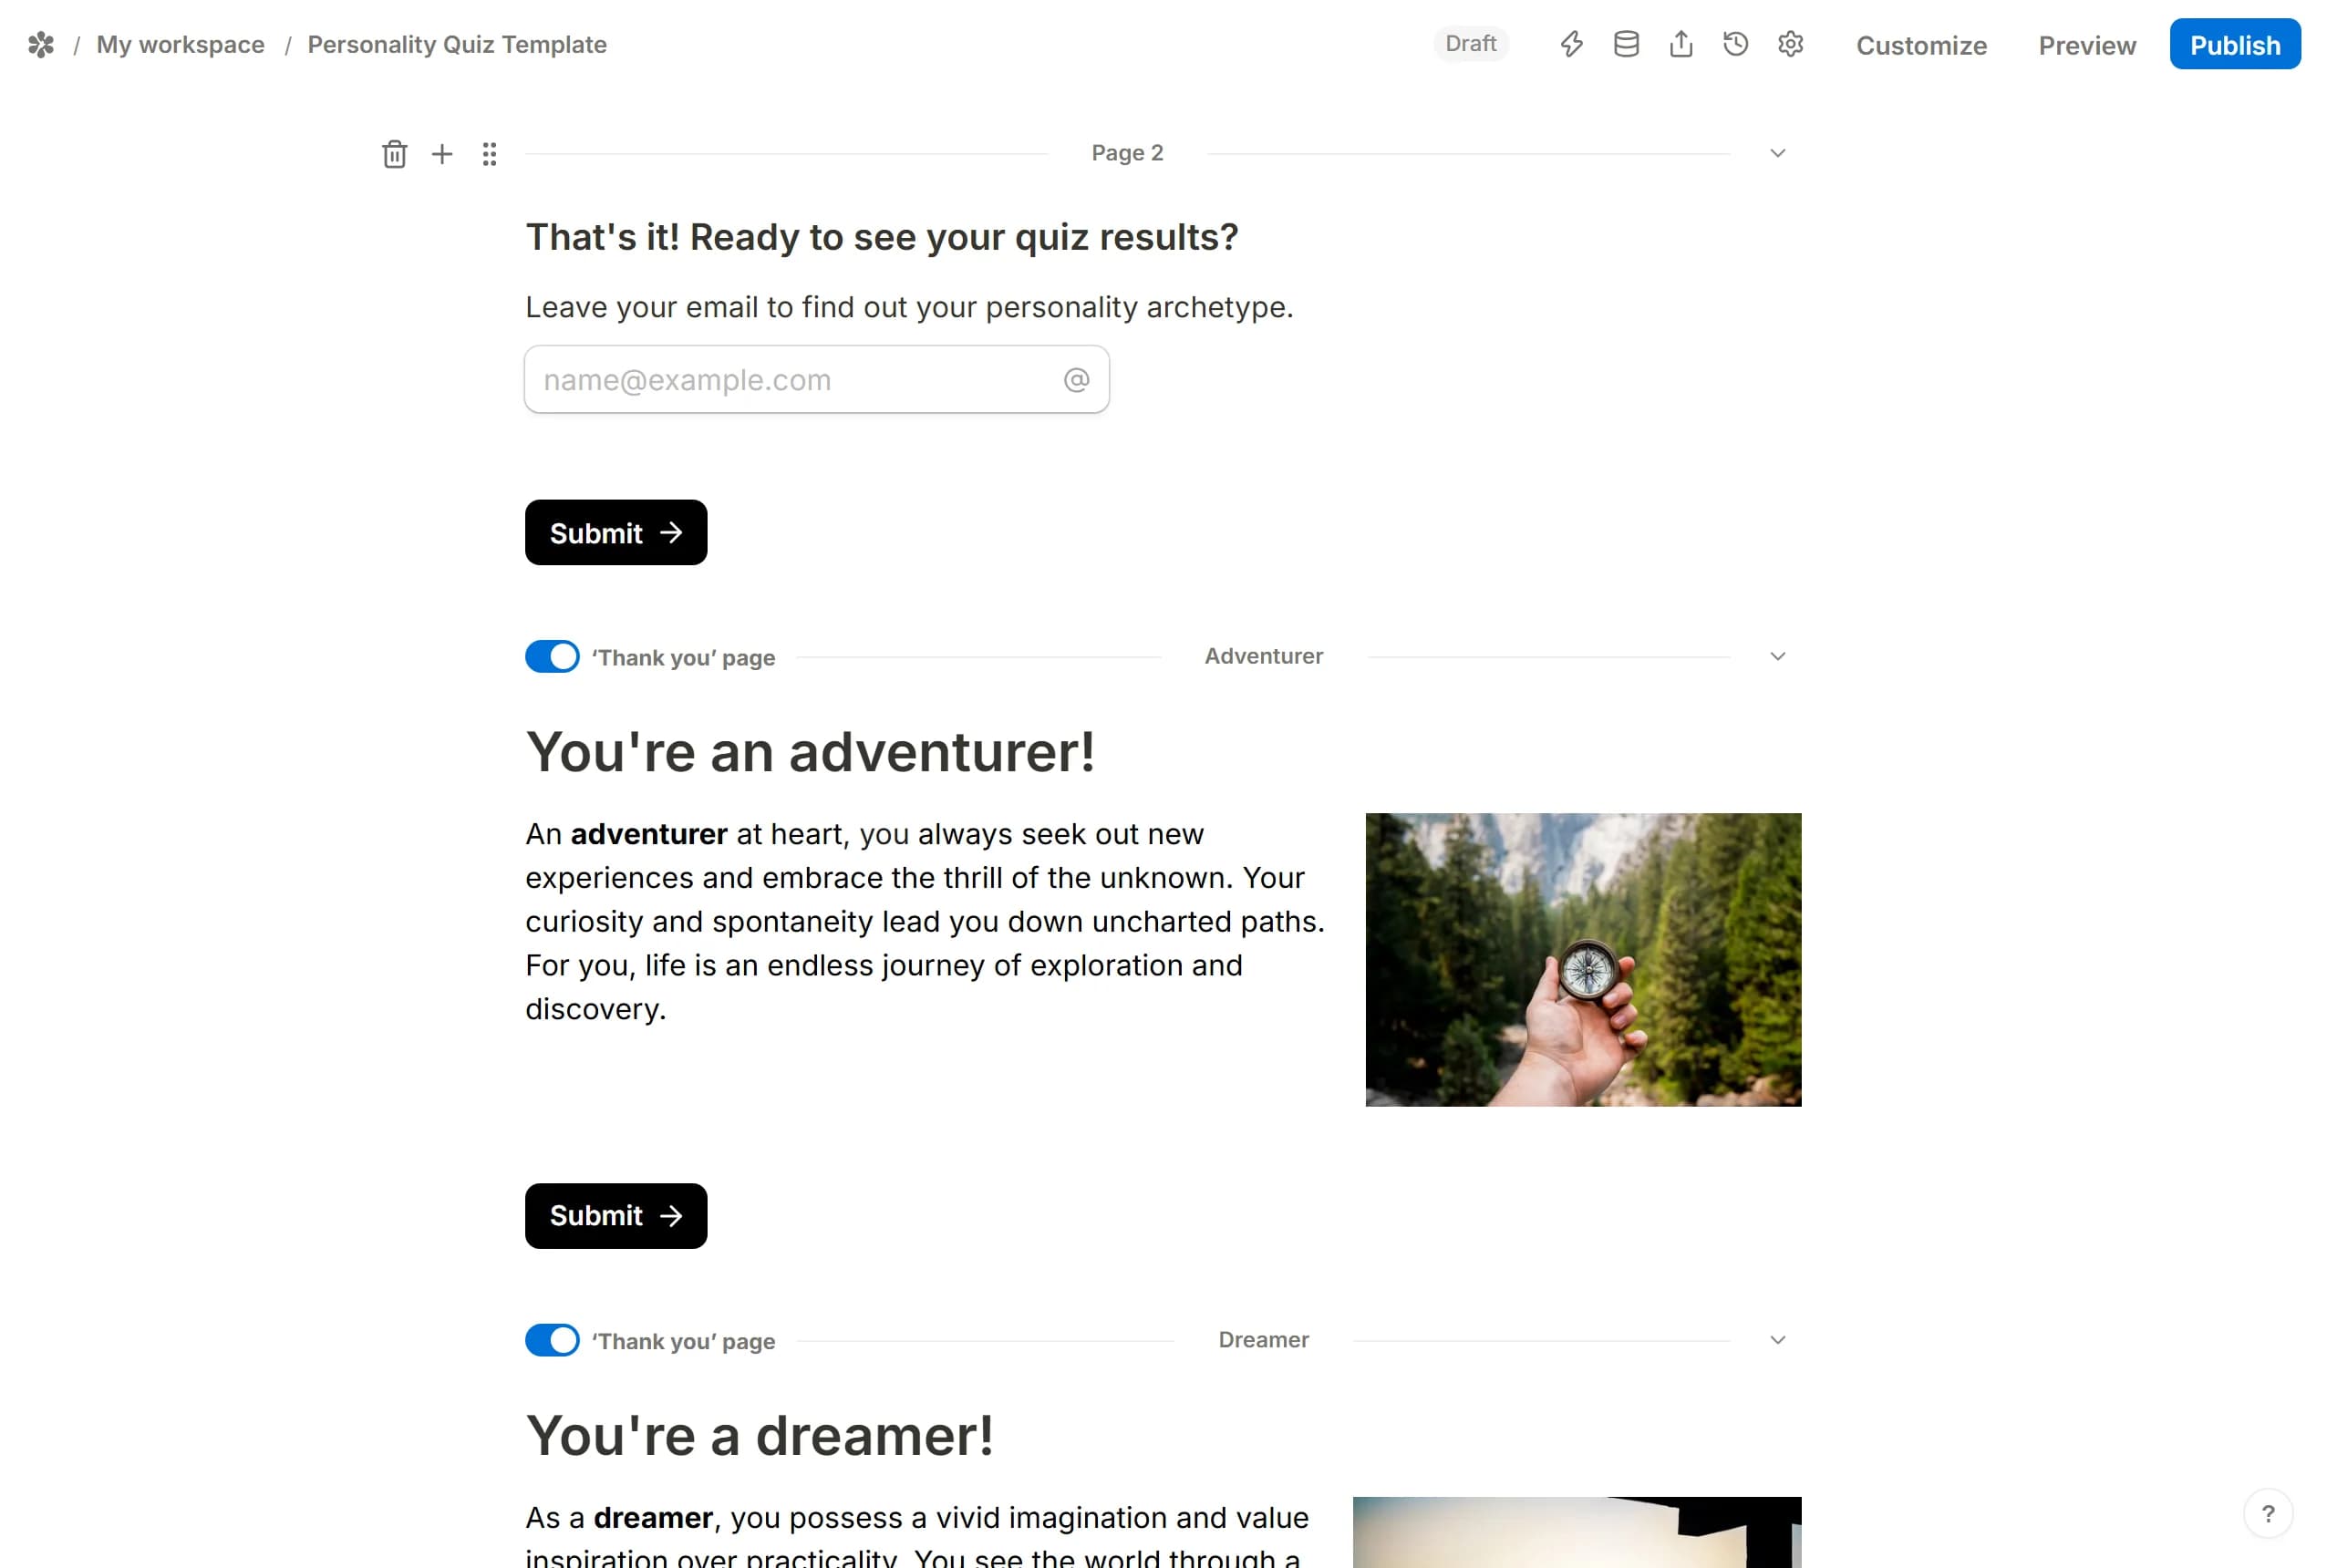
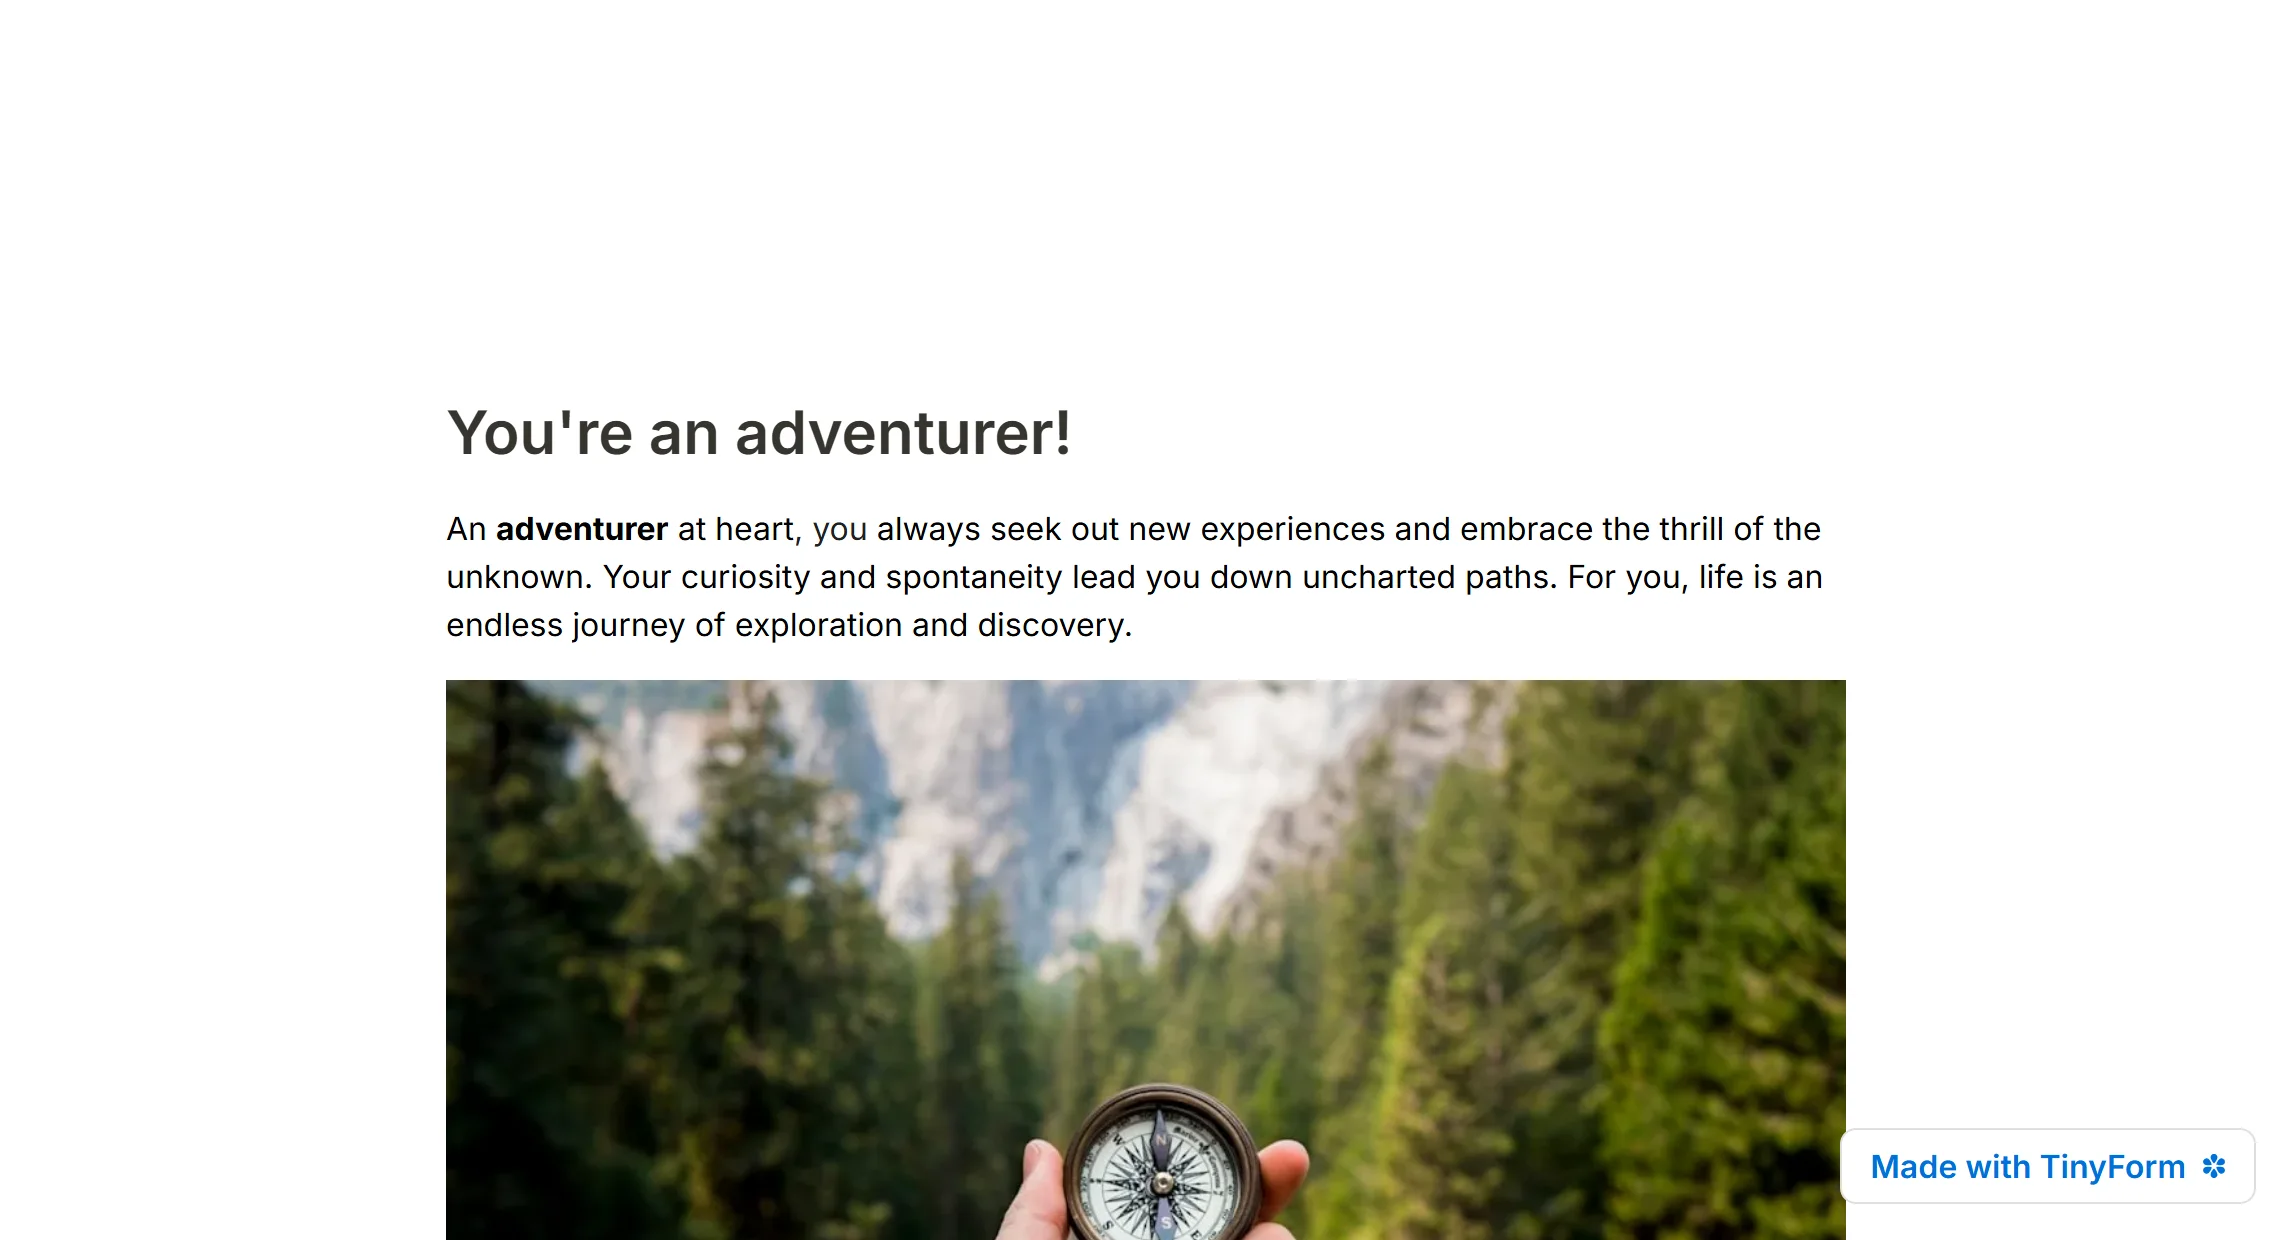
After the last question, the respondent sees this:
2. Write the respondent's email
In the form's Settings tab, switch on Respondent email notifications. Pick the email question in the To: field, then write the subject and the body.
- In the body, type
@and pickmostPicked, the field that holds the outcome, to quote it. - The same menu lists every other question, so the email can use the respondent's name.
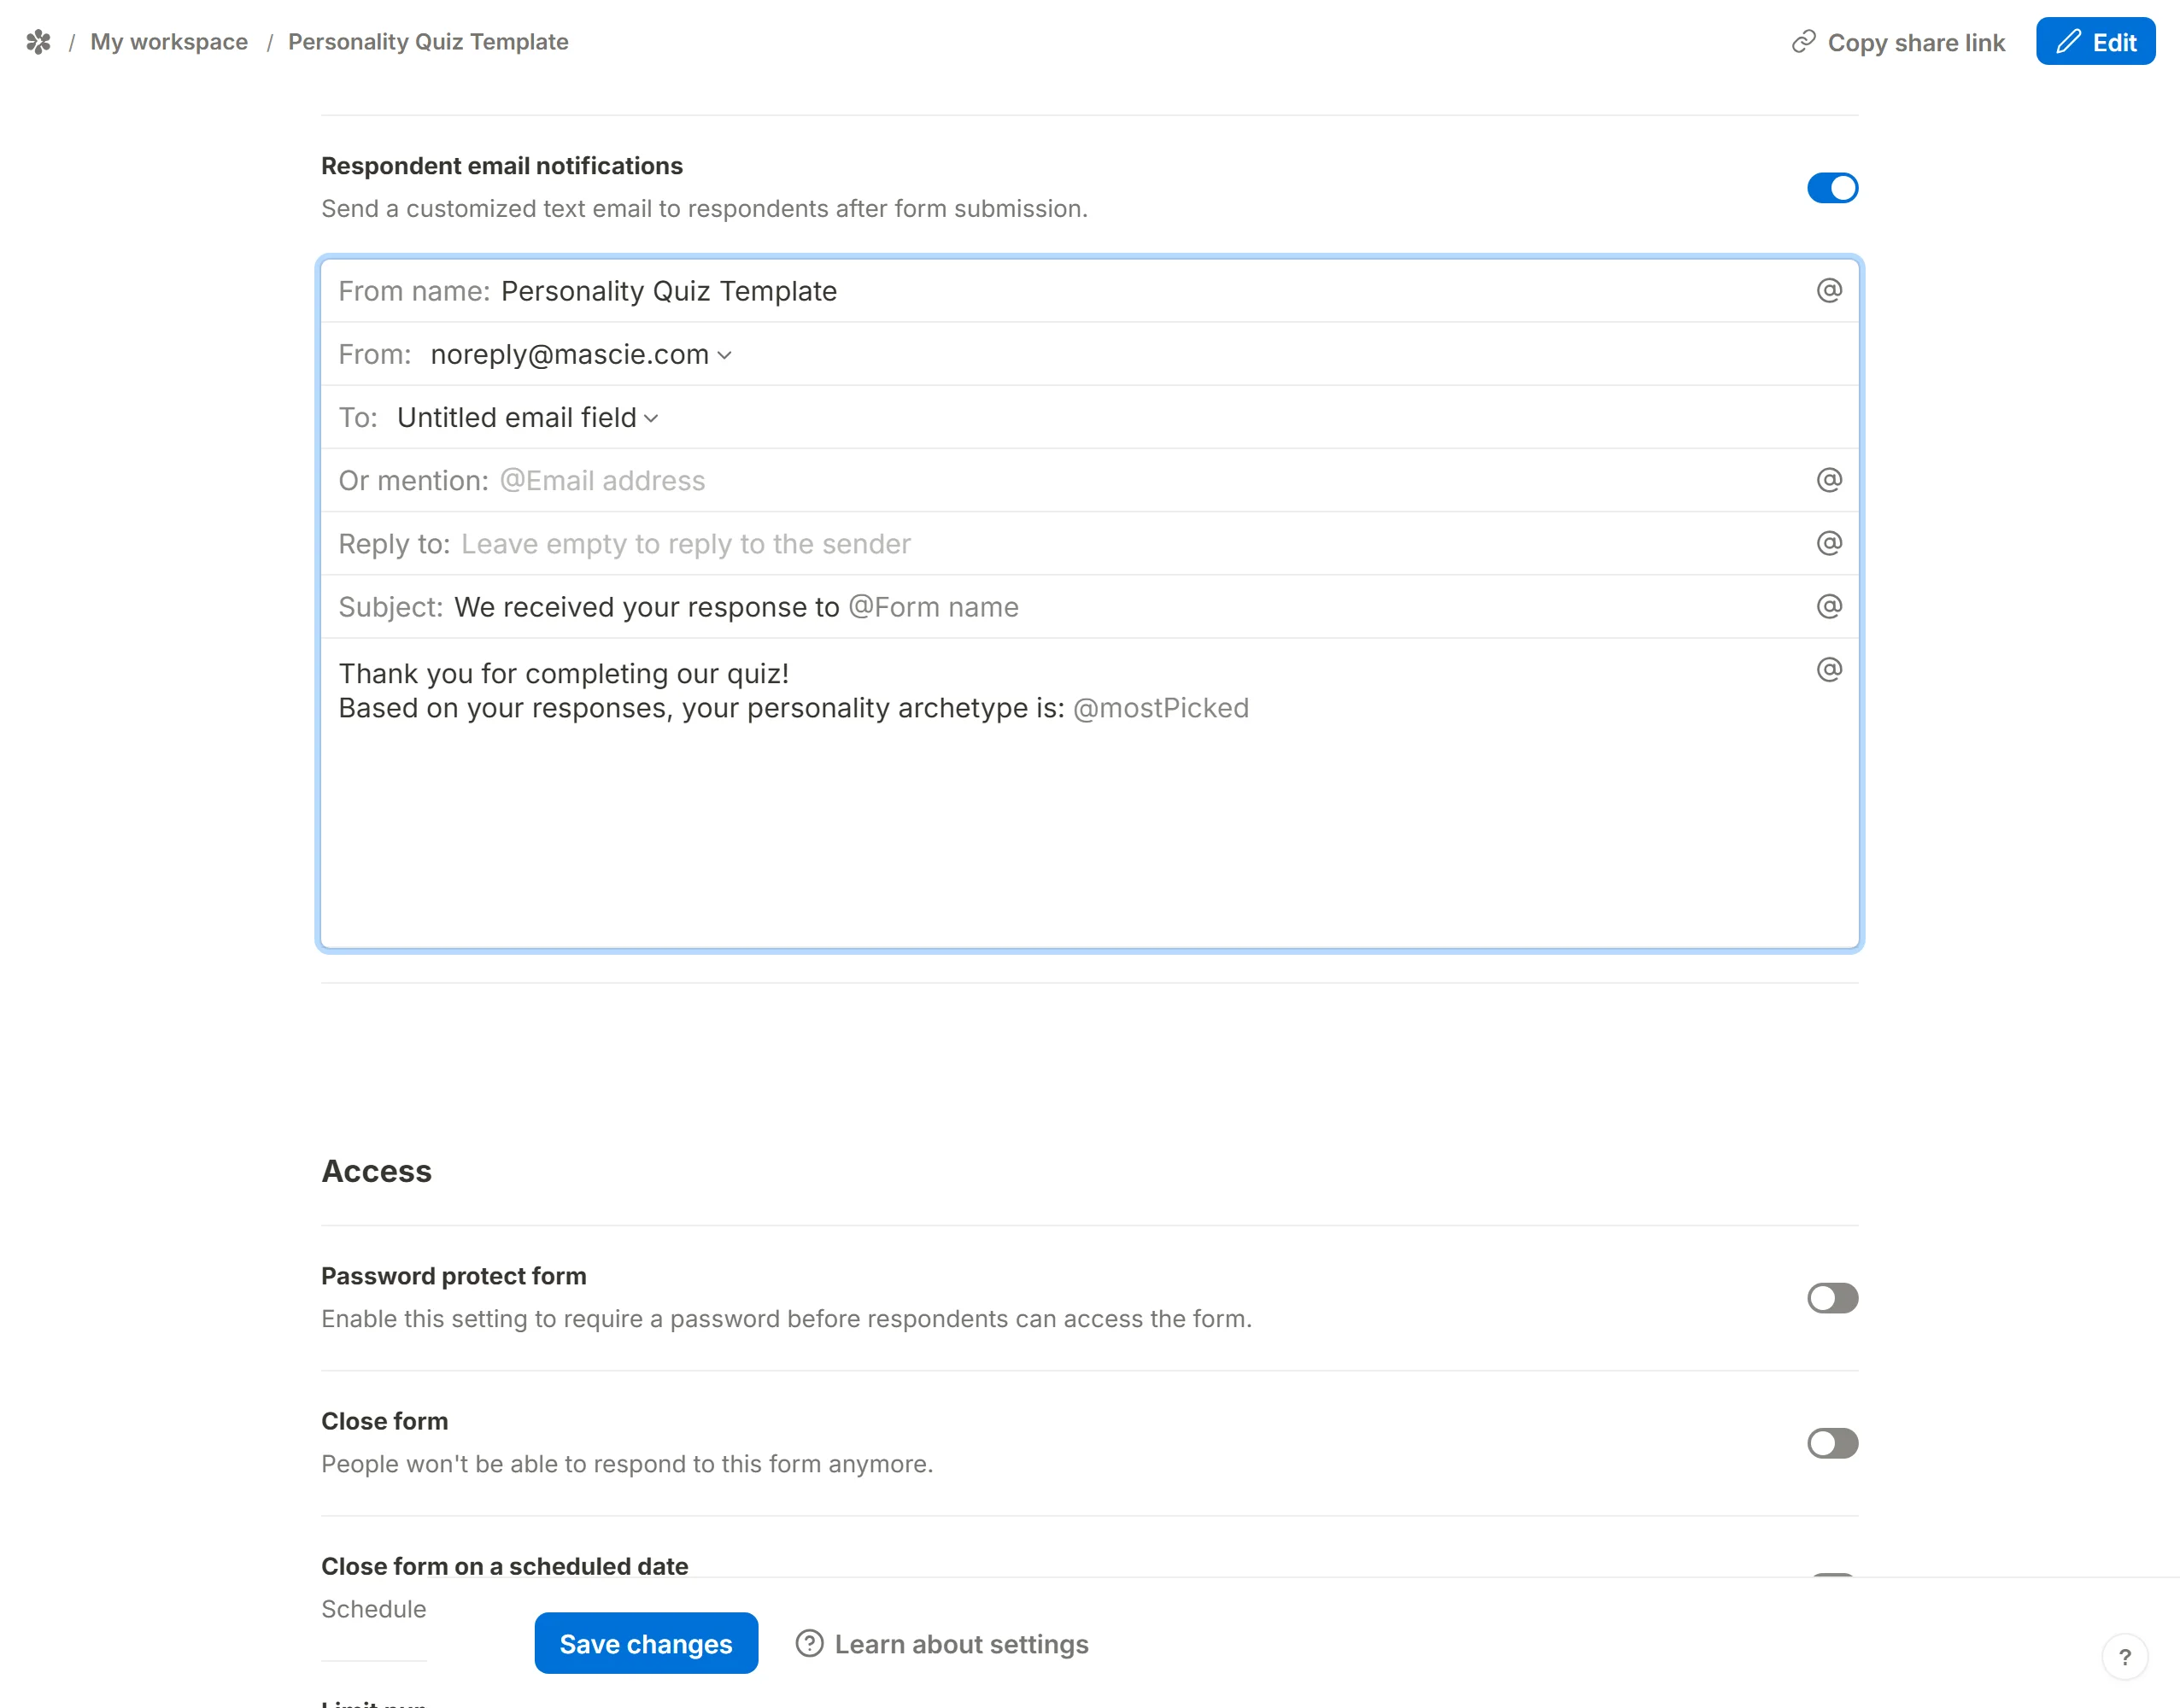
Each respondent then receives a message naming the outcome they got: